We’re in the middle of renovating our front hall foyer, stairs, and the upstairs hallway. See the before pics here. Today I’m going to show you how we refinished the floors, the disaster that happened, and the little can that saved the day.
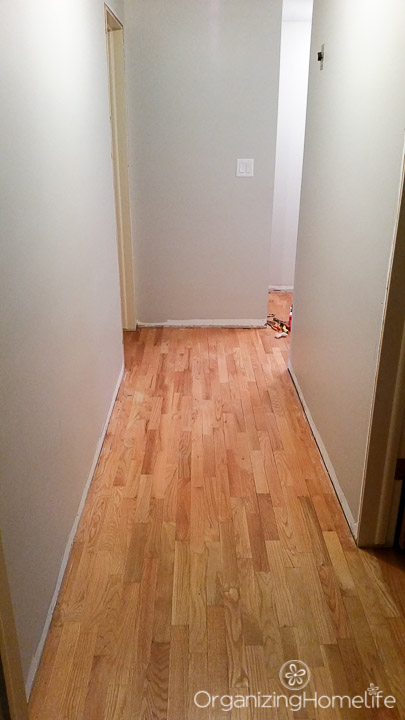
First we ripped out the old carpet and pad. Please excuse the terrible quality of these pics – I just snapped with my cell phone as we went along.
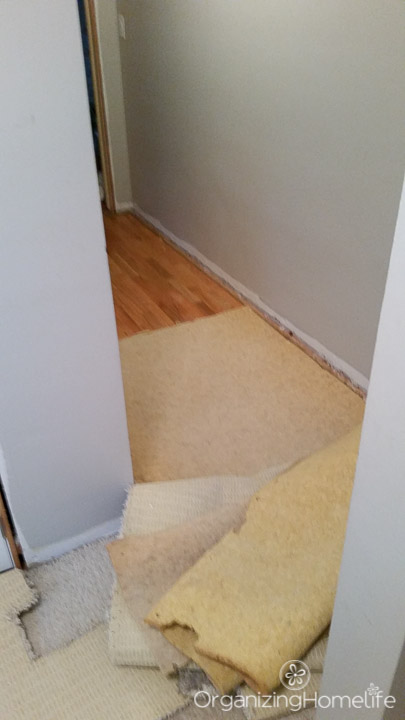
I’m pretty sure that carpet was at least 30 years old, probably older. We were pleasantly surprised to find that the hardwood floors underneath were absolutely beautiful. I don’t think they were ever really walked on.
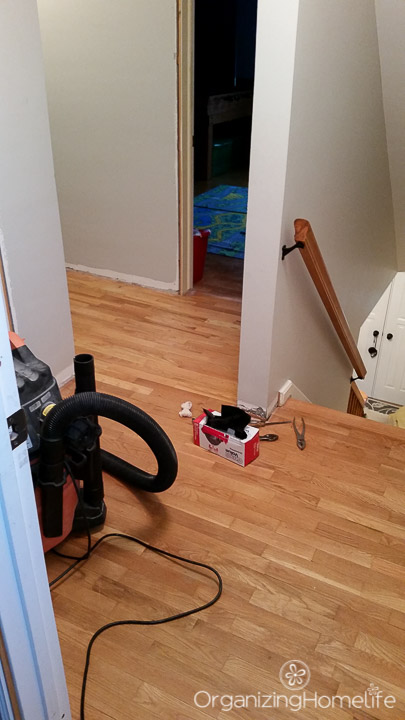
I’m not a huge fan of honey oak so we planned to stain them darker. Plus, we had to refinish them anyway because of the damage on the sides of the steps.
Taking the tack strip and carpet pad off the steps was such a mess, but revealing the gorgeous floors underneath was so worth it.
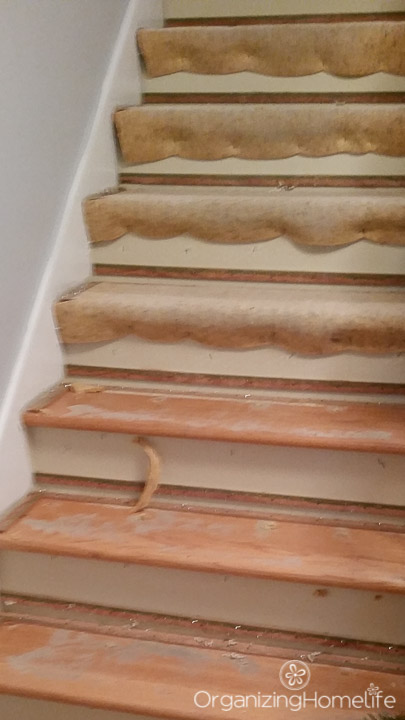
We hired a friend of ours to help us refinish the floors since it was such a big job and we needed to get it done as quickly as possible. You kind of need to use the steps when all the bedrooms are upstairs.
Once the carpet was out, we sanded the stairs, banister, and upstairs hallway. The wood was beautiful! We didn’t sand the balusters because I intended to paint them white.
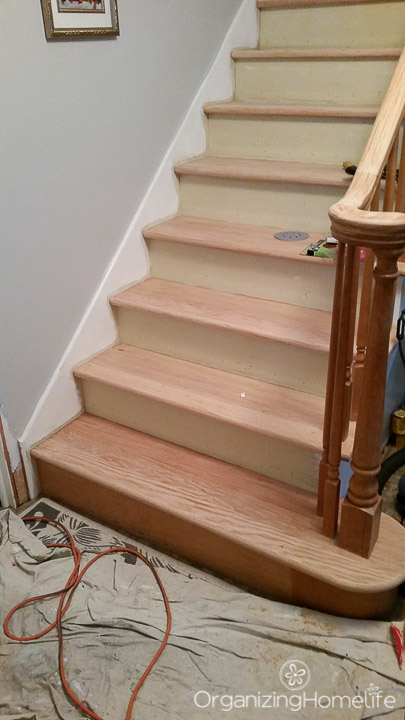
I chose Bistro Walnut Wood Classics stain by Sherwin Williams. It’s dark, but not too dark so that it shows every bit of dust or hair from my fawn haired pug. I stained an old piece of oak wood just to be sure of the color before taking the plunge with the floors. But, just to be extra sure, we put a little color on the floor inside the closet just to be positive we liked it (we were a little gun shy after the paint situation in the last post).
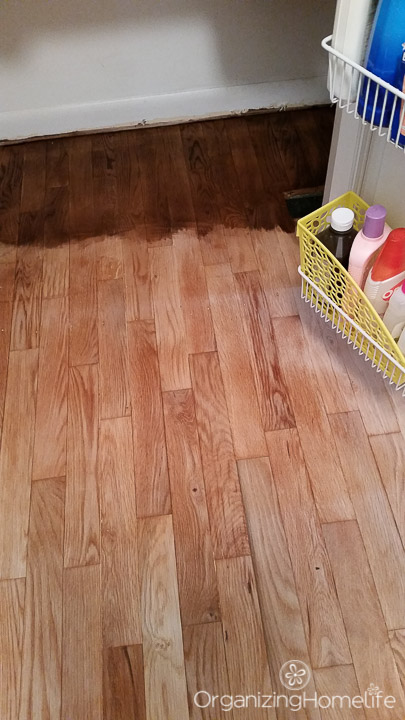
It was gorgeous, so we decided to go with it. The bedrooms are getting carpet, so we taped them off and only stained the hallway.
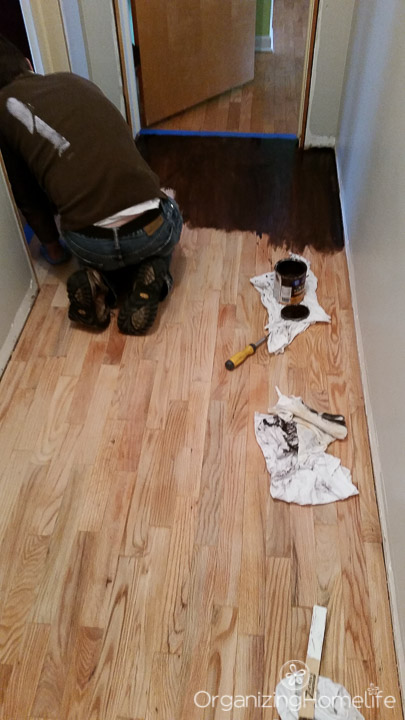
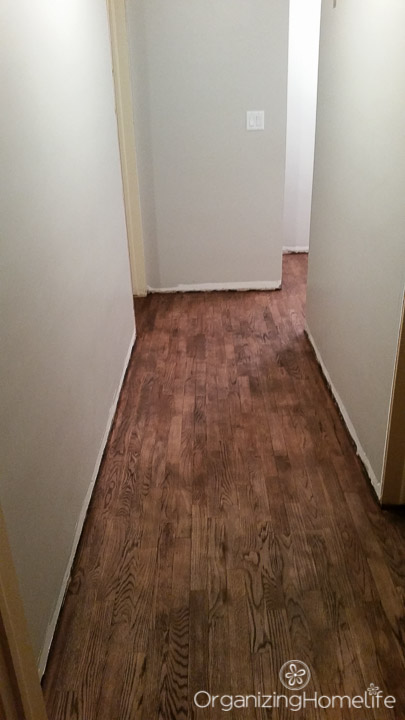
Everything was going great until we finished the hallway. After it dried, it started looking really blotchy. I kept telling myself that I loved it because I really wanted to, but something wasn’t right. Since I’m no flooring expert and no one had an answer as to what was happening with the stain, we moved on to the steps.
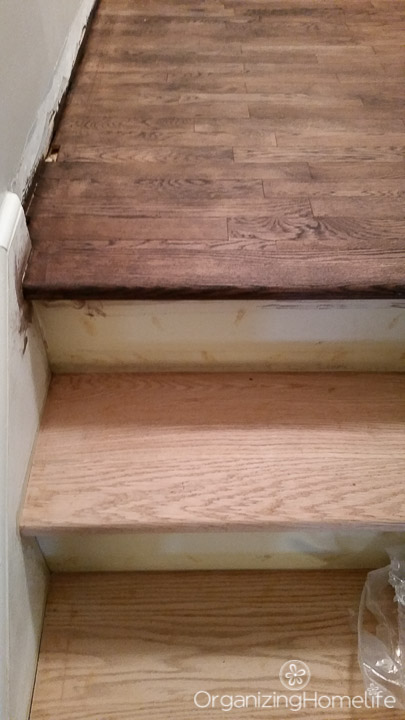
Please take notice of how nice the steps look in the picture above (minus the quality of the photo, of course! ;)).
And now look at what we saw after the stain dried. #hugefail
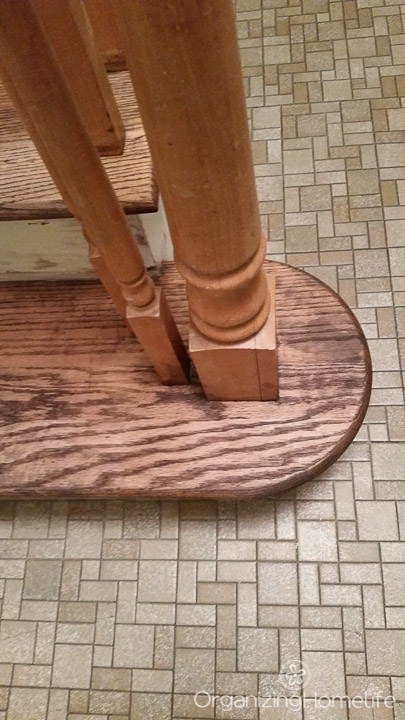
Disaster. The stairs looked like they were in a hundred year old house and they were just waiting to be refinished, not like floors that had JUST been refinished. I’m glad I took pictures along the way so we could actually see how beautiful the wood was prior to applying the stain.
Weird patterns appeared all throughout the wood and made them look horrible.
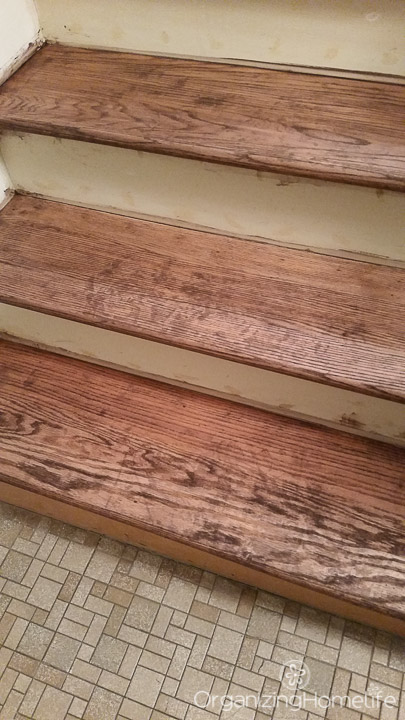
I knew this was a big problem that I couldn’t live with, so I turned to the Internet. I hoped to find an easy solution, or at least some explanation as to what caused it, but no luck.
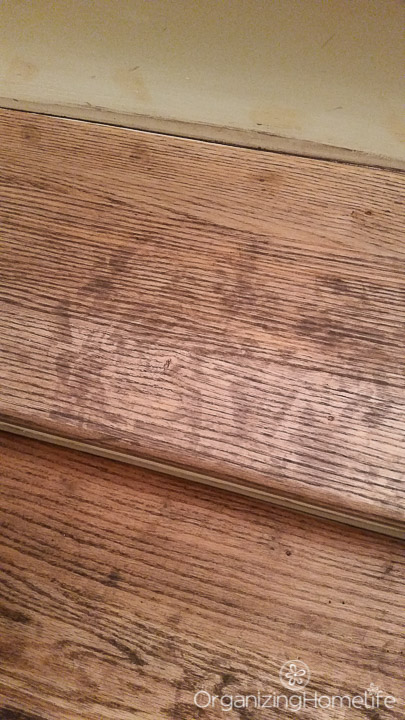
This picture makes them look better than real life. Trust me – it looked terrible!
After searching and searching online for answers and coming up with nothing, we went back to Sherwin Williams. The sales clerk was very helpful and talked with us for a long time, but didn’t have an answer either.
Thankfully, I’m part of a DIY blogger’s group on Facebook so I asked for help and found it! Many people said they stained wood all the time and had never seen anything like this. But a few said they would never stain wood without first using a wood conditioner.
They suggested re-sanding, applying the conditioner, and staining again. Honestly, I didn’t hold out much hope. What could a conditioner possibly do?
This!!!
Check out the difference between the top step (before conditioner) and the lower step (after conditioner)!
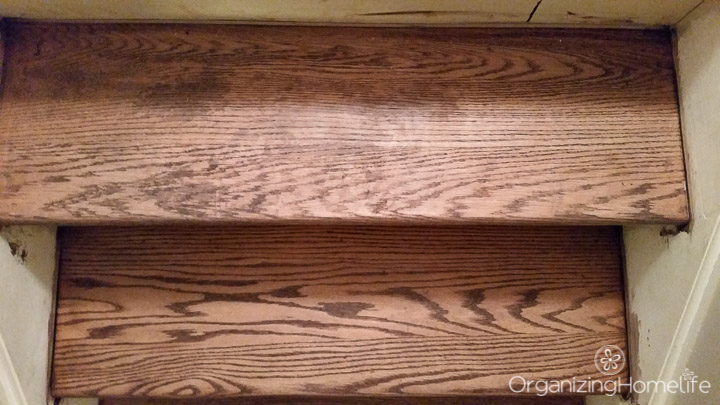
And again, the top step compared to the lower step! THIS is how the wood was supposed to look, not like the blotchy steps without the conditioner.
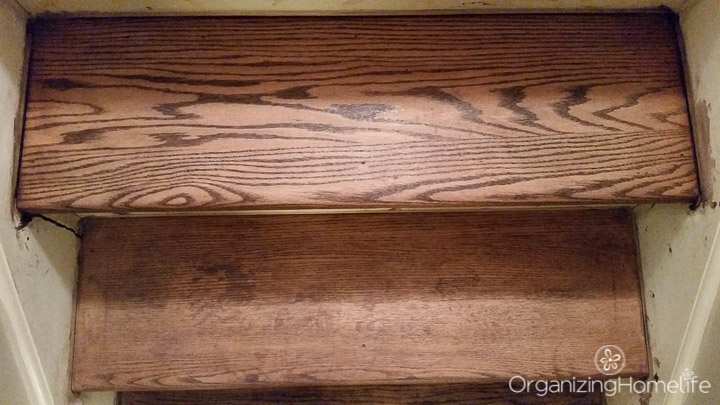
Check it out from further back. Can you see the step that has conditioner under the stain? Amazing, am I right? I will never stain wood again without first using wood conditioner. What a difference!
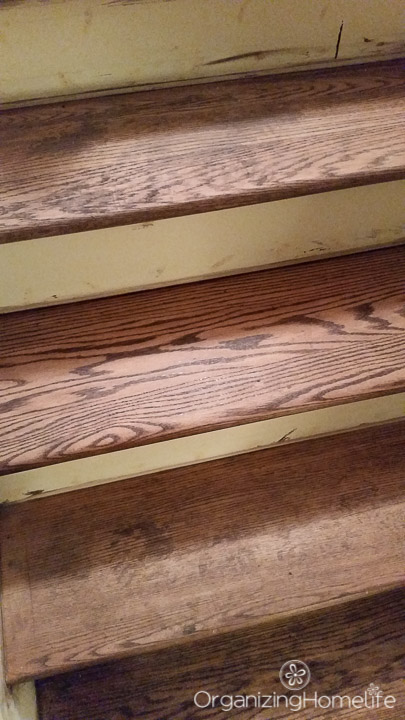
So, back to the drawing board (or should I say “sanding board” which would be more literal).
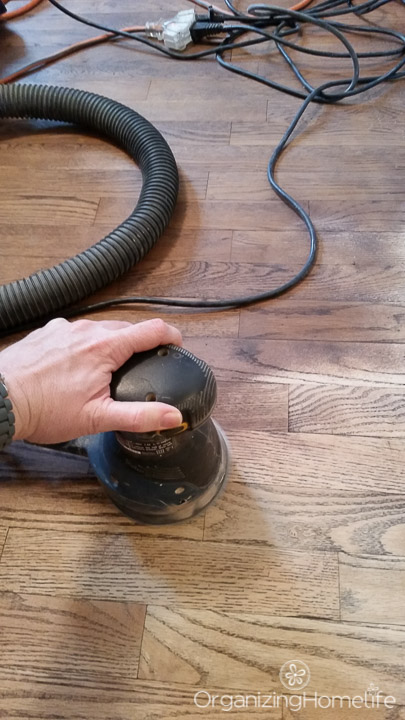
Since it was a relatively small space, we didn’t rent a huge sander, we used a hand sander. FIVE hours of sanding by hand to get that stain off was not my favorite use of time. But, it had to be done.
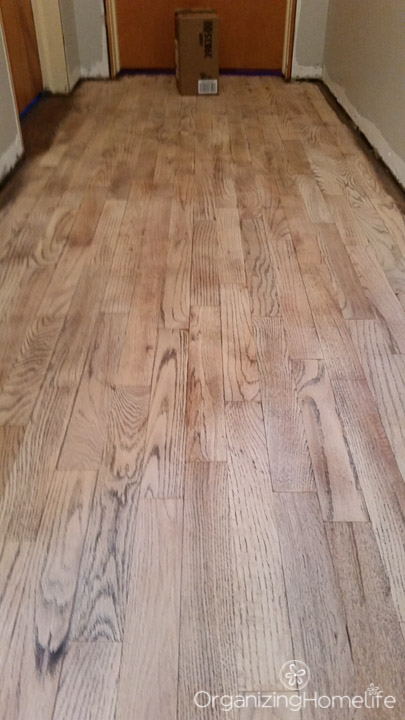
Once the floors were sanded a second time, applying the conditioner was a cinch. Just wipe it on, wait for a few minutes and wipe it off. Then apply stain.
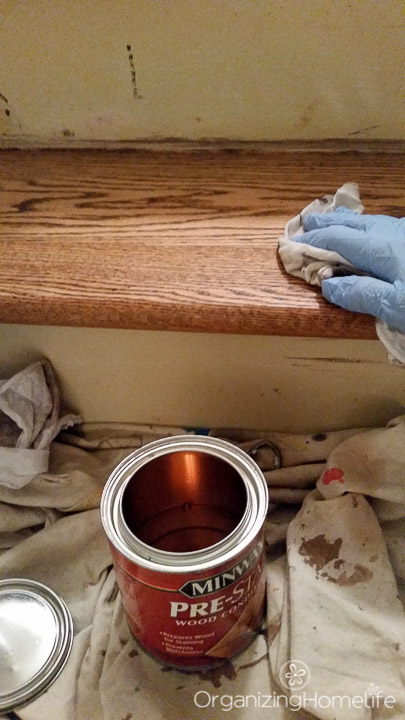
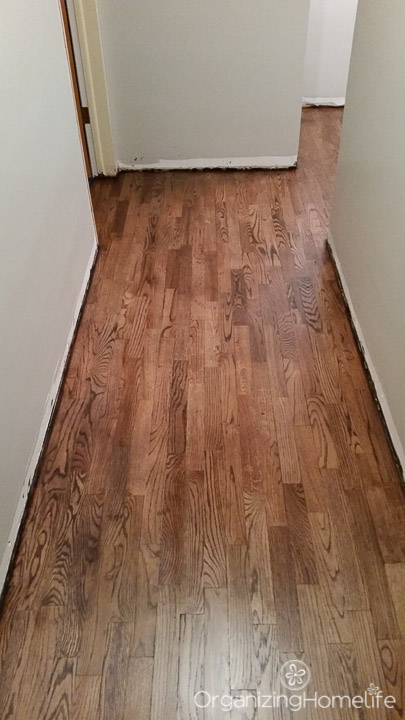
The difference was incredible. The floors are gorgeous and I am SO glad we put the effort into making the problem right. This is the wood conditioner we used in case you’re wondering (affiliate link).
The stairs still look pretty shabby, but after we get the risers painted it’s going to look great!
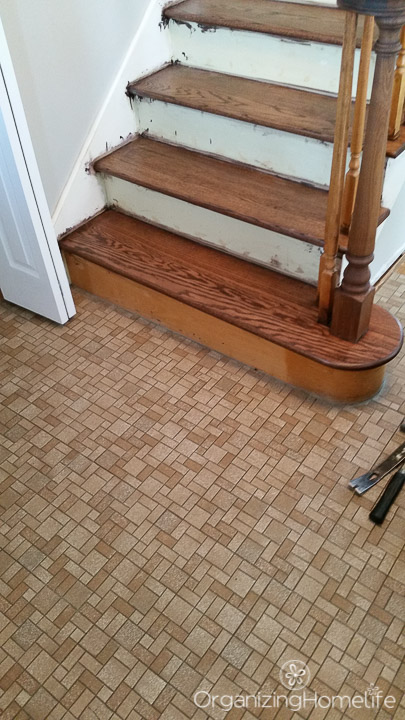
Although this took much longer than anticipated, we’re moving right along.
The Plan:
Paint front doorsReplace closet doorsReplace light fixturePaint wallsRemove carpet on stairsRefinish hardwoods- Paint Risers
- Replace tile floors
- New molding and baseboard
- Update outlets and switches
- Update pictures on stairwell (gallery wall?)
Next up is painting the risers and tearing out the floor.


This is such amazing information to know. Thanks very much for sharing your experience. Much appreciated.
We sanded about 1000 Sq ft in our 70 yo home. First, used heavy grit paper using a large round sander and going around wall edges with hand sander. Wiped damp rag to remove dust, then used medium grit sander, wiped then sanded with fine grit with both machines, wiped, then stained. Did not suffer what you did, thank goodness. But yours look great now!
Ginny I am so glad I read this post! I am in the process of sanding our honey oak stair railings and I never would have thought of wood conditioner. So you saved the day for me! I’m going to try a gel stain on the railings and paint the balusters white. Have you used gel stain before? I read it would be easier to get the espresso look I am going for. Thanks again!
I have read good things about gel stain, Autumn. I actually bought some, but haven’t used it yet. I’d love to hear your experience.
Sounds like you needed to spend a little more money and get it professionally.
Look all the time and your own labor you used plus the expense!! Then you couldn’t get any answers for your problem.
It was definitely more than we planned for and will hire a professional when we refinish our living/dining room floors. But, it turned out beautifully and I’m glad we found the answer to our problem. Hopefully this post will help others so they don’t run into the same problem. 🙂
The conditioner certainly did make the difference! The floor looks very pretty now.
By the way, in the pictures, your walls look gray now.
I’ve worked at a job staining cabinet doors, and we also recently refinished our entire house (2,000 Sq ft) which is all hardwood. Looks like the reason you had the blotches in your wood was due to the sanding… when refinishing any wood sanding plays a huge role… it really is a pain to do though;) speaking from experience (we did the whole house ourselves:)
I think. you had problems b/c you were trying to stain a softwood which has certain difficulties. The sherwin williams stain. brochure talks about using the conditioner like you did-