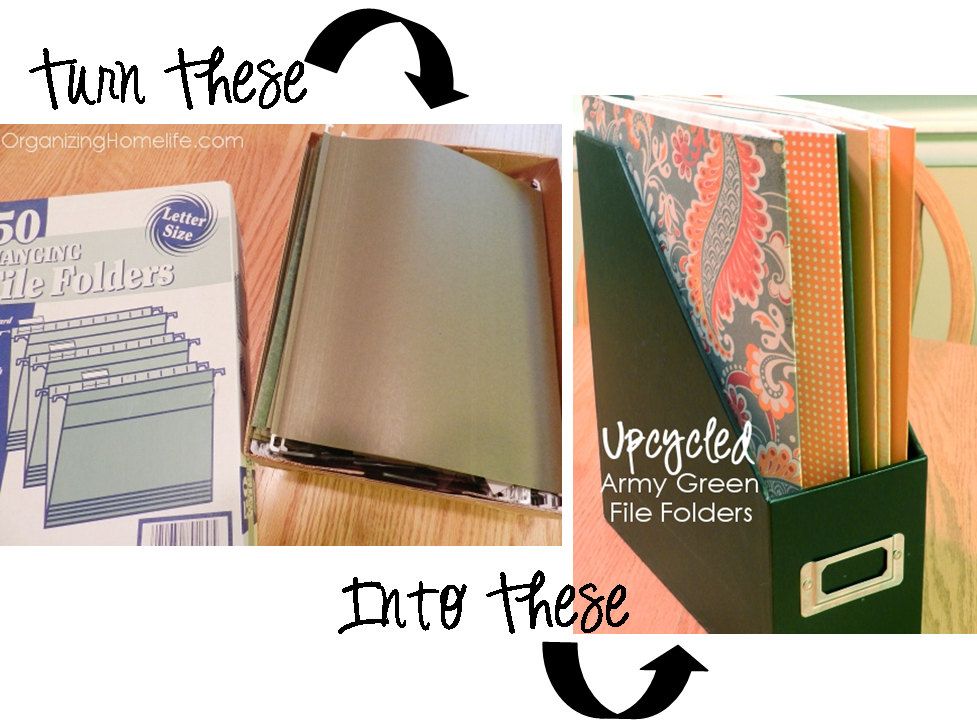
Office supplies really have come a long way in the style department, haven’t they? It used to be that you could only get those horribly ugly army green hanging file folders to organize your paperwork.
More recently, attractive patterns and colors have taken over in helping us bring style to our homes – even to that which is hidden in a filing cabinet! Some of the hanging files and file folders that are available now are SO pretty!
But of course, what do I have on my shelf? You got it – the army green ones. Ugh.
Keeping frugality in mind, I just couldn’t bring myself to dump my old box of file folders. I had a crazy idea to ‘upcycle’ them and I loved the results!
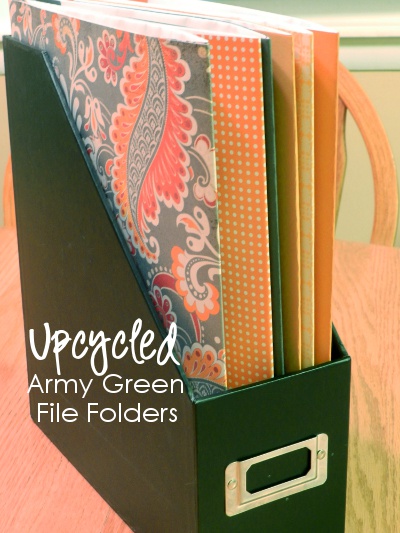
There are a bunch of pictures so you can get an idea of how I did it.
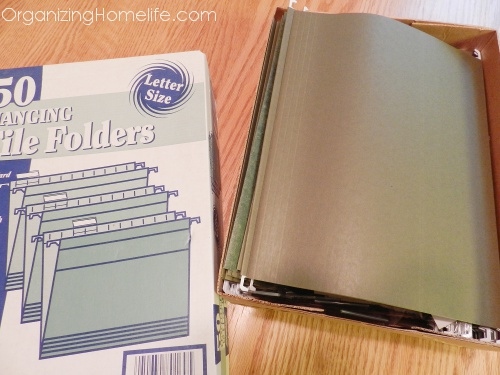
Start with ugly hanging file folders:
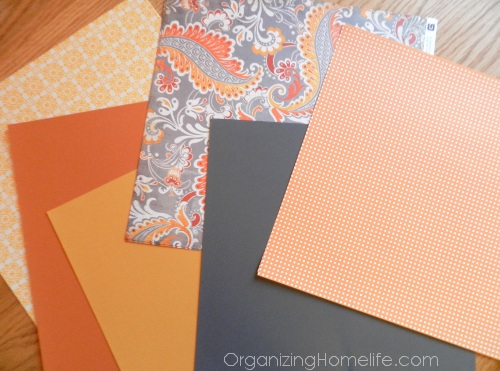
Pick out some pretty coordinating scrapbook papers. You will need two papers in each pattern of 12 x 12 sized paper.
Use a flat tool like a letter opener (does anyone still have one of those?), a knife, or a ruler. Carefully slide it along the glued edge to separate the flap.
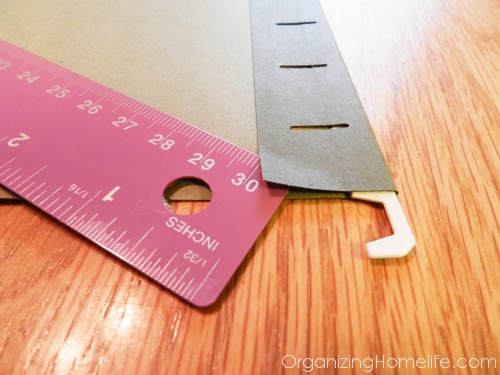
Don’t worry if it looks ratty – you will be trimming it off and covering it anyway.
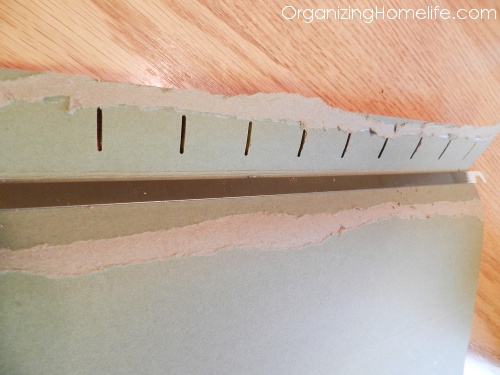
Take off the metal hanger.
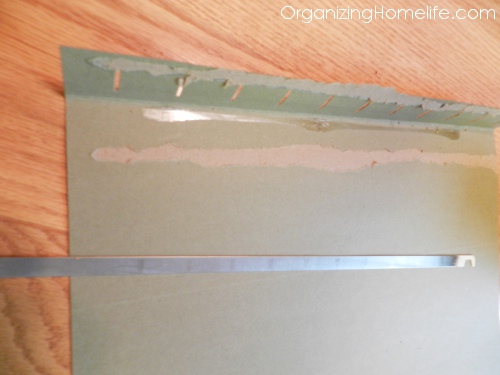
Using a paper cutter, cut off the flap at the folded seam.
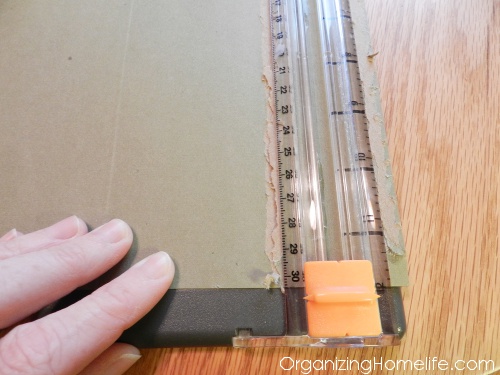
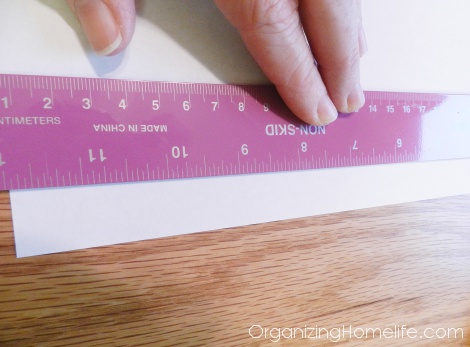
I was originally planning to just cover the outside of the file, but decided that the inside wouldn’t look great in that green either. So, I used a piece of white copy paper to cover it. Fold 1/2″ of the top edge over using a ruler to create a straight fold line.
Place the paper on the inside of the folder and fold the flap over the outside. I used my scrapbook glue roller for the adhesive.
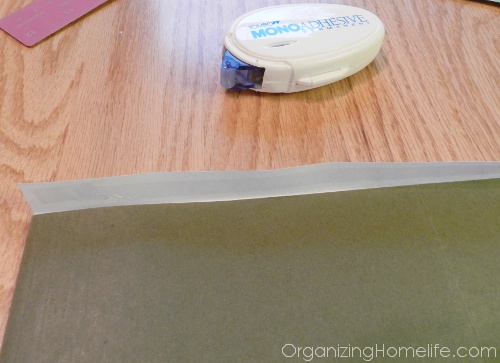
Glue down the flap. Then open the folder and glue down the inside. Repeat this on the opposite side of the folder.
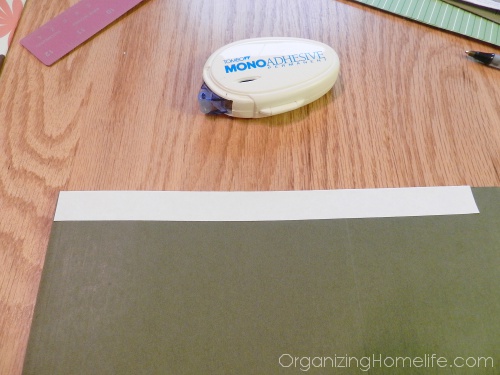
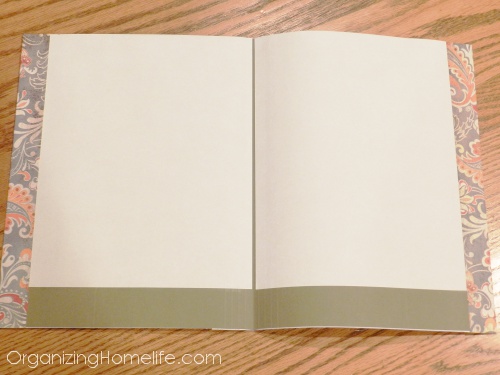
The copy paper doesn’t cover the entire folder as seen below, but I didn’t care since I was planning to seal the bottom. More on that later.
Lay the folder on top of the reverse side of your scrapbook paper. Carefully line up the left edge. Use a pen or pencil to draw a line along the right side to mark where the scrapbook paper should be trimmed.
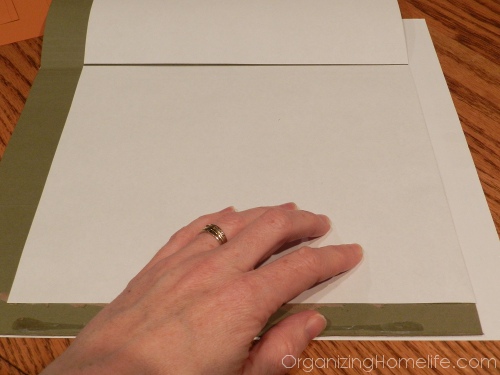
Trim excess scrapbook paper so it is the same height as your folder. Don’t worry about trimming the width – you will want it to overlap. Measure 1-1/2″ on the side of the scrapbook paper. Glue down the flap. (This will cover the ratty edge where the metal strip was glued down and create a sturdy edge.)
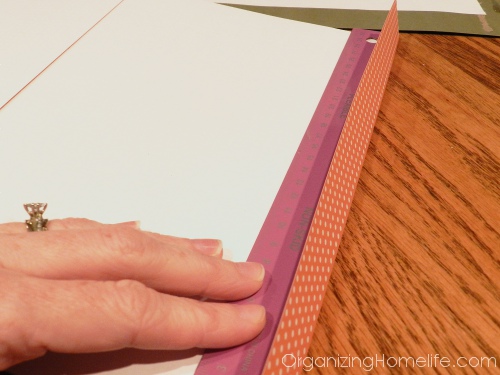
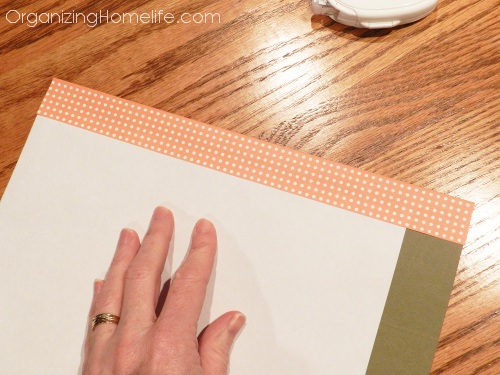
Once the inside flap is glued down, flip the folder over. Glue the scrapbook paper to the outside of the folder. It will overlap to the other side by an inch or so, but this will add sturdiness, so don’t trim it off. Repeat the process on the other side using your second piece of scrapbook paper.
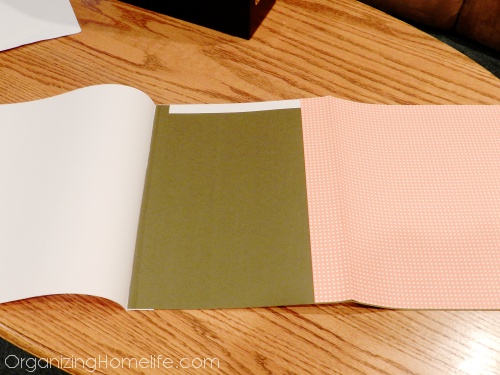
Glue down the paper to the outside of the folder. Fold the flap over and glue down.
**Note** If you will be using the folders in a magazine file like in the picture I show, make sure that you always start covering your folders on the same side (left or right), otherwise you may wind up with some folders having the overlap go one way and other folders having it go the other. (I learned the hard way since I didn’t pay attention the first time).
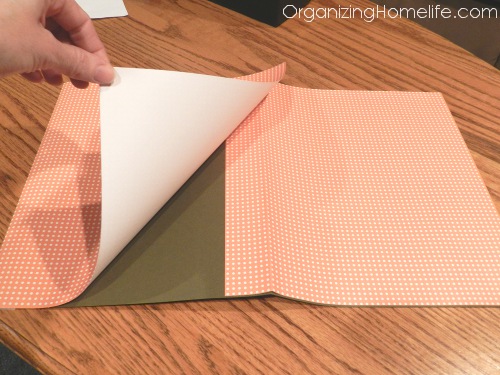
Here is what the inside looks like on a finished folder:
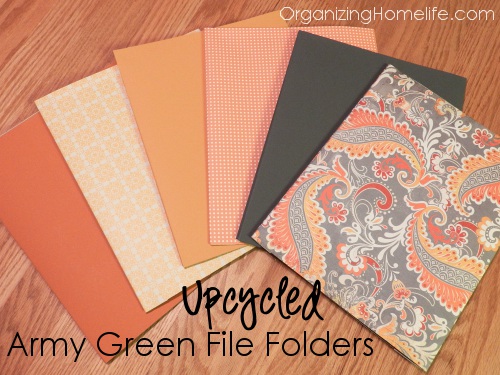
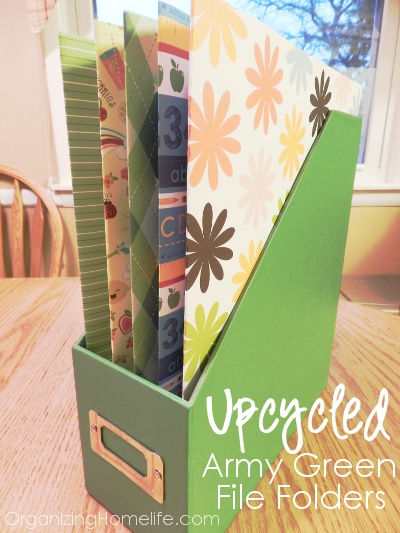
And here are the finished folders for my magazine file. Much better than army green, huh?
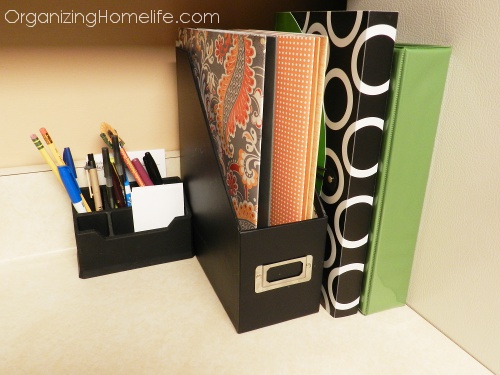
Here is what they look like in the magazine file:
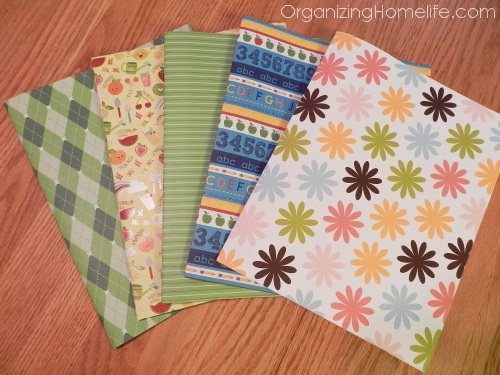
Here is another set that I made to organize school papers, etc.:
Each folder takes about 10-15 minutes to make. Super fun? Not so much. Super cute and a great rainy day project? You bet!
**Note** I found it easier to seal the bottom of the folder with clear packing tape. That way when you’re pulling the folders out, your papers don’t fall all over the place.


How cute & so easy.. I’ve often thought about covering boxes and such with cute decorator contact paper.. but I never have. Maybe one of these years! Thanks for the great idea with scrapbook paper.. I have loads of that left over from other projects.

Love the patterns and the fact that you’re re-using folders! If you don’t have a lot of time but want to spruce up your office there are some cute ones out there too. I have these fashion folders from Smead in my home office: http://www.smead.com/Director.asp?NodeId=1855
This is SUCH a smart idea!! I love the idea of changing those ugly folders (of which I have many!) into something with color and pattern! Thanks for sharing at oopsey daisy!
Absolutely brilliant. In the event that I run out of hanging file folders to pretty-ize, do you know of any sites that sell patterned, beautiful hanging files? I searched all over and couldn’t find any…they’re all regular file folders, not hanging folders.
These are beautiful and I have tons of those ugly hanging files! But, I’m confused on something… You said to use clear packing tape to seal the bottoms so the papers won’t fall out. Do you mean you seal both sides together at the bottom? Then the folder wouldn’t really open all the way, it would just be like a pocket? Hope you can help me understand that part better. : 0
Thanks for your great ideas. I love organizing, too!
Laura
Laura I was wondering the same thing. I love this site. It has been a real blessing to me. I am looking forward to updating my kitchen command center and making some of these folders. They are super cute! Did you ever figure out how to do the bottom? I was thinking of just using a horizontal file box.
Hi Laura. It seems that what Ginny did was to take horizontal hanging files and turned them into a standing magazine file. The original bottom remains closed, and the clear packing tape closes off the left side. The taped left side then becomes the bottom of your new pocket file as it stands in a magazine file. As a pocket file, it is open on two sides and closed on the other two. Make sense?