Although it may be hard to believe (unless you live in a warm climate), spring really is just around the corner. For many of us this has been one of the coldest, snowiest winters in history. So, what’s a good way to cheer yourself up during the winter blues? Decorate for spring!
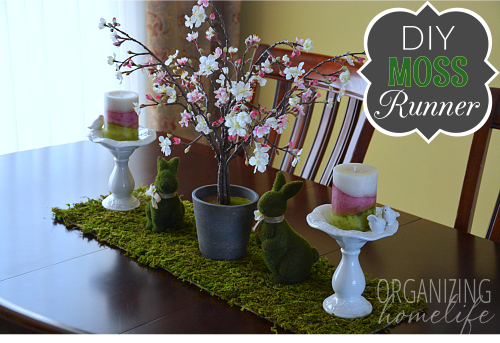
I love decorating with moss. It just feels so natural and beautiful. I wanted to try something different this year for my spring centerpiece in my dining room, so I decided to DIY a moss table runner. Faux moss can be very messy to work with, and the runner is not something I want to store for another year, so I’ll show you how I made it.
Supplies needed:
- Cardboard
- Adhesive Spray (I used Elmer’s brand)
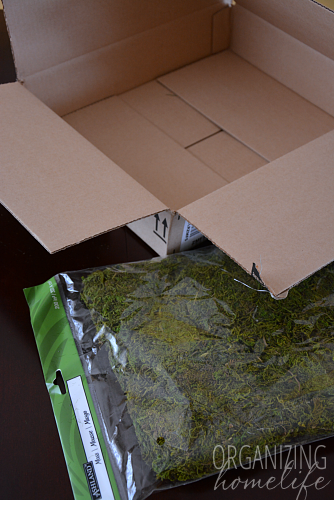
- Package of Faux Moss (I used 1/2 of a large bag from Michael’s craft store)
This is one of the simplest crafts ever. I started with a cardboard box and cut it to the size I wanted.
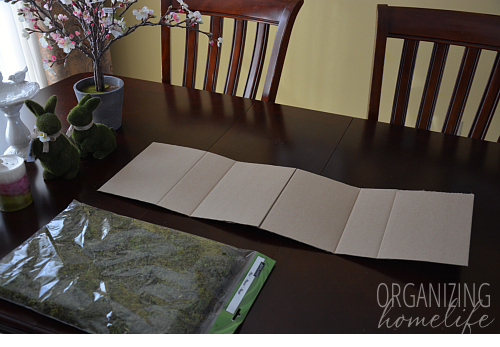
Don’t worry if there are folds in your cardboard. The weight of the moss will make it lay flat.
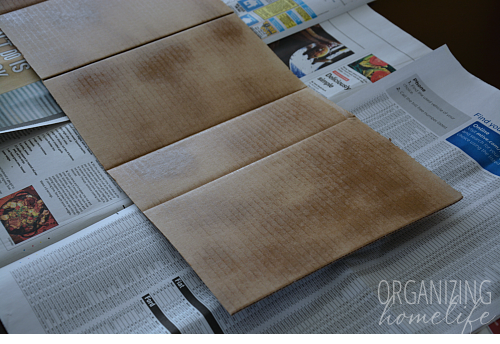
Next, I took the cardboard out to the garage to spray it with adhesive. I do not recommend spraying the adhesive inside, it’s very potent. Spray adhesive will give a nice overall tackiness to the surface of the cardboard. Make sure you put down newspaper before dealing with the moss – it’s very messy.
Next, I pulled apart little clumps of moss and simply pressed it onto the cardboard.
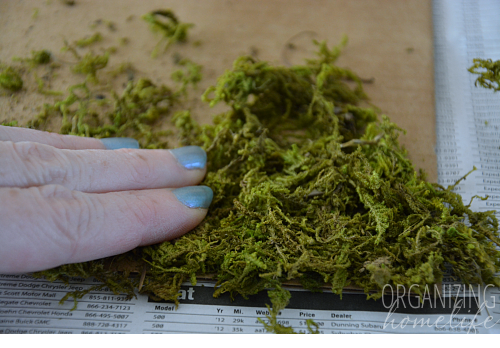
Keep doing this until the surface of the cardboard is completely covered.
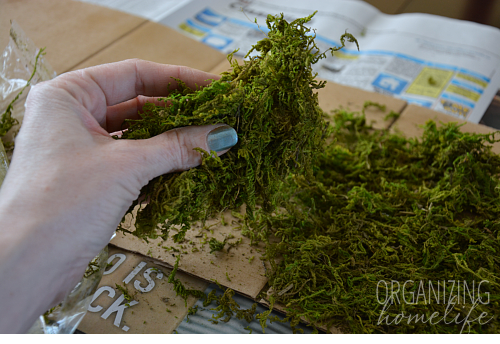
If you really want to create something that will hold the moss permanently, spray adhesive is not the glue you will want to use. I don’t plan on keeping this runner in storage, so I just needed something that would keep the moss in place. The spray adhesive was perfect. It holds the moss well, but allows the moss to be easily taken off and reused (without having a sticky residue) for another crafting project.
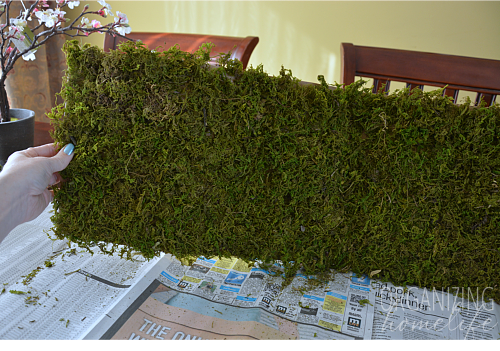
After making sure the edges were stuck on well, I simply slid the newspaper out from under the runner. I actually thought it would be messier than it was, but I also don’t plan on moving it much.
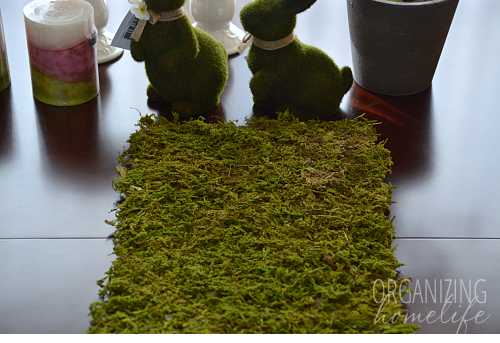
Once I finished with the runner, I added the other decorations and candles. I love how it turned out! Now if we could just get all that snow outside to melt…
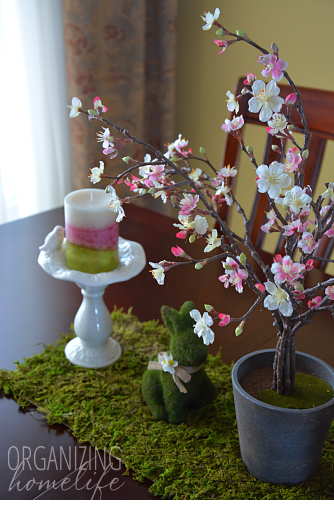
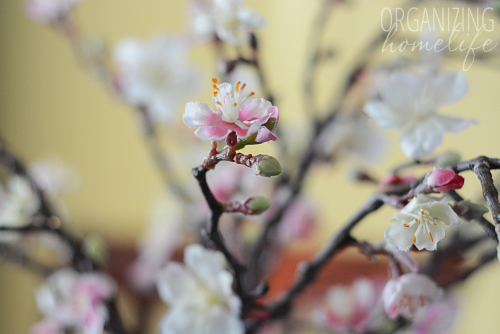
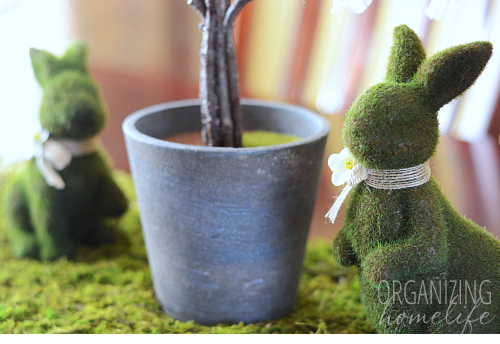
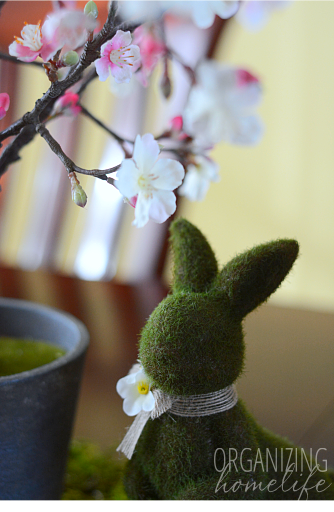
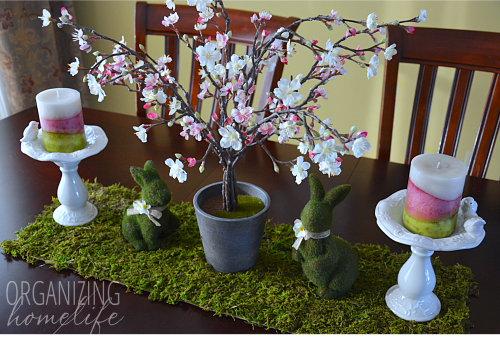
I found the moss, candles, ceramic birdbaths, cherry blossom, and moss bunnies at Michael’s craft store.
I can’t wait to see how pretty my spring centerpiece looks with my Easter tablescape. I’ll keep you posted.


Dear Ginny, I love your ideas. A big thanks for sharing this with us 🙂
This looks beautiful! Makes me ready for spring and Easter. I need to pull out my spring decorating bin now!
This moss runner looks beautiful and SOO perfect for spring and summer! And yes, this has been the coldest winter I have ever experienced. Here in the mountains we had a few beautiful days and now its cold again. UGH, I wish mother nature would make up her mind. Thanks for sharing this great tutorial!
-Lara
Very cute idea. Looks fabulous. Thanks for sharing your cute idea.
Fabulous idea!!! I will be making this for easter brunch!! Thanks for sharing!
I saw this picture of your table, and my wife has one of those birdbaths with the two birds on it, and loves it. She had two but one was broken? Where would I find her another one? Sounds crazy, but just trying to find one?
Sincerely,
G. Truesdale
Thank you soooo much for this! I want to make moss table runners for my wedding and you’ve made this look so simple. I’m off to the craft shop tomorrow 🙂
Hello!!
Great Idea, Thank you!
Faux Moss smell bad??
Iris
How do you get the moss to not shed?