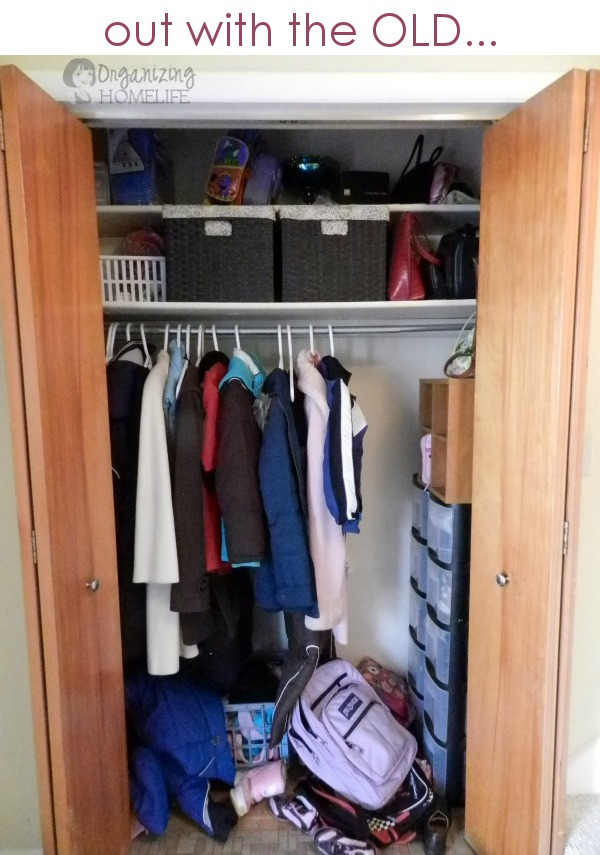
The other day I posted about the problem with our front hall closet. It was a mess. Always. I reorganized it a zillion times, yet it was a constant struggle to keep it neat and clean.
It was not in our budget to purchase a closet organizing system, so I was stuck with what we had.
Our problem? Too much stuff. And what is the usual solution for too much stuff? To de-clutter and get rid of some, right?
That was the foundational dilemma. We have a lot of things to store in this closet (see the list of “stuff” in my previous post here), but all of those things were necessary. The other thing is that we don’t have many closets in this house, so the stuff had to go in this closet.
One night as I passed by the closet an idea popped into my head. I finally solved how we could keep all the necessities AND organize it on a budget!
It saved our closet {and my sanity}.
Are you ready for it?
I decided we should cut the lower shelf in half and put up a “wall” in the middle. That way we could put two coat racks on the left side of the closet – one above the other, and keep our shoes, backpacks, lunch bags, etc. on the right side.
Here is what the messy closet looked like before:
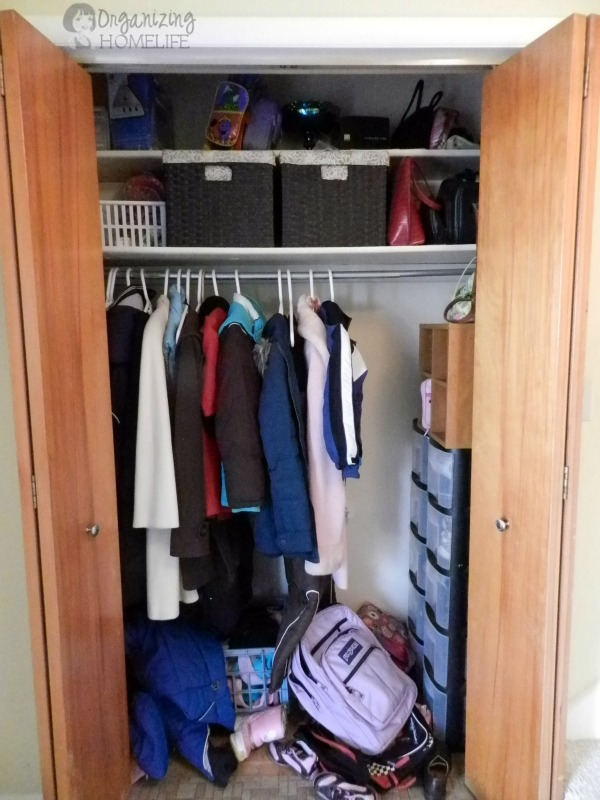
And here is what it looks like after we put my idea into action!
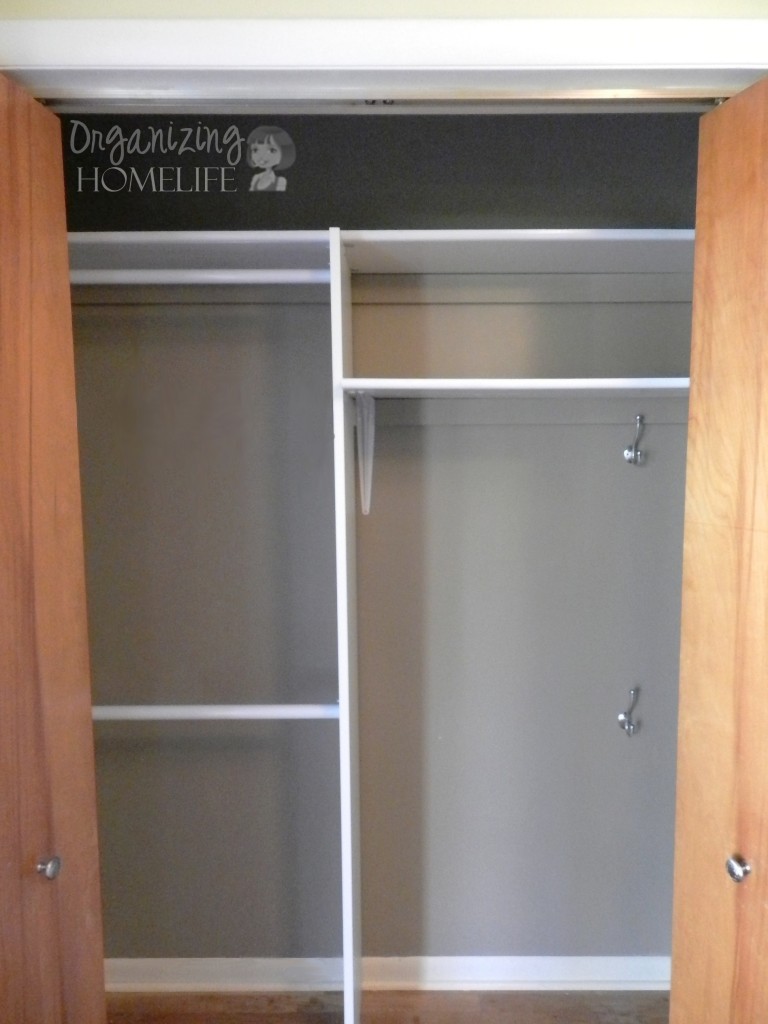
Here is how we did it:
The first thing we decided on was the spacing. I held two coats in the air, one on top of the other, to determine if there was enough height in the closet to accommodate two coat racks. There was plenty! Then we decided how much space we needed for our shoe bins, etc. (see pictures below).
I quickly got to work and washed the walls and ceiling and put on a fresh coat of paint. Isn’t it pretty? It just makes me happy. 😀
After we determined where we wanted to “split” the closet, we went to Lowe’s to purchase the center board. We found exactly what I was envisioning in the “organizing” aisle {shocking, huh?} for about $18. We got some metal “L” brackets for a few dollars to attach the board to the top closet shelf and the wood floor.
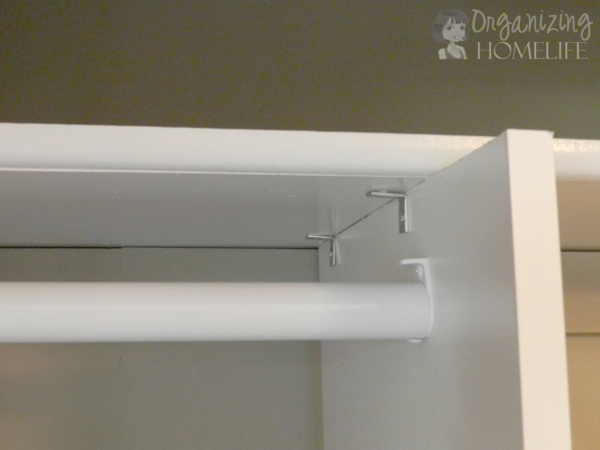
Then we bought a large support bracket for less than $2 to hold up the shelf.
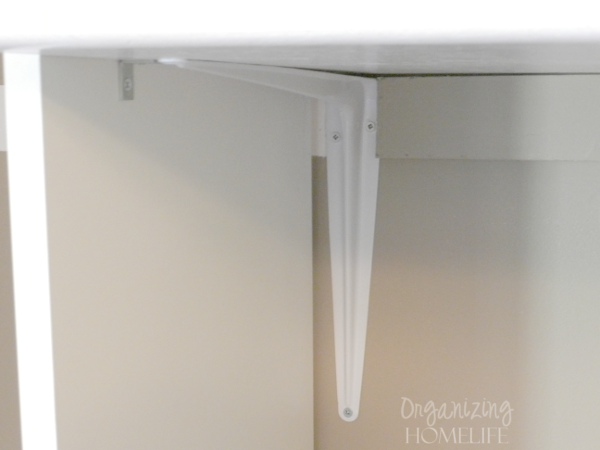
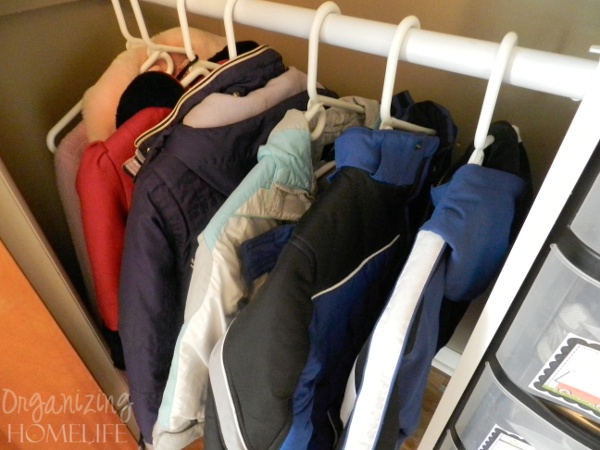
Then we hung the rods for the coats. I didn’t anticipate this, but by using two rods, we actually gained about 8 inches of coat hanging space! They were about $11 each. Adult coats hang on the top, and finally the kids can hang up their own coats on the lower rod. Yay! Here’s to teaching kids independence and responsibility!!
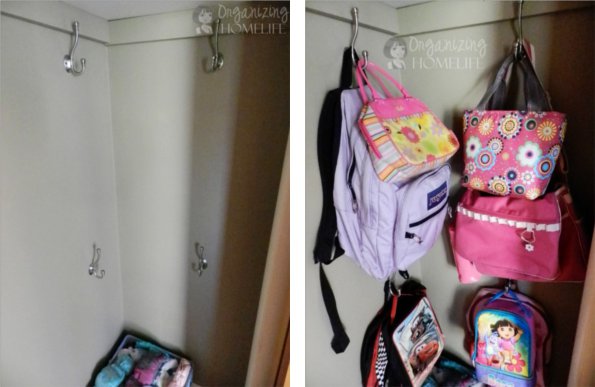
And speaking of responsibility, we added 4 double hooks on the right side of the closet. Now the kids can each hang up their own backpacks and lunch bags:
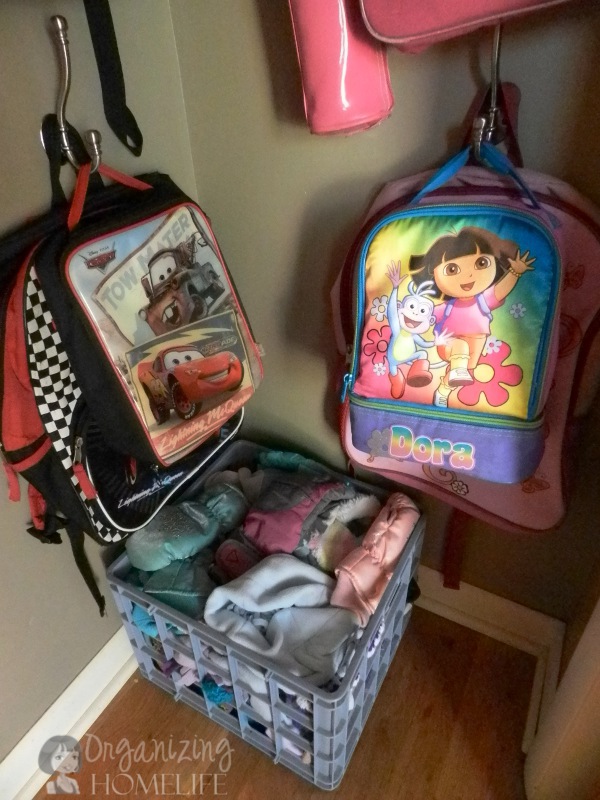
We put a bin {crate} on the floor to hold the kids’ seasonal items. In winter, it holds: gloves, hats and scarves. In spring, it holds: soccer shin guards, cleats, etc. In summer, it holds: swim goggles, beach towels, etc. It makes these items accessible {so they have no excuse not to put them away!}:
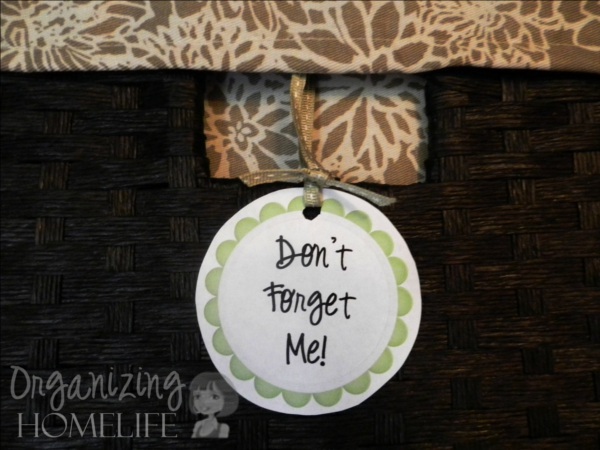
The lower shelf that we cut, still has plenty of space to store my Don’t Forget Me Bin and a bin for hats, gloves, scarves, etc. for my hubby and me.
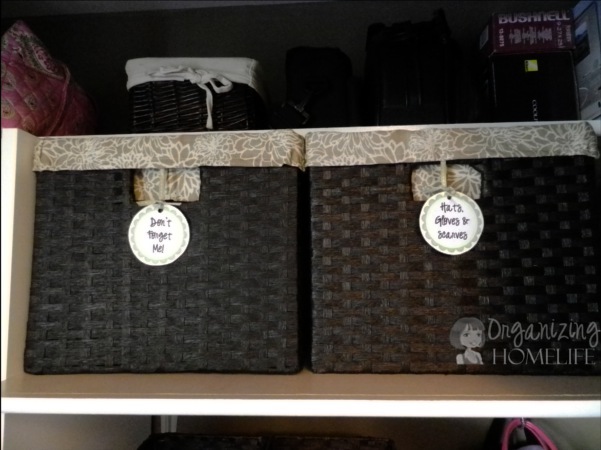
I made some new labels for my Don’t Forget Me Bin. And, I have a surprise for you lurking in this long post – some FREE printables! {You can download and print out these labels here}:
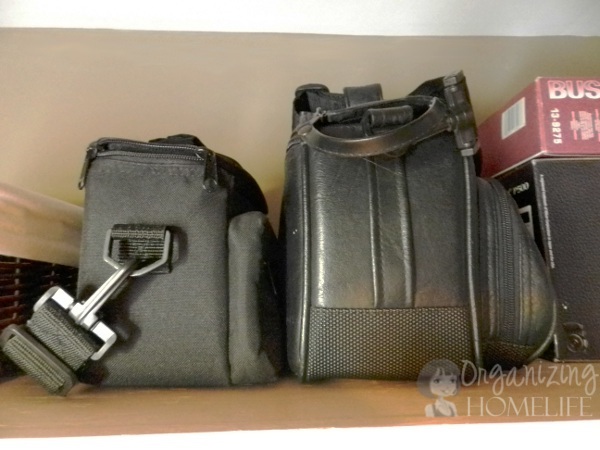
On the top shelf, I have a space to keep the camera bags. I even had space to store the travel DVD player, binoculars and the tripod:
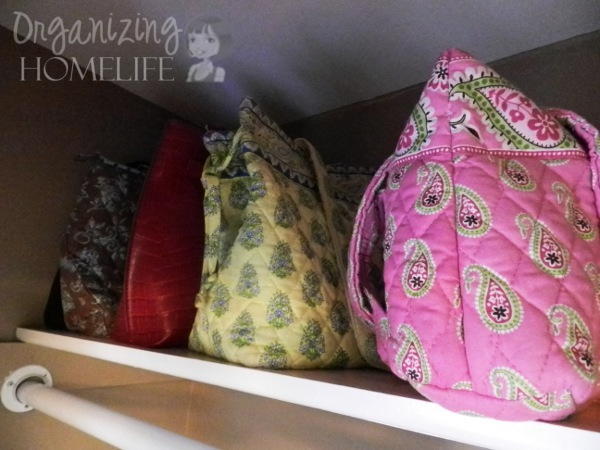
I have a spot for my purses:
…and bin for insect repellant spray and sunblock:
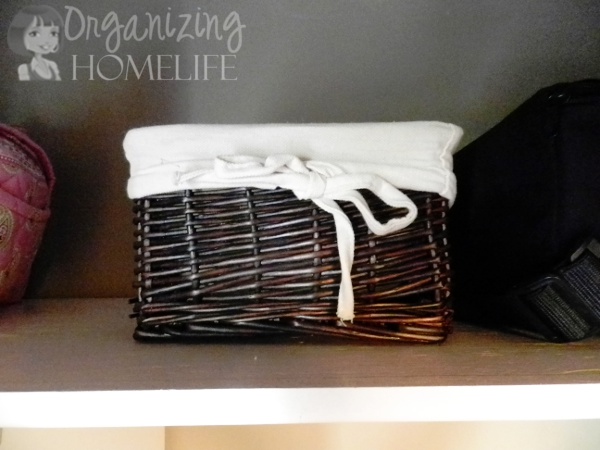
I have two smaller bins to hold miscellaneous things like sunglasses, etc.

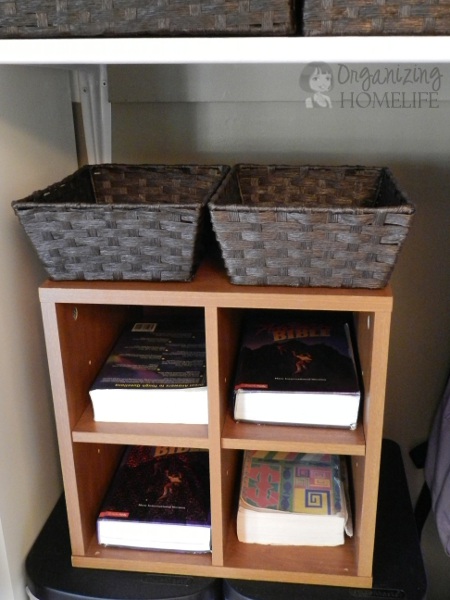
I found this little unit at a garage sale a while ago, and it just happens to be the perfect size to hold the kids’ Bibles! They each have their own space and they are ready to go when we’re running out the door to church.
These fabulous shoe bins were also found at a garage sale last summer. I think I paid $5 for them! They are great for keeping everyone’s shoes together. The kids and my hubby have two bins each for their shoes.
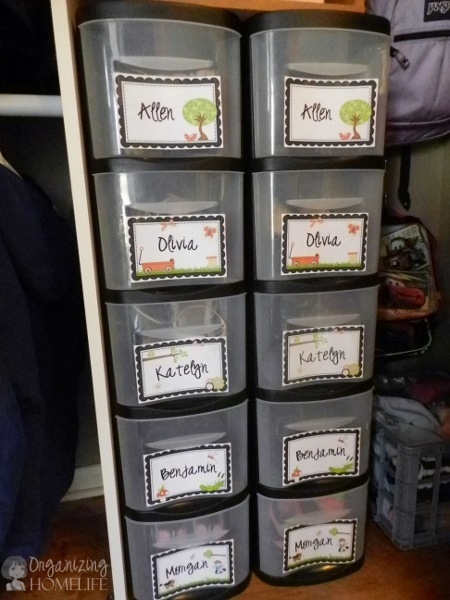
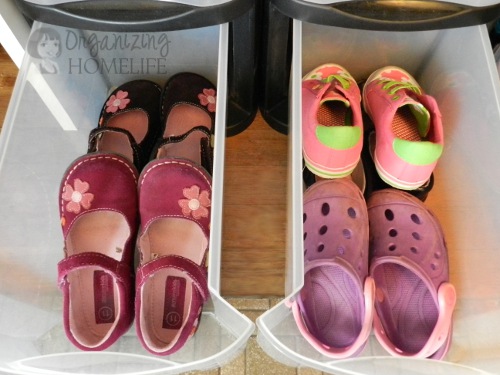
They are plenty big to hold a number of pairs of kids’ shoes.
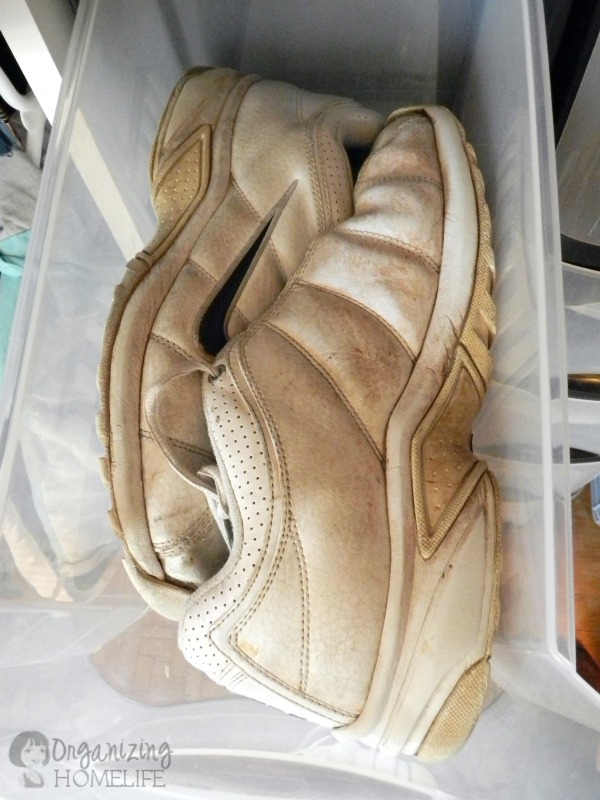
They even have space for my hubby’s grubbies. 😉
Are you wondering why I don’t have bins here? Well, lets just say that I don’t apply the “less is more” rule when it comes to shoes. 😉 I keep mine in my own closet.
I whipped together some labels to keep it neat. And since I love my faithful followers, I’ve got another surprise for you! They are all available for you to print for free. {You can download and print out your choice here}
Here are the long-awaited before and after pictures!
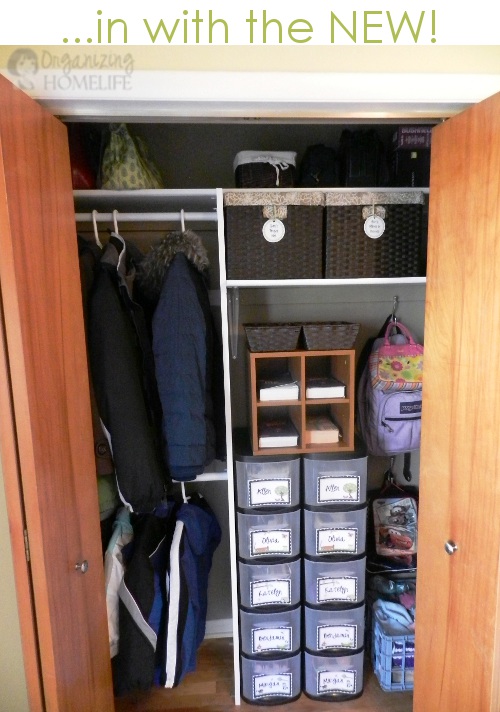
Well, there you have it! For about $50 {board, brackets, rods & hooks}, our closet has been saved from mayhem! I hope you found a little inspiration. I can tell you that it’s working great! We haven’t had a mess in the front hall, haven’t had to hang up a kid’s coat, and haven’t had to sort through shoes in the bottom of the closet since we built it!



wow, oh wow! what a perfect solution! Looks great and even better, it’s functional! We really do need to learn to think outside of the box like you have here. Bravo!! 😀
Thanks, Dawn, I’m glad you like it! One thing I absolutely love it *really* solving a problem! Thanks for your sweet comment. 🙂
What a great solution and so frugal! Too bad my front closet is less than half that size.
That’s too bad, April. 🙁 I’m now on a mission to work on our other closets. I’m trying to identify wasted space. I was shocked that we actually GAINED 8″ of hanging space when we doubled the rod. Is it possible to put a double rod in your closet? Lowe’s had different sized rods available {including adjustable width rods}. My hubby cut ours to the right size using a pipe cutter.
What a great closet – I love your idea of splitting it in half – thanks for the inspiration!
You’re welcome, Michelle! I’m glad you found some inspiration. Thanks for stopping by. 🙂
This looks amazing!
One thing I would note, is that with the hooks, even using sheetrock screws, backpacks tend to drag them out of the wall eventually. We had to remount them on a piece of wood screwed to the wall to balance out the weight. We had 4 hooks in about a 6 foot wall space, so they all fit on one board.
Thanks for the tip, A.J. We considered that and went back and forth with whether to mount them on a piece of wood or use anchors. My hubby thought we would start with anchors. He told me if they pulled out, we could always mount the wood later. I’m curious, did you use anchors? I was really debating what to do on that one. I’m glad you commented about it because it is a really helpful piece of information for people. I did note that the package the hooks came in said they would hold up to 35 lbs. My daughter’s bag sure felt like it was 15 lbs! I weighed it and was shocked that it was only 6. I was positive it was going to be heavier. Does that mean I’m getting weak? 😉 Thanks for your comment!
We started with the plastic drywall screw things, where you turn the screw into the plastic anchor, then we used toggle bolts. (That made a big mess when it ripped out.) The hooks were fine when the kids were in Kindergarten and 1st, because they really don’t have that much to carry, but later grades their backpacks are very heavy. The hooks package probably meant the hooks themselves wont break. Did that help?
That is helpful – thanks, A.J. Hopefully they won’t pull out, but if they do, we’ll be mounting the wood. 🙂
I love it!!!! Please, do not come to my home and look in any of my closet, mmmk? I read organizing blogs simply as a hobby :)))) I’m inspired for sure!!!! I hope to get some of the skeletons out of our closets as well!
Hahaha, Liz! I’m glad you’re inspired. I’m sure your closets are not beyond hope. 🙂 And, I’m glad you read my blog, even if it’s just a hobby. 🙂 I always love reading yours, too!
I love how it turned out. My closet is already divided, Long handing rod and 2 short hanging rod with shelves on the end. I needed a place for all the cleaners and the kind of stuff you keep in a kitchen broom closet as we don’t have one. I kept trying to blend coats and cleaning supplies, it just didn’t work so I took out the coats. Maybe with bins and baskets I can put some coats back in. Thanks
I’m glad you like it, Debi. I love bins. They help everyone in the family to remember where things belong. I don’t love spending tons of money on them though. I’ve found some great bins at yard sales and thrift stores that might not be the most stylish, but are cheap and practical. 🙂
Oh my goodness is this ever fabulous!! It’s amazing how just making a couple of inexpensive tweaks can make all the world of difference. It’s not a huge closet but look how much more space you have now and are using it so effectively. And of course I love all the baskets and bins : ) So awesome!!!
Laura
Thanks, Laura! “Containerizing Awesomeness”, right? 😉 Gotta love bins! Thanks for stopping by and I appreciate your sweet comment. 🙂
Your closet looks great, it truly is amazing what can be achieved with a small budget and changing things up a little! It’s probably better than any closet organising system you could have bought for the space anyways.
Found you from the Tip Junkie Tuesday tips link party and am now looking forward to checking out the rest of your blog 😀
Thanks, Stacey-Lee! I’m glad you stopped by and I hope you enjoy your visit. 🙂
Stopping over from Tip Junkie. Love your post. Great use of space and awesome organization. Gives me ideas for one of my closets now. Thanks for sharing. Have a great day. 🙂
Thanks for stopping by, Jen. 🙂 Glad to help with ideas!
I think you did a wonderful job making over your closet! It looks much more functional now so that everyone can use it and the kids don’t have to rely on the adults to help put things away (just the way we like it!) It looks attractive with all the containers and labels and I’m in awe. We don’t have a coat closet since our main entrance is really at our walk-out basement (walk-in?) door where the driveway is. There isn’t a closet in the basement. We have an overloaded coat tree there and a tall, white bookshelf with a mess of dirty shoes on every shelf. It’s not pretty. My “kids” are 19 and 23 and still at home while going to college so with them and there friends there are coats, sweaters, jackets and shoes galore all over down there! I’m sorry. I didn’t mean to go on for so long. I meant to just thank you for all your interesting and helpful posts! 🙂
Thanks for your sweet comment, JulieBee. Yes, I think with teens/young adults, you’ve got your work cut out for you!! 😀 Is there space where you could hang some hooks on the wall so the coat tree isn’t so overloaded? Also, you might consider painting the white bookshelf a bright color. I find that when things look “fresh” it inspires the whole family {myself included!} to put things where they belong. It’s been a few weeks since I updated the closet and I literally have not had to hang up one coat or put one pair of shoes back in a bin. The fam is working with me! 😉
wow, you did a great job, and for 50 bucks. We have a much smaller closet and I want to do the double side in ours to. we did it another room and it was so expensive, so we’ll try using the same system you did. Now you have an incredibly organized and functional closet. I so want the same thing. In our home there is very little closet space, so like you we really half to have our closets pull their weight. Thanks for sharing you creative inspiration at Sunday’s Best.
Thanks for your comment, Cathy! Yes, small closets and having only a few is quite the challenge, isn’t it? I was amazed at how much space we gained just by doubling the rods. It doesn’t have to be a big closet to make a difference. Thanks for stopping by. 🙂
Great post! I would love for you to link up at my Linky Party via: http://ourdelightfulhome.blogspot.com/2012/03/show-me-what-you-got-linky-party-6.html
Mrs. Delightful
http://www.ourdelightfulhome.blogspot.com
I am getting ready to do a major overhaul on a spare room…it is going to be MY closet!! This gives me great inspiration…thanks for sharing…charlene
Great, Charlene! I’m glad I inspired you. My closet is next in our house, too! 😉
Oh how I love a bit of organization!! This makes me so happy. Thanks for sharing at oopsey daisy!
I’ve been on an organization quest this year and closets are on my hit list. Thanks for all of the great ideas! I like the layered hanging rods and I think that would work for us too! Thanks for sharing at the Rock ‘N Share!
What an amazing job you did! So much stuff that is so nicely organized. I’m pinning this one! Thanks for sharing at Mom On Timeout!
Thank you so much, Trish! I just started my very own linky party, Simply Sensational Tuesday. I would love to have you pop over and link up your great projects! 🙂 http://96.30.21.56/~organiz/archives/2768
When I saw this on Pinterest, I just had to click over. Your shelving redo looks EXACTLY like our master bedroom closet. The left side divisions are almost exact, and the right side is totally exact. When we first moved in, I HATED it and wanted to tear it all out and start over. Once my guy pulled me back from that ledge, it took me almost a year to finally get it setup like I wanted it. Right now, our bed linens are stacked where your “don’t forget me” bins are. I like it overall, but now I’m thinking I need to get some cute bins like that for the linens! Thanks for the inspiration! 🙂
Good job! I really need to get some bins and do over my hall closet – right now it is a mishmash of stuff!
Thank you! It does feel SO good to re-organize a closet in a way that works! Thanks for stopping by and I hope you gathered some inspiration for your project. 🙂
This looks awesome! I have a studio apartment with two large closets, but the interior wall that they share is crooked, so one gets narrower the farther back you go, and one gets wider. It’s an old building, is usually all that can be said about things like that! Anyway, I think the irregularity has discouraged previous tenants from modifying the space in any way, but I can’t stand to not do anything. The SUPER high ceilings offer plenty of opportunity for extra storage; it’s just a matter of measuring the angles and having polygonal shelves cut, rather than rectangular ones.
Anyway, I wanted to know—the narrow strip that runs along the back and sides of the closet about 3/4 of the way up (like a chair rail, but up higher)—did you install that, and if so, can you explain a little bit about it? It looks like it provides a little lip for supporting the shelf, and is it also where the top closet rod attaches to the wall? Is the lower closet rod fastened into something similar, or just straight into the wall?
I’m a renter, obviously, and I know I risk my security deposit no matter what I do, but in my experience, landlords are more accepting and even appreciative if tenants make modifications that really do improve a space and if they do them well, so I want to plan and execute properly!
Hi Emily, thanks for stopping by! It sounds like you have a challenge there, but the high ceilings sound wonderful! The narrow strip that you referred to is a piece of wood about 3/4″ thick. It is nailed into the wall (it’s an older house). I would suggest screwing wood into the studs if you want to try this. It does wrap around the sides and back and holds the shelf up. It’s actually quite sturdy.
When we cut the lower shelf, we left the wood as a support around the back and right side, and added a metal bracket to support the left side. It’s a little hard to see in the picture, but we cut away the wood support behind the new metal bracket so it could be flush against the wall. You can see it a little bit more in the closeup picture of the kids’ Bible organizer.
We used the wood piece that we removed from the back wall (left side) to mount the lower hanging rod. We screwed it into the studs on the left wall and mounted the rod to the middle of the wood. It’s very secure and is holding the weight of the coats very well. Does that make sense? I hope that helps!
Yes! Thanks for pointing out the details in the other picture. I picked up a couple of 1×2’s (or 2×1’s? Who knows!?) to create “tracks” all the way around to support my shelves, and I’m measuring the leave a channel in the middle for a proper bracket.
I just found your blog today and I’m so excited. I am loving your closet and fridge organization (that’s all I have seen so far. Thanks so much for the great ideas and printables. You are going to help me organize my life!!! I’m so excited 🙂
Brilliant!
I kinda waqnted to applaud at the end. Just found you today and I am SO grateful! I’m seeing that I can fight clutter and it can be pretty. thank you.
Thank you, Dusti! <3
Oh my goodness….this is fabulous! Is it still working out now that it is a few years later? I found you by accident and LOVE everything you have done. My new favorite blog! If you ever want another home to organize/work on, I am offering mine!