Thanks to DYMO for sending me their new MobileLabeler and sponsoring this post.
A few years ago I bought clear containers to organize my pantry and keep dry foods fresh. It not only looks nice and keeps things neat, it’s also convenient to see how much food you have at a glance.
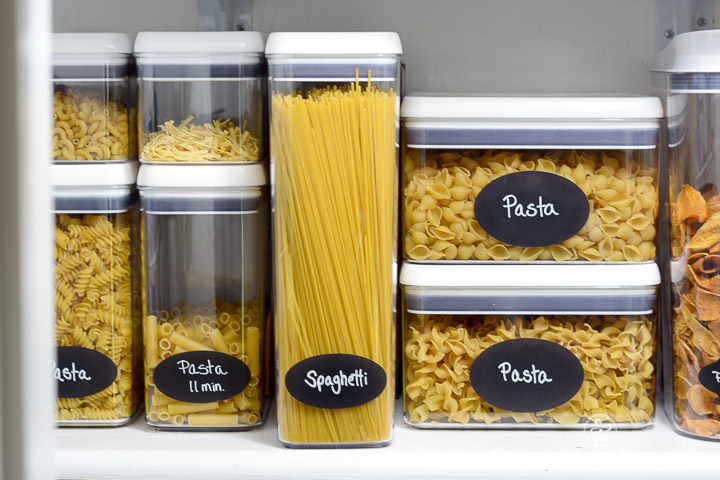
There’s just one tiny problem…it’s not easy to remember when I filled the containers or how long the food has been in them. Sure, I could put the expiration date on the chalk label, but some foods are only good for a certain length of time after you open the package, so I needed a way to keep track of when I filled them and the expiration date.
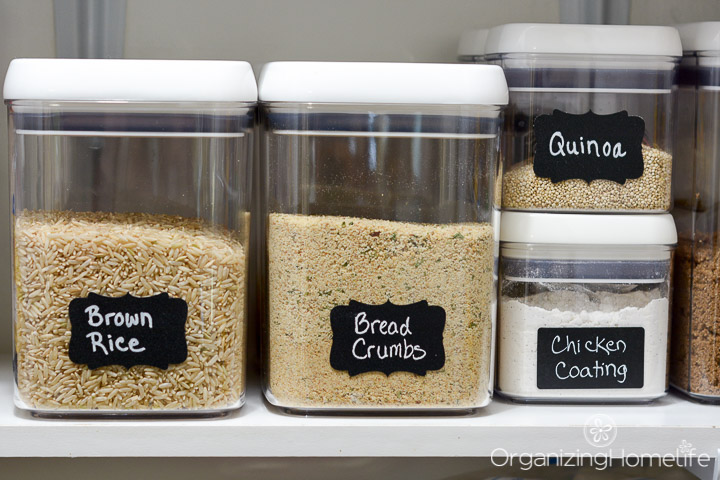
I absolutely *love* my chalk labels for labeling the container’s contents because they’re super simple to wipe clean and re-label when the contents change.
When DYMO asked me to check out their new MobileLabeler I thought it would be a perfect opportunity to label my pantry containers with the expiration dates!
As you can imagine, I have used a number of label writers over the years. But, with the name “mobile” in the product’s title, my curiosity was piqued.
You guys, this thing is fantastic.
It connects via bluetooth to your smart phone or tablet and makes labeling so simple! It’s so much easier to use than my regular labeler. The MobileLabeler allows me to use fonts and options on my phone (including the Google font library!) that beats any other labeler I’ve used hands down.
DYMO MobileLabeler
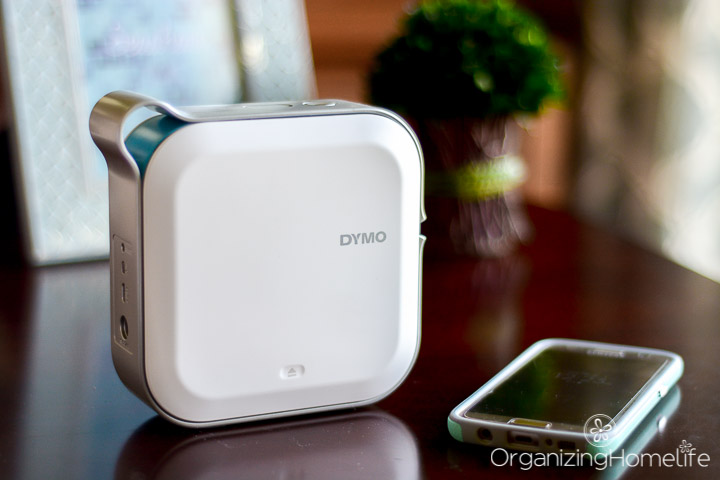
There’s no need for replacing batteries either. It has a rechargeable lithium battery, so just charge it up and take it anywhere – no wires necessary! It does come with a charging cable and a USB connection in case I wanted to connect it to my computer.
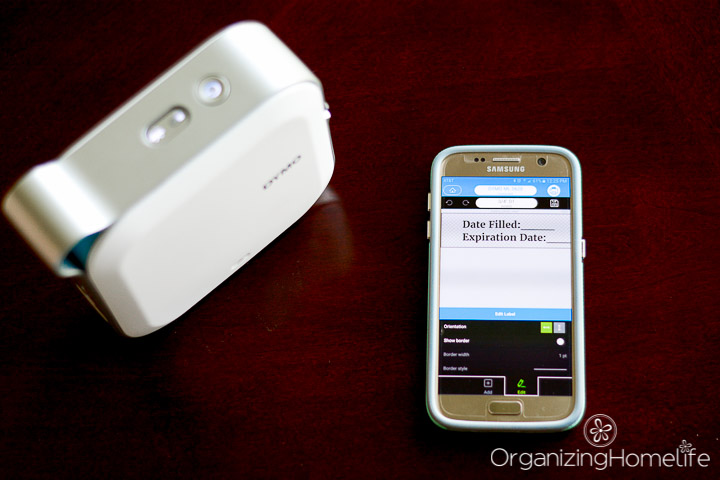
I decided to use 1″ clear tape with black print so the labels would be inconspicuous on the backs of the containers. There are actually lots of labeling options including several ink color and label color choices as well as numerous sizes. The MobileLabeler handles them all with the standard D1 label tape.
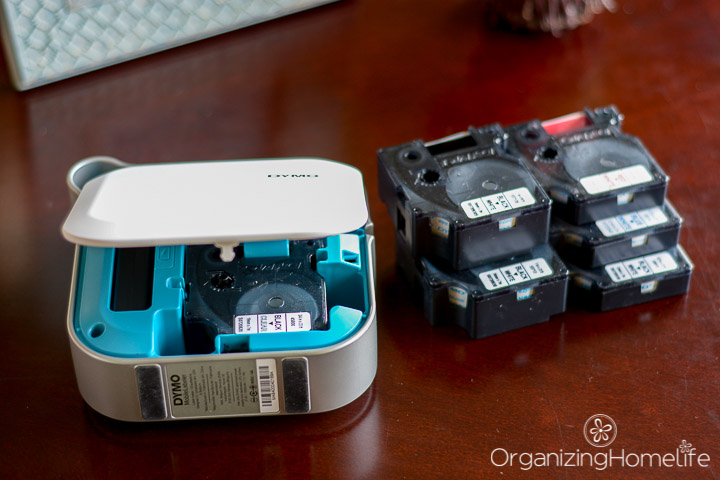
Since it cuts the labels automatically, there’s no wasted label tape and no need to trim them! I printed a lot of labels so I could put a label on the back of each container.
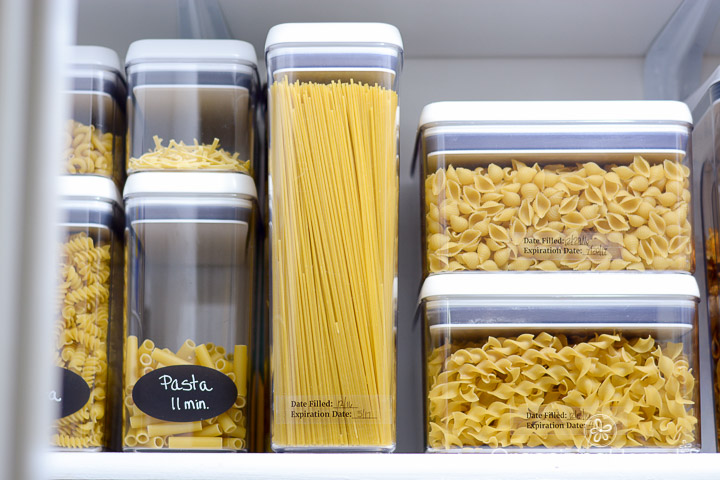
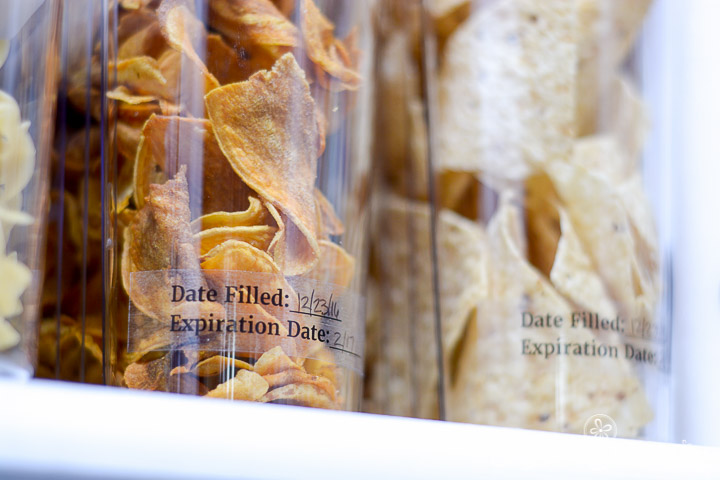
I added a line for each date on the label where I can write in the dates with a wet erase marker.
Check out the short video I made to see how simple it is to use…
Disclaimer: DYMO sponsored this post and sent me a MobileLabeler to review. I was not influenced in any way to provide a positive review. All opinions are 100% my own. I only recommend products to my readers that I use in my own home. See my full disclosure policy here.


Just got this as a Christmas gift – very excited to use it!
Seana Turner recently posted…The Digital Declutter Challenge
Nice!! Somebody has a knack for buying nice gifts! I think you’ll love it. 🙂
THIS IS SO COOL! How have I never heard of this?! Thank you for sharing!
Best,
Alex Phillips
Streamline Organization
Streamline Seattle
Thanks a lot for the tips! We always have trouble with following all these expiration dates here at home. And we sometimes end up with old products just when we need them. Time to organise the kitchen, so this never happens again! 🙂
Jane @ Modern Housewives recently posted…Sea Life Melbourne Aquarium – Entertainment for Big and Small
I love handheld labeler! I recently purchased one, I used to have one at my parents’ place, I don’t understand why I waited so long to purchase one, however, I have never seen this model in Canada, it might not be available yet? I purchased a regular p-touch (but I got the pink one:) now I am trying to find new things to label, I might label the dog since everything else is…
Wow- that’s really nifty. It’s basically like a small, bluetooth printer, isn’t it? Up to now I’ve just been cutting off any instructions and “use by” or ‘best before” dates off the packages and sticking them with tape to the back of the containers. This looks so much neater.