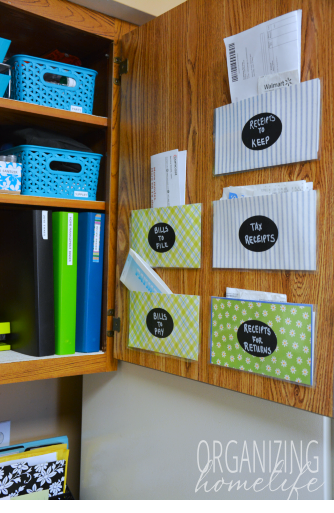
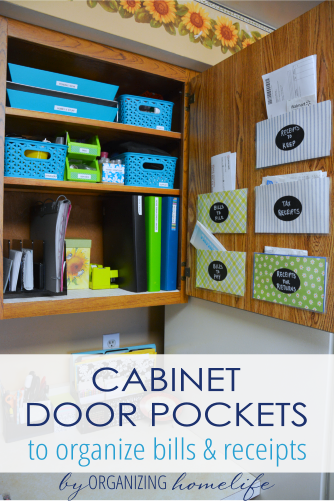
When I shared my 31 Day series of How to Organize Your Kitchen Frugally, I showed you how I organize the constant stream of paperwork that comes and goes without letting it pile up by using a kitchen cupboard as a command center.
I made some pockets from scrapbook paper that I hung on the inside of the door, and today I’m going to show you how I made them. It’s super easy and can be done with or without a laminator.
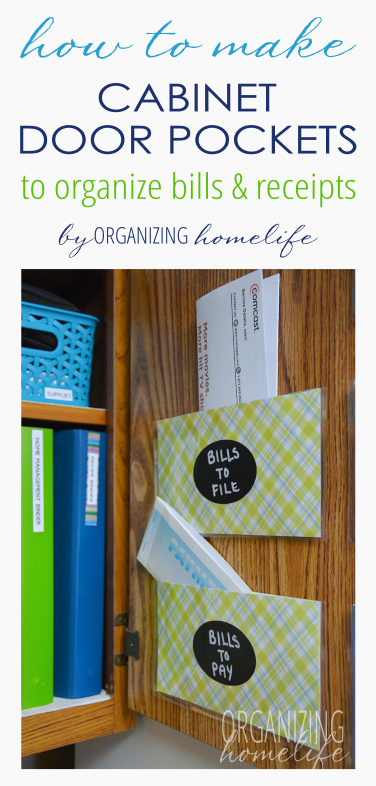
If you remember reading my command center post, you may remember that my door pockets were black and white. I have been using them for a long time, so I decided to update them and show you the process of how to make them.
When I originally made them, I only made three for organizing receipts. I printed some labels and laminated them right onto the scrapbook paper. Later I wanted to make some for organizing bills, so I used my label maker and put the labels over the laminated surface in case I wanted to change the label. (That was before chalkboard labels became so popular).
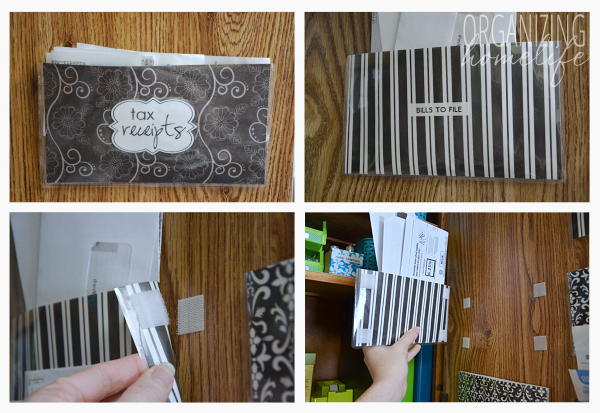
If there is one thing that has made such a difference in keeping paperwork under control in my house, it is definitely this! These door pockets are a cinch to make and are even easier to use.
So let’s get started! I’m linking to the products I used (affiliate links), or you can easily find these supplies at a local store.
Materials:
- One 8-1/2″ x 11″ piece of scrapbook paper per pocket
- Laminator (or heavy duty plastic page protectors)
- Thermal laminating pouches – at least 3 mils thick (unnecessary if using page protectors)
- Reclosable Fasteners – 2 pkgs of 24 (or 3M Command Picture Hanging Strips – pkg of 8 sets will make two pockets)
- Paper trimmer (or scissors if you don’t have a trimmer)
- Chalkboard labels (or label writer)
- Chalk Marker
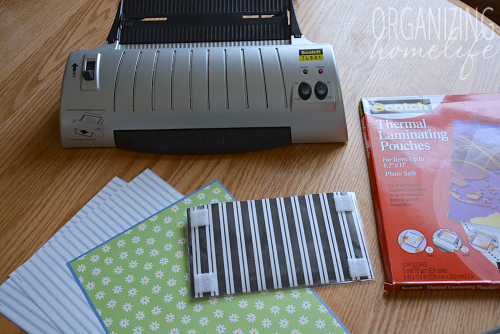
The Process:
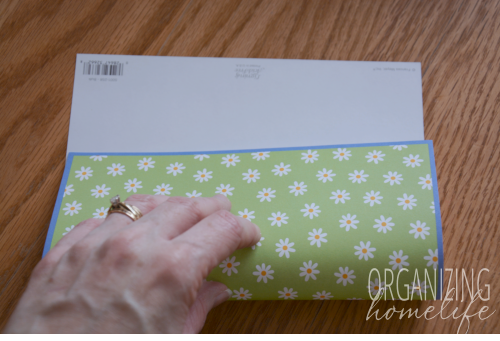
Start by trimming your scrapbook paper so your pockets won’t be too deep. I cut off 2″ of the 11″ length to make my paper 9″ long. Fold the paper in half so the printed side faces out. This will make your pockets 4-1/2″ high and 8-1/2″ wide when complete.
Please note that you will not be able to put a full size 8-1/2″ x 11″ paper inside your pocket once it is laminated. If you want your pockets wider so you can put a full piece of paper in it, consider using 12″ x 12″ scrapbook paper and trimming it slightly to fit through your laminator.
Two pieces measuring 4-1/2″ can fit in one thermal laminating pouch.
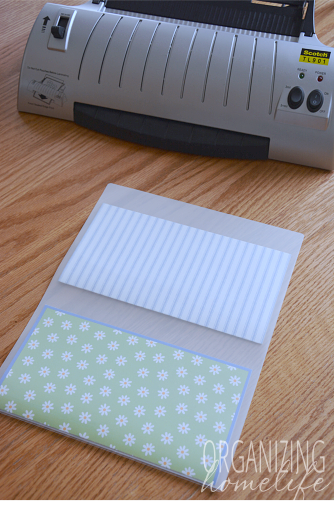
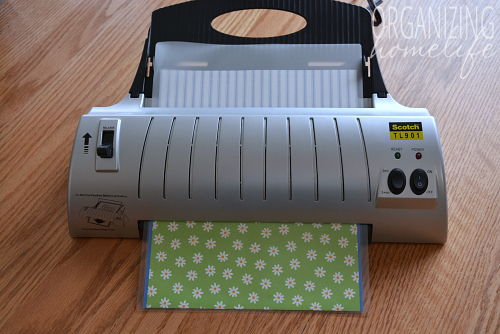
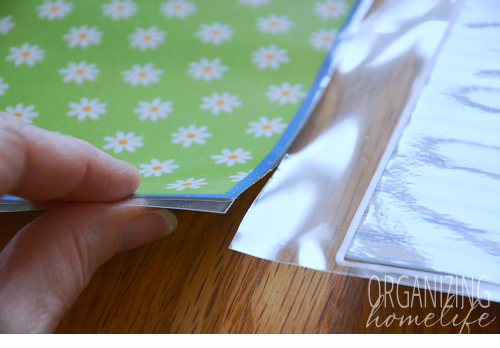
Trim around the pocket, but leave at least a 1/4″ edge on the left, bottom, and right sides so the lamination doesn’t separate over time. Trim the lamination right up to the paper on the top edge only. Make sure you don’t accidentally trim along the folded edge of your paper or it won’t open.
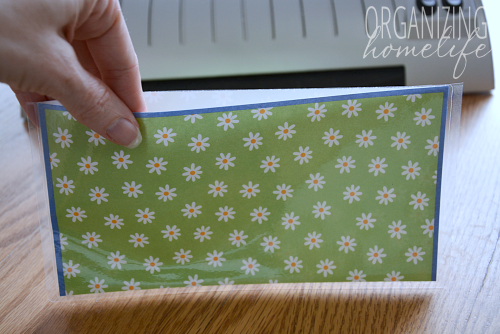
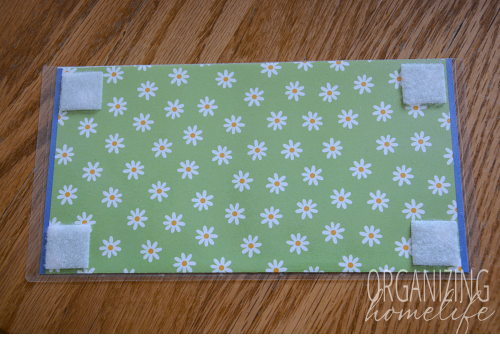
Flip your pocket over and put the reclosable fasteners (or 3M Command Picture Hanging Strips) on the back. I recommend the 3M Command strips so they can be removed from your door if you want to down the road. I used the reclosable fasteners because that’s what I had, and my cabinets are old so I’m not worried about it. Plus, they work so well, I’m not planning to remove them. 🙂 If you use the reclosable fasteners, put the soft side on the pocket and the scratchy side on your cabinet. That way if you take the pocket off, it won’t catch on things. Note: Velcro dots don’t hold as well as the squares.
Put on your chalkboard label.
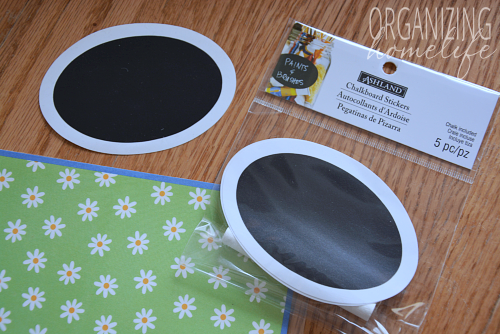
I LOVE chalkboard labels. They are made of vinyl, so they can be removed or washed without leaving residue like a paper label would. Plus, you can change what is on your label easily! I found the labels in the picture at Michael’s craft store. If you don’t have a Michael’s close by, here are some other labels you might like.
In a few days, I’ll be sharing a review of different chalk markers and an awesome tip for easily erasing chalk markers with NO evidence of previous writing.
Once you label your pockets, line up the other pieces of the reclosable fasteners or Command strips and hang them on your door. That’s it!
No Laminator, No Problem!
Are you wondering how you can make these if you don’t have a laminator? You can still do it! All you have to do is fold your paper like I mentioned above, and slide it into a heavy duty page protector. Trim along the top edge as I mentioned with the lamination.
You will need one page protector per pocket since you’ll need the sealed edges around three sides.
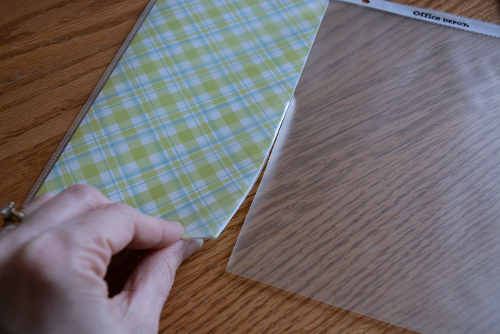
Trim off the side of the protector, but be careful not to cut open the binding.
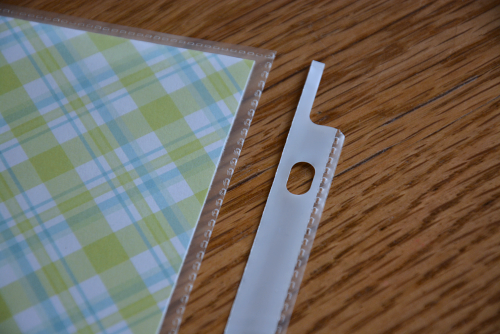
These pockets will work, but they will not be nearly as sturdy as a laminated set. Also, since your page protector is not adhered to the paper, there will be space between the plastic and the paper. A simple fix for that is to run a piece of tape along the top edge of the page protector and the paper.


I am looking forward to using this idea in my kitchen of my new place….i am planning on using it for recipes in my kitchen….thanks for the idea
THANK YOU so much. I’ve been looking for this post since the day you did the command center post as part of the 31 days of organizing your kitchen. Going to use these ideas in my newly renovated kitchen.
Dear Ginny,
I’m not quite sure how I ended up on your site but I’m glad I did…..you have some wonderful, simple ideas to share…..thank you!!
Kind regards,
Shelley.
Thank you, Shelley! I’m glad you found my site, too. 🙂
This is great! A new way to put my laminator to use, too. Love the colors you selected. Makes it look so pretty.
Thanks Sinea! 🙂
This is genius! I will have to give it a try soon. Pinning!
Org Junkie sent me your way. 🙂
Thanks, Kim! I appreciate the pin. 🙂
This is genius. Thanks for the great idea. This should make a big difference in our house!
I love this idea. Paper is always my downfall & can get out of hand so fast. Any ideas for controlling the receipts in your purse while out shopping? Or purse organizing in general for that matter…
Thank you for also putting instructions for those of us who don’t have access to lamination 🙂 I just bought a box of the exact page protectors that you used. I got them in a garage sale for 10 cents!! Now I’m off to fix my command center 🙂 Thank you!
That’s great, Eileen!! Have fun with your command center! 🙂
I just made 3 of these using one pretty pocket folder cut to size, and 2 page protectors, I used clear duct tape along the top edges to add a little extra protection. Two of the holders are the size of the pockets of the folder and the third one I used what was left from the top of folder and the top of one page protector. It is a little bigger but that is just fine. I am going to make some using some of my large greeting cards that I have received that I really like.
I just came across your site and I like the annual bill schedule. It’s rare that I find something online and start using it the same day. I am curious as to what else you have in the command center . I am interested in creating one too. Is there more details listed on your blog.
This is an awesome idea. I did it and love it. Used the self seal laminating pouches and worked great. Thanks!
Clear contact paper would work also if one doesn’t have a laminating machine.
Shelly, bom dia! Adorei suas idéias e agradeço por estar compartilhando. Vou colocar em prática. Feliz ano novo. Abraços
Love this idea….but have a few questions…
Once I cut the paper I just fold it once, correct? For some reason it looks like you might fold it more in the picture.
Also, you said to only cut on the folded side? Isn’t there only one folded side? The bottom? Plus all I have to do is cut across the top and it will automatically open correct. I do understand about not cutting to close on the three sides? Just want to make sure it will “open” when I am done!
Thanks and love your website!!
d.
You are fabulous! I just finished our kitchen command center with pockets and I want to leave the doors open to admire 🙂
Thank you for posting such great ideas, instructions and much needed pictures!
mam ur ideas is very super duper, thanks.
I love this idea. I use packaging tape to laminate everything. It’s not as beautiful, but it works great.
Hello Ginny! I found your site last night while looking for kitchen organization ideas. We were forced into a kitchen remodel after plumbing issues last June. It has been quite the process to say the least. It is now January and I have a fully functional kitchen again!! As a fellow mom of four (plus a few “extras” during the day), may I just say, “WOW”. You are awesome!! There are so many great ideas!!! As we get settled into the new kitchen the overall goal is to simplify! Your genius has been an inspiration. I noticed that some of these posts are from several years ago so I hope that you get this… keep doing what you do best! Thank you!
Use Clear Contact Paper for Lamination. I have used it for years and it works great!!
Love this so much! Thank you!!
Ashley Schultz recently posted…*2017 Year in Review *
Still a great idea! I think what sold me was 1) its hidden IN your cupboard 2) a pocket for every different aspect of sorting receipts and bills (not just 1 pocket for ALL) 3) super cute and tidy 🙂 Thanks for sharing, being hitting my head against the wall trying to come up with something JUST LIKE THIS! but I couldn’t conceive lol.