After much planning and preparation, our bathroom renovation finally got underway. If you missed what happened and why we had to move “bathroom renovation” to the top of the to do list, you can read about it here and see our plan for renovating on a budget.
The first phase of the demo was to knock out the existing tile in the stand alone shower and the tile that covered half of every other wall in the bathroom.
Let the demo begin!
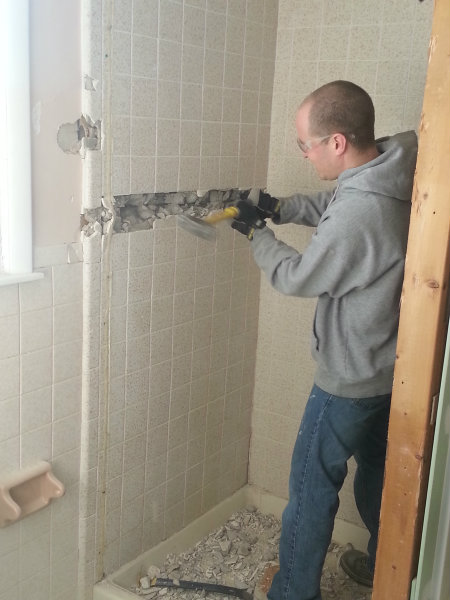
Knocking the tile off was the fun part. Tearing out what was behind it was not. THAT was a huge job!
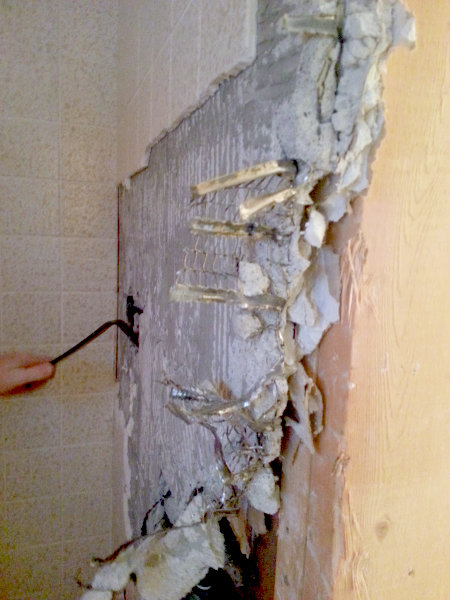
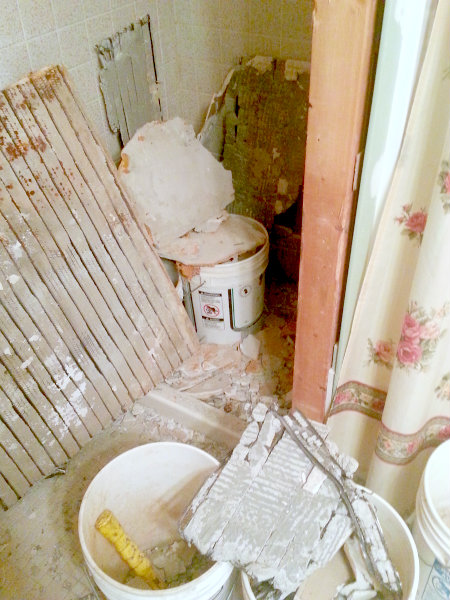
After the tile came out, we knocked out the plaster from the walls and ripped up the tile floor.
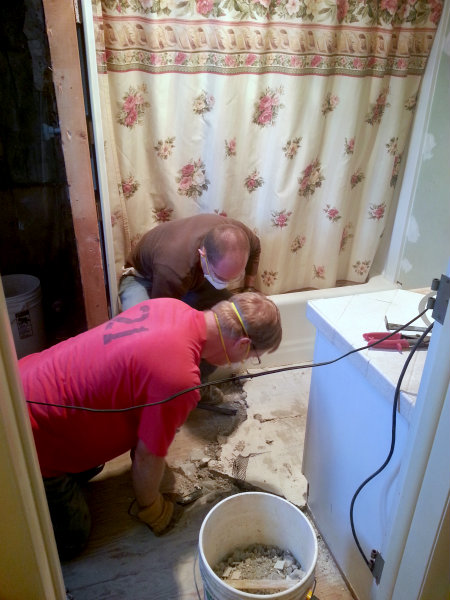
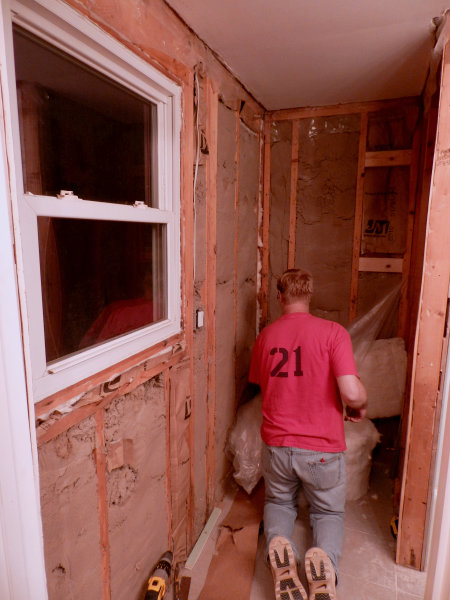
Once we got the walls down to the studs, we touched up areas of missing insulation.
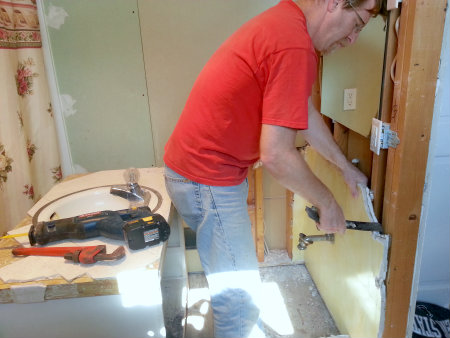
Next it was time to rip out the old vanity. If there was one thing I was happy to see go – it was that! I will definitely not miss that old sink with the rusty spot and the tile countertop!
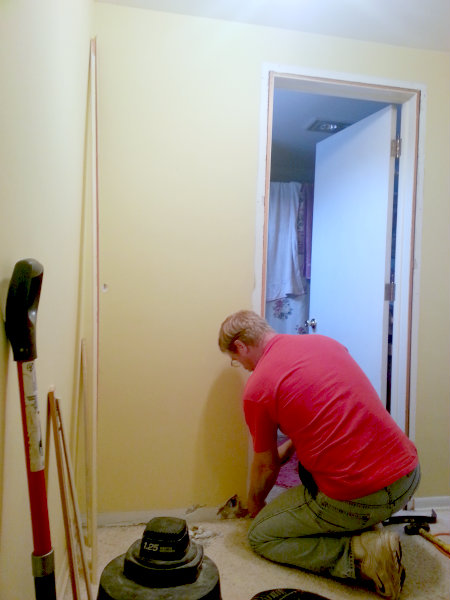
Then it was time to open up the wall for the new doorway.
After we opened up the wall, we began the electrical work. We had our electrician come consult with us to work out our plan.

The electric is one of the areas which took a lot of brainpower to plan well. Here is a picture of the electrical outlets and switches that were there originally.
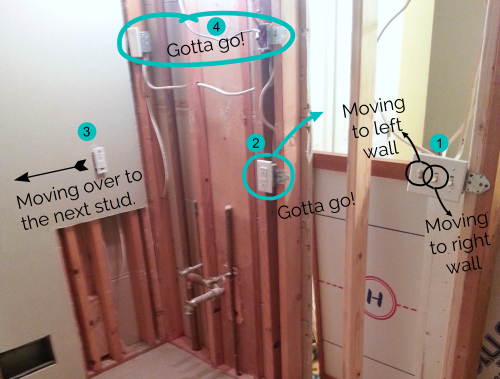
As you can see we currently have 3 switches next to the door (#1 in the picture). One is the vanity light, one is the fan, and one is a heat light (which comes in very handy during cold winter weather).
Since we are putting in a double sink, we wanted double outlets available at each sink. With four girls in our family, we’re anticipating lots of curling irons, flat irons, and hair dryers needing outlets. 😉
One problem is the height of the existing center outlet (#2 in the picture). Everyone in my family is tall, so we decided to order a kitchen height cabinet. That will add 4 inches to the height of the old vanity, plus the new countertop will have a 4″ backsplash. Those extra 8 inches made removing that outlet a necessity.
But, adding two outlets to the existing 3 gang box by the door would be way too many outlets and switches for the space. We’re planning to put a frame around the mirror and once the moulding goes in around the door, that many outlets would look ridiculous. So we had to get creative! And I LOVE what we came up with!
The outlet on the left wall (#3) we decided to move out to the next stud and add two switches. One of the switches is going to be the heat lamp. We moved it closer to the shower instead of having it over at the door. Also, I have a makeup mirror that previously had to be plugged into an outlet. We cut the plug off, and hard wired it to a switch.
The next thing we moved was the fan switch. We decided it was more logical to have it (on the right wall) near the toilet than over by the door.
So now we were left with only one switch at the door: the main lights above the vanity. Since we’re adding a double sink, we decided to double the lighting. We put the light switches and the outlets on different circuits so as not to overload our circuit board. Now, we can have two hair dryers, curling irons, and flat irons running at the same time without fear of shorting the circuit. We also removed the old outlets that had been on either side of a mirror and covered up before we moved in (#4).
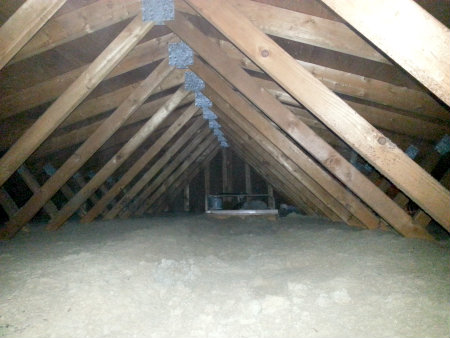
Crawling around in attic insulation was definitely not the most fun part of the reno, but getting the wiring where it needed to be for our new plan will be worth it in the end!
The two parts of this renovation that we hired out are the plumbing and the flooring. My husband did all the prep work by tearing out the floor (with our awesome friend who came to help). He also cut up the existing subfloor so all the plumber had to do for this phase was change the pipes and location of the toilet flange. That was MUCH cheaper than it would have been to have the plumber do all the tear out. In all, it cost less than $150 to have the toilet plumbing moved and the existing shower plumbing removed.
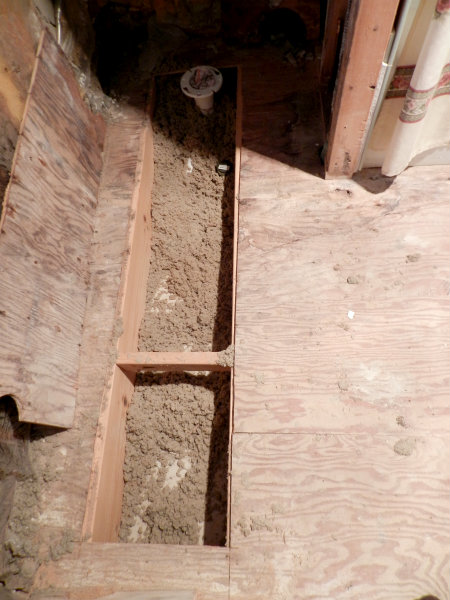
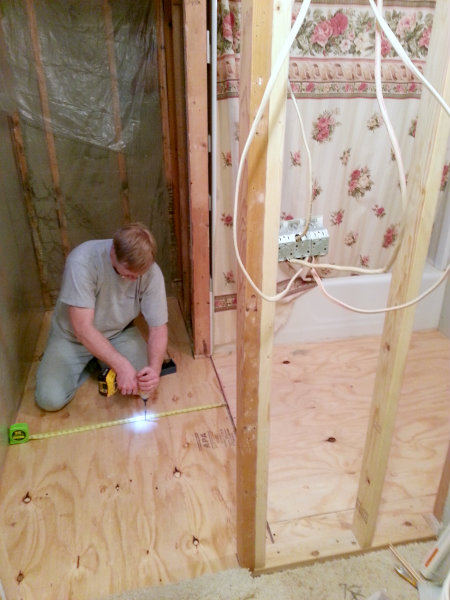
Once the plumbing was done, we framed the wall where the old doorway had been and laid a new sub-floor in preparation for the tile installation.
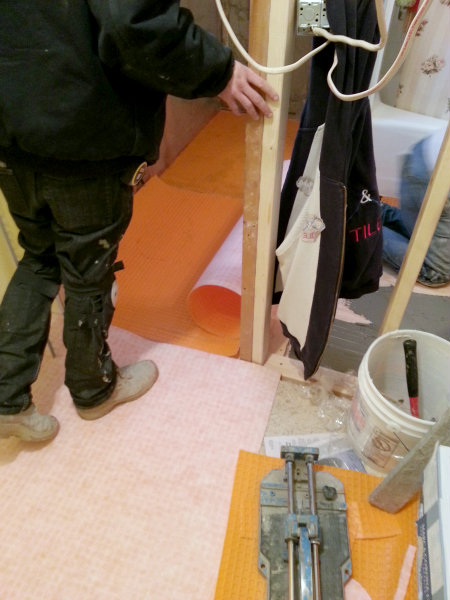
We used a new product called Ditra instead of cement board. It’s much lighter, totally waterproof, and claims to be superior for preventing cracking in the tiles and grout over time.
Whew. This project has been exhausting, but it will be so nice when it’s all done and we will have done it within our budget, so we are very happy.


Good luck with the reno’s!! The finished result will be sooo worth it!! As a family of 6 with one bathroom (2 boys, 2 girls), let me give you some advice that makes sharing one bathroom a lot easier! We don’t allow anyone to do anything in the bathroom that doesn’t require sink, toilet or tub. No make-up, hair prep or anything along those lines happens in the bathroom, that is all done in bedrooms. There is an ‘open-door policy’ for teeth brushing, since we all tend to do that 2 minutes before heading out the door everyone needs the bathroom at once, but allowing people to come and go while brushing teeth instead of one at a time with the door closed helps speed things up. If it gets too crowded someone can just grab their toothbrush and go to the laundry sink or kitchen sink if we’re in a real hurry. All the best!!
We updated our hall bath last year – I understand all the work and the mess that it involves. I tend to use that bathroom (my husband uses the master bath)
I have a huge framed mirror and the tall vanity (love it!) I don’t like my hair dryer, or any irons out on the counter, so I had the electrician aka my spouse, Jim, hardwire a panel of plugs UNDER the vanity. Now I can leave everything plugged in (turned off, of course) and just open the door and grab what I want.
You will LOVE the kitchen height counter. We did that when we redid our old house and our new house had those standard, soooo nice.