Welcome to Day 8 of my month long series “How to Organize Your Kitchen Frugally in 31 Days”. Every day during the month of October I will be sharing an organized space in my kitchen with you. My goal is to inspire you and give you ideas on how you can organize your kitchen.
If you missed it, you may want to read why I’m embracing my outdated kitchen. It might give you a little perspective on why the pictures of my kitchen organization won’t be “magazine worthy”, but helpful for real life organization.
Yesterday I showed you the easiest way to organize food storage containers, and today I’m going to show you where I keep my plastic baggies and wraps.
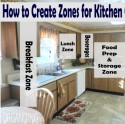
Remember when I told you how I like to organize my kitchen in zones? I deliberately placed my dishes, food prep bowls, and food storage containers in this area of the kitchen because it is where I do almost all of my meal preparation and clean up. When the meal is over, I can easily grab a leftover container, if needed, and put the dish right into the sink to be cleaned or in the dishwasher.
Since this area is where I keep my leftover containers, it only makes sense to keep my baggies and wraps here, too.
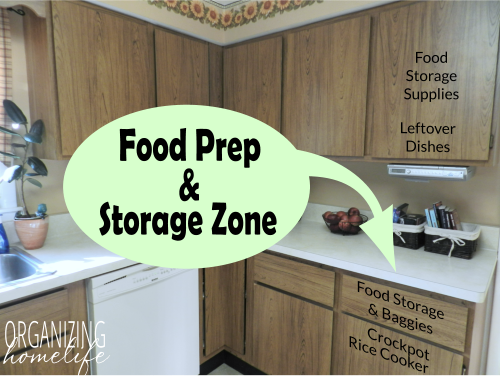
When I organized the kitchen into zones, I had a problem. I only have two drawers in this area of the kitchen and since I do my meal prep here, I needed one of the drawers for my knives and gadgets. That left one drawer for all the boxes of baggies and wraps. Since I wanted to keep them close to my leftover containers, I had to get creative.
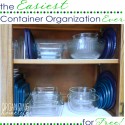
Here is what the lower cupboard used to look like (labeled “Crockpot/Rice Cooker” above):
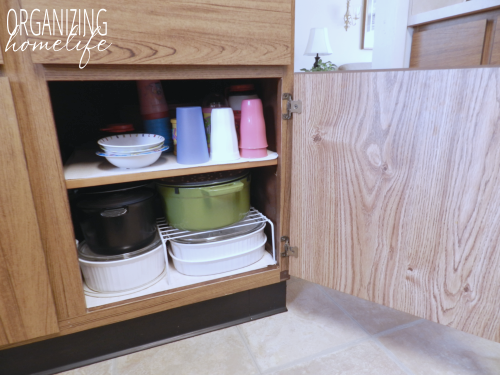
I’ve seen wrap racks (affiliate link) around for years and know how nice they are since my mom has one in her kitchen. But, my outdated kitchen has shelves that come all the way to the front of each cupboard which leaves no space on the door for any organizational racks. Boo.
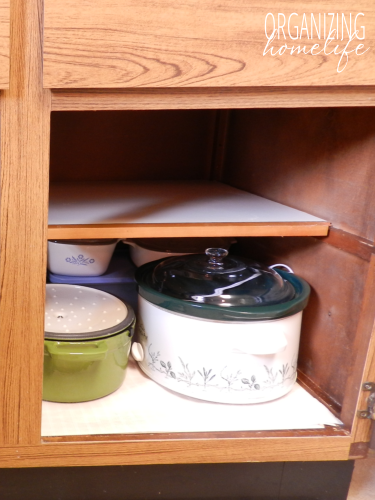
And then it hit me one day. If this is my kitchen and I want it to function as best as possible, WHY can’t I have a wrap wrack on the door? So, we decided to cut the shelf.
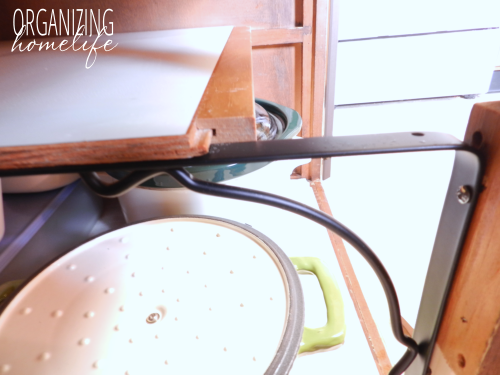
We cut a few inches off the back of the shelf to keep the front looking nice. There was already a support on the right side of the cupboard from front to back, so we only needed to come up with a way to support the left front side.
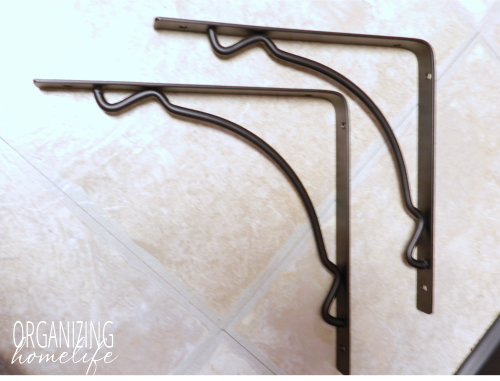
We picked up inexpensive shelf brackets at a hardware store. I only used one for this project. Stay tuned for how I used the other one in an upcoming post.
We installed it to the back of the center cupboard support and let the shelf rest on the top.
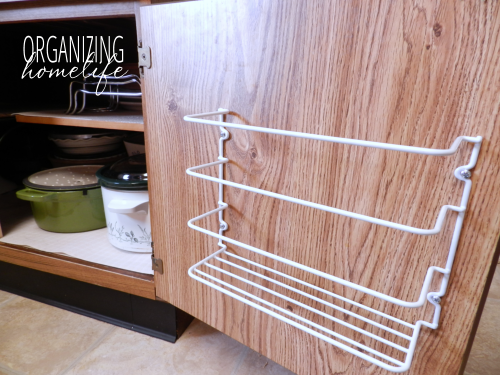
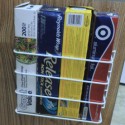
And then I was able to put my wrap rack on the door. 🙂
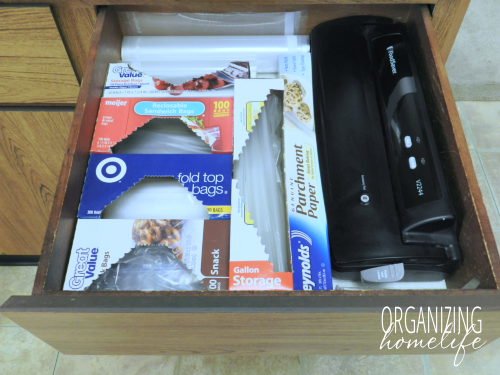
I took my wraps out of the drawer and put them in the rack.
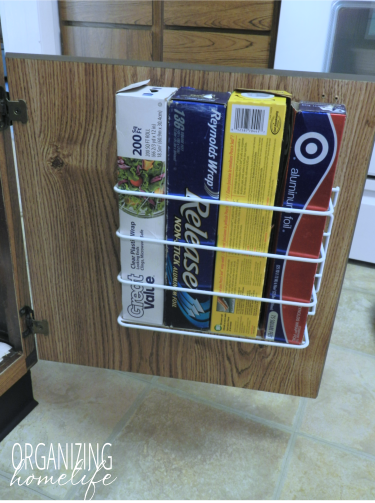
That created a lot of space in my drawer for all of my baggie boxes, but also freed up space for my Food Saver. Now ALL of my food storage supplies are together in one place.
By the way have you ever seen the fabulous tip on using a Food Saver to make salad stay fresh for a week in a mason jar? It really works!
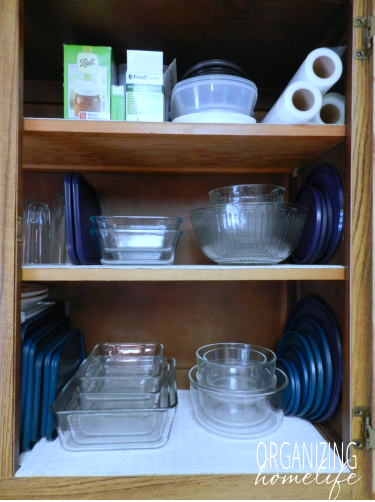
I store some of the extra attachments and additional rolls of Food Saver bags in the top of the leftover container cupboard.
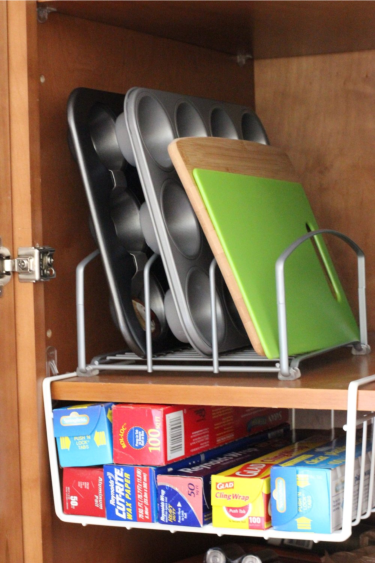
If you don’t have the option (or don’t want) to cut your cabinet shelves, there are other styles of wrap racks. This is a great option if you have space under your shelf:
Source: Kitchen Organizing Rack on Amazon (affiliate link)
I hope you’re inspired to get your food storage containers and wraps organized! Don’t forget to take pictures of your organized spaces and send them to me on Facebook. I may feature yours!
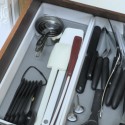
Join me tomorrow as we look at my knife and gadget drawer.









Ginny,
I really like how you give tips on being creative to stay within the zones. I am a relatively new home owner so I’m kinda chicken to make any “permanent” changes just in case I don’t like what I’ve done.
One questions about cutting the shelf….It may seem detailed but how exactly did you cut the shelf?
Love your idea about cutting back a shelf that is in the way.. Genius!
I have a problem using the rack you recommended and am curious if anyone else has found a solution. Because it is just anchored under the screws, mine tends to pop off the cabinet if the slightest thing bumps into it. I do love the idea of freeing up extra drawer space, and short of duct taping it down which wouldn’t be pretty, I’m at a loss…
Thanks!
I’ve lived in my house 8+ years and never knew what that little thingy was inside the cupboard. Now I know! (I don’t really want to keep my wraps there, but at least I know that’s what it is for.)
I hope I can get a grip on my whole house, not just the kitchen. I really am glad I found this site.
Great idea! I do have one drawer (above the food containers) for my wraps and baggies. I stole the idea from my mother-in-law!
Hi Ginny!
HOW I WISH …. you lived next door to me (I am in the UK!)
Apart from the fact that you could really help me, you have the nicest, warmest, friendliest smile which makes me feel you wouldn’t be judgemental if you saw the state of my house!!!!!
I am SO disorganised at home and it gets worse every day! I simply can never decide where on earth to start (so I never do!!!!)
I have just found your blog. Hurrah! There may be hope for me yet. Thank you so much for sharing your brilliant ideas.
Bless you for this :o) x
You can also get the “inside the door” racks on which the wrap is horizontally positioned so you can place them to hang between the shelves without having to cut your shelves. The racks don’t hold as many rolls, though, so maybe not quite what you wanted. It’s just easier for me to not have to cut my shelves.
Ginny….i m more thn happy i have found you….
Absolutely in love with your creativity.
Uptil now i am just reading kitchen updation, excited to see the other things you have shared on your blog.
but i m nt getting ths post on wraps storage….can you please put the complete after pic of ths cabinet n drawers so i can understand….please…..
Ok ok i got it now