Hi friends! It’s been a while since I’ve given an update on the progress of renovating our basement after the pipe broke and flooded it. We’ve been working hard every day “off” for the last six months. I’m waaaay overdue for an update, but things are starting to look really amazing.
Although the pipe that broke was in the laundry room and most of the water was there, it sustained the least damage of the three rooms. Only one of its walls is drywall; the rest are concrete, as is the floor. Structurally, the laundry room was fine so the playroom and guest room became top priority.
Once the restoration company had everything fully dried and removed the dehumidifiers and fans, the insurance company decided that the carpet in the playroom needed to be replaced as did the 50 year old paneling (which you won’t hear me complaining about)!
After figuring things out with our insurance company, my hubby and I decided that we would do the majority of work ourselves. We didn’t just want to replace what had been there, we wanted to improve it, even if it cost us extra. In a way, this flood turned into a huge blessing. We weren’t planning to renovate our basement, but took the opportunity to make things right for our needs.
Since our house is over 50 years old, there were things missing in the basement that you might find in a newer home. For instance, there were only two outlets in the entire room, and both on the same wall. Go figure. There was no heating/air conditioning vent at all. Nor was there any insulation in the outside walls. We live in Michigan, folks. You need insulation. We also had just three flourescent lights in the room. These were things we definitely wanted to address.
We started by removing the paneling and drop ceiling (goodbye gold, paint splattered ceiling tiles)! Hello, randomly insulated wall studs? Seriously? Why would there be insulation in one bay? You find all sorts of interesting things when you demo.
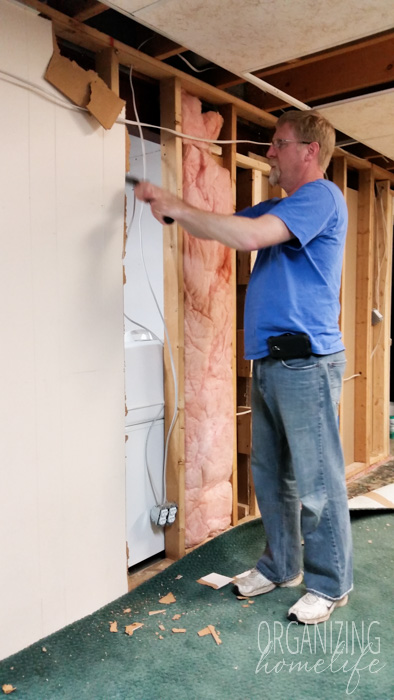
At first my hubby wasn’t too keen on me taking the ceiling tiles out, but while he ripped off the paneling, I tore those babies out. At this point, we still weren’t positive which direction we’d go with the ceiling, but a finished ceiling was looking better and better. After we finished, we discovered there was hardly a wire in sight, nor were there pipes; just one water pipe that ran the length of the room. So a finished ceiling was on its way!
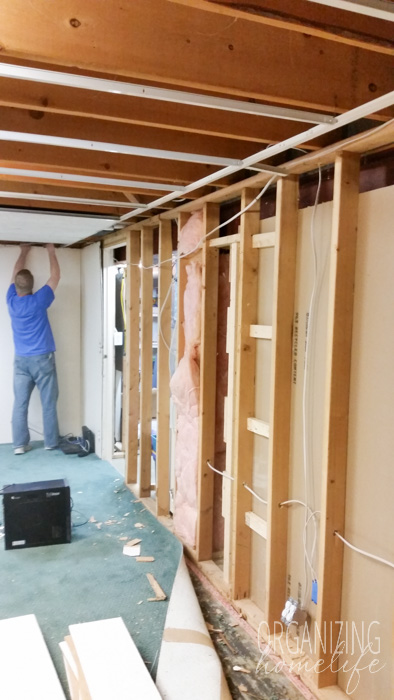
We were so glad to have the opportunity to get rid of all the strange things that made no sense. See that electric box near the ceiling in the middle of the wall on the left? At one time in history there was probably a clock there, but since we’ve lived here, there was just a strange hole high up in the wall. Goodbye to that!
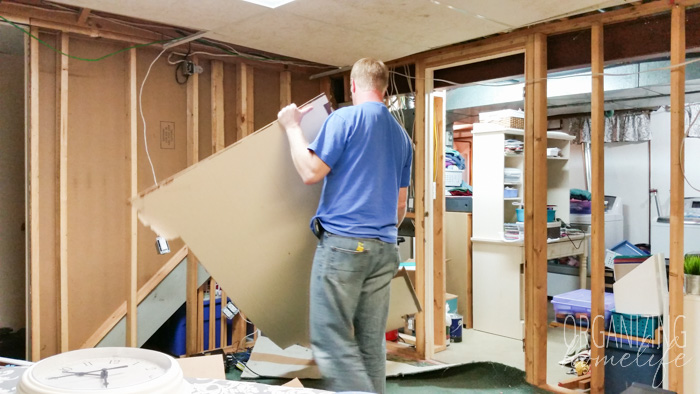
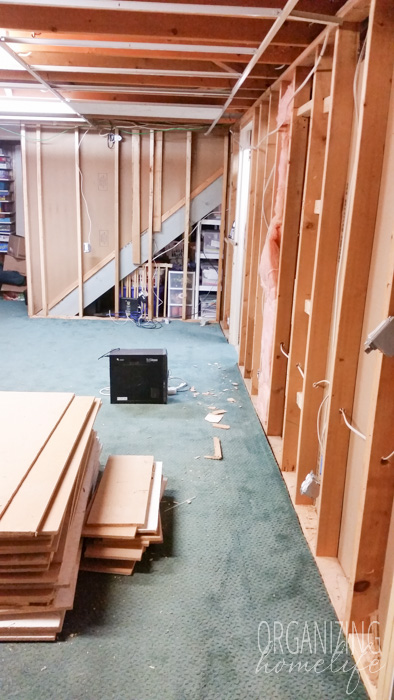
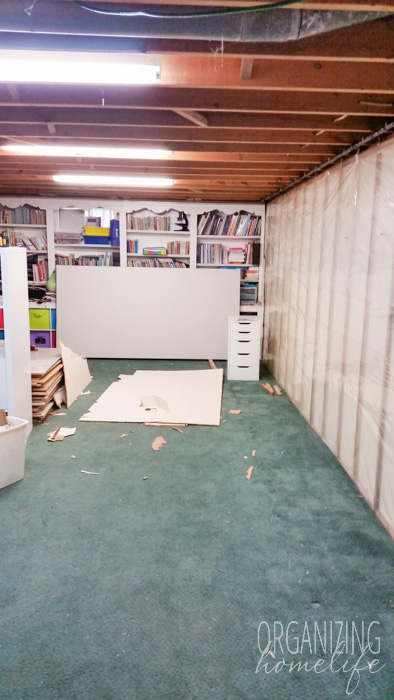
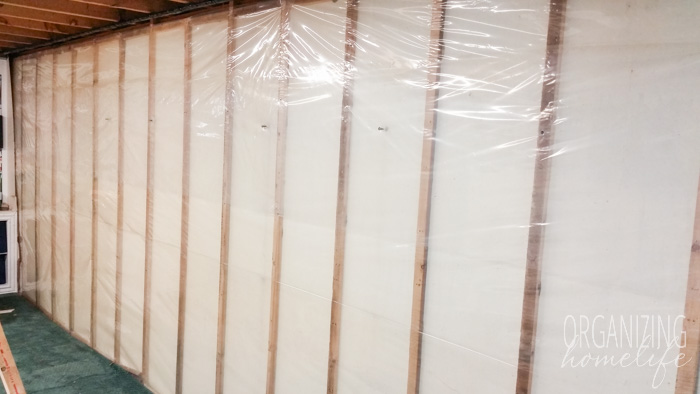
After removing the paneling on the outside wall, we had a better gauge on how we would insulate it. There was plastic covering furring strips up against the concrete.
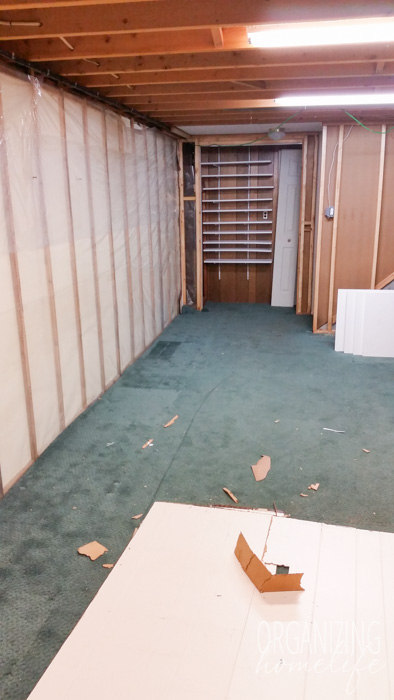
What we didn’t realize at the time was that the furring strips were just hanging there, held up by the plastic. Originally, they had been glued to the wall, but 50 years of temperature changes left them completely unsecured.
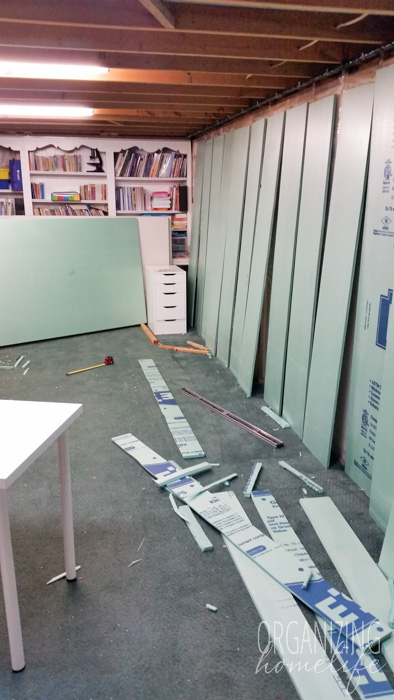
We cut strips of insulation foam board. We used the same material in our guest room when we originally built that and it made a remarkable difference in the winter.
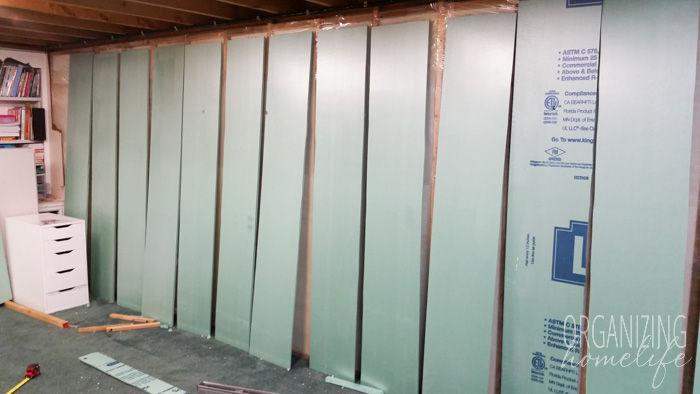
After removing the plastic, we needed to secure the furring strips. We used a powder actuated trigger tool that uses charges to blast nails into the concrete. My word, was that thing L.O.U.D. I kept waiting for our neighbors to call the police to tell them we were having target practice in our house! I needed ear plugs and my hubby’s ear phones and it was still loud.
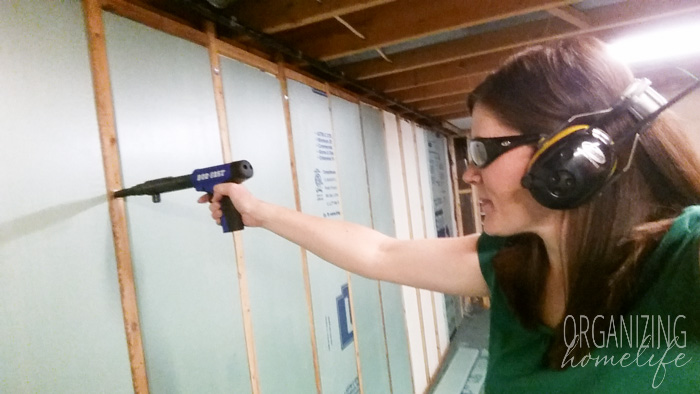
It’s not pretty, but improvements are happening!
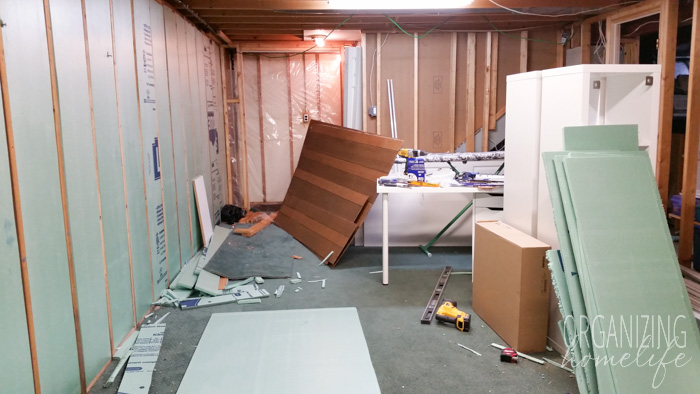
And we are finally checking things off the to do list:
PLAYROOM
Remove paneling in playroomRemove drop ceiling- Add electric outlets
- Move light switches
- Add heat/air conditioning vents
Secure furring stripsAdd insulation- Frame water pipe
- Drywall ceiling
- Add LED workspace lighting for desks
- Drywall
- Install new doors
- Moulding and baseboard
- Paint
- Carpet
- Re-imagine closet space
- Re-build closet
- Organize kids’ desks and toys
GUEST ROOM
- Replace bathroom floor
- Re-install vanity
- Re-install toilet
- Moulding and baseboard
- Carpet
LAUNDRY ROOM
- Paint walls
- New drywall
- Install new electric outlets
- Re-imagine shelving
- Replace dehumidifier
- Replace water softener
- New wash tub sink
- Move dryer and extent vent pipe
- Replace area rug
I’ll be back next week with another update on how things are going.
EXCITING NEWS!
The brand new 2016 calendar and planner will be coming to my shop November 1! Mark your calendars. 😉


Wow! What a huge project! I’m so impressed you are doing this yourselves. I would be totally overwhelmed. Also wanted to say I’ve missed your posts, but certainly understand.
Thanks, Jennifer. It’s good to be back. 🙂
I’ve so missed your posts! Things really are looking good. Can’t wait for the next update.
Thanks, Rebecca. That means a lot to me! When life gets busy and you can’t blog as often as you like, sometimes you wonder if your readers will still be there. I appreciate you following along. 🙂
Wow, loved seeing the pictures of your progress! Soon, you will have things just the way you want! I like having a checklist to keep organized also. Gives you a sense of accomplishment, seeings things crossed off the list.