The other day I told you about my plans to update my son’s room from “little boy’s room” to “tween room”. So far we have had the carpet installed while I’m working on decor and other organizational projects.
One of the things he’s needed for a while is a shelving unit to hold some of his awards and special things.
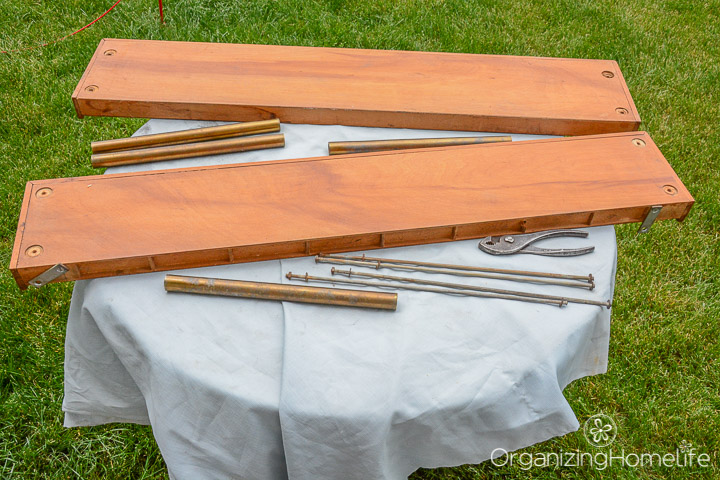
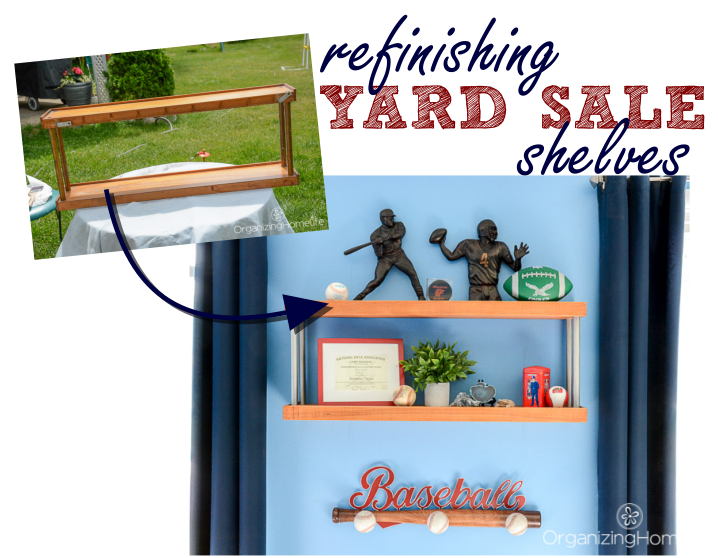
A while ago I found these shelves at a yard sale and thought they would be perfect for his room. They were in pretty gross condition, but I picked them up with plans to refinish them. They’ve been hanging out in my garage waiting for me to figure out what I wanted to do with them.
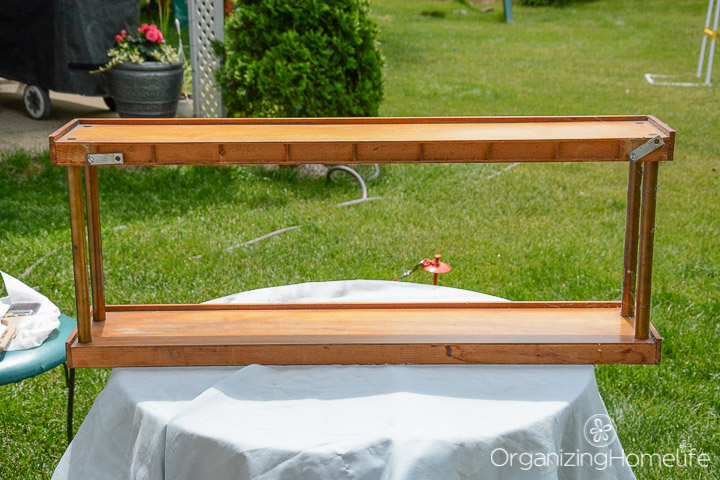
I finally decided that I would paint the wood a deep blue and paint the bronze bars. I wish you could see how bad they actually looked, but the bright sunshine was in their favor and made them look mostly okay in these photos. Take my word for it, they were ugly.
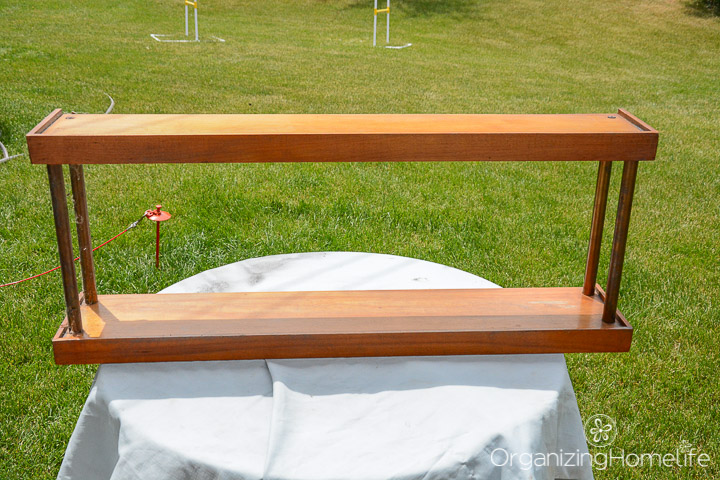
The bronze bars were pitted and marred and the stain on the shelves was not a nice shade of honey. They were also filthy and in need of a good scrubbing.
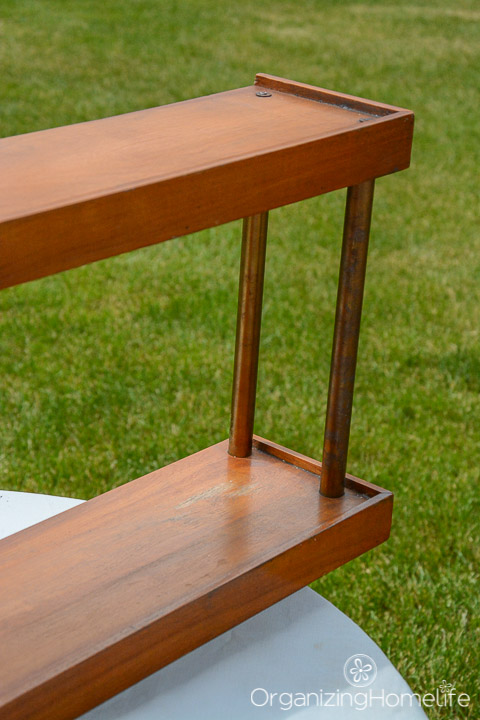
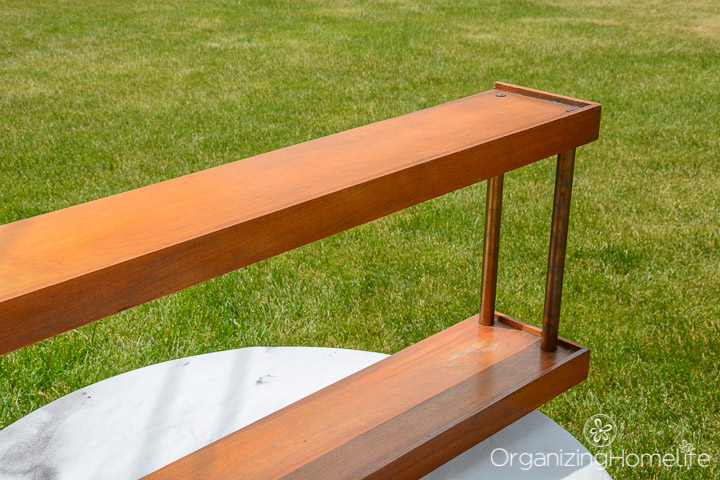
I took them apart and planned to give them a light sanding before I cleaned and painted them so the paint would adhere better.
I started with painting the bars. I wanted to make sure none of the marring showed through the paint, so I found a paint in a satin nickel finish that also had a primer in it.
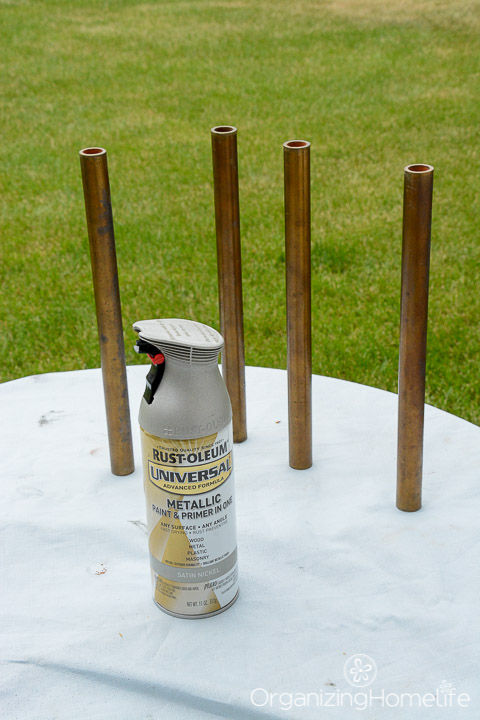
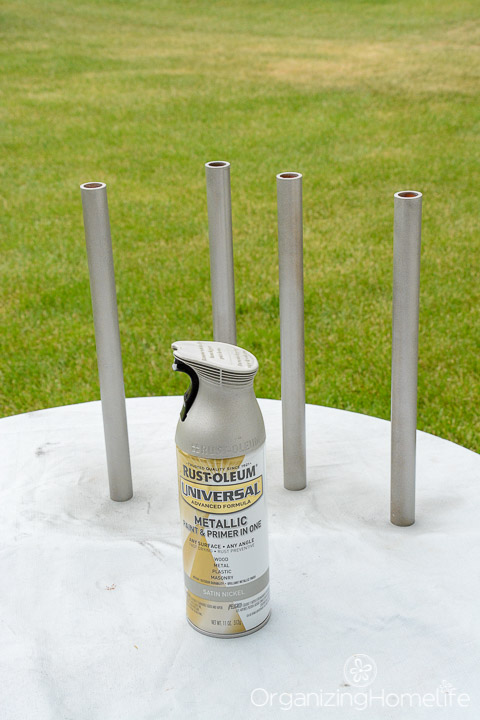
I gave them a coat of paint and let them dry while I started sanding the shelves.
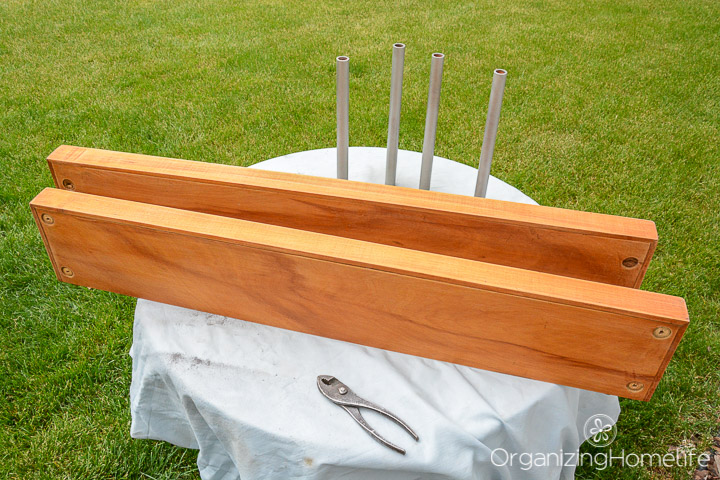
But something happened when I started lightly sanding the shelves. The finish was coming off nicely, but the wood underneath the stain looked really nice. I thought maybe I just didn’t get down to the stain and only sanded off the polyurethane, so I sanded some more. The color was still there. So I kept sanding.
After a while I started to realize that these were made with really gorgeous wood! This was not a finish or stain that I had uncovered. The more I sanded, the more I loved the wood and couldn’t imagine painting it. I’m not a wood expert by any means, so don’t ask me what kind of wood it is, but it’s beautiful. I thought maybe oak, but I think oak normally shows a tighter grain and is lighter in color without stain.
So, like any good DIY project, it took a turn – but this one took a turn for the better! I suddenly loved the idea of leaving the shelves in a natural/industrial combo. I loved the rustic look of the natural wood and decided not to put any finish on it.
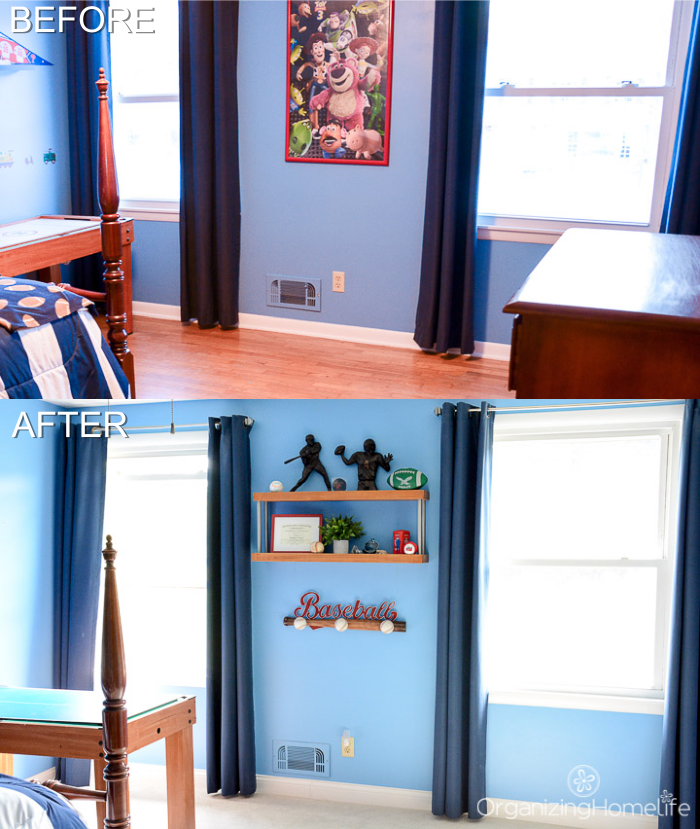
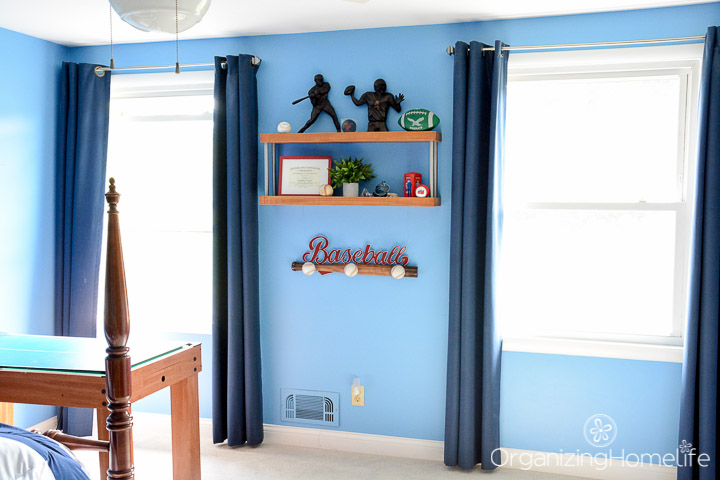
This is the wall where I’m putting the shelves – right between the windows. It’s time to get rid of the old Toy Story poster and make space for featuring special things.
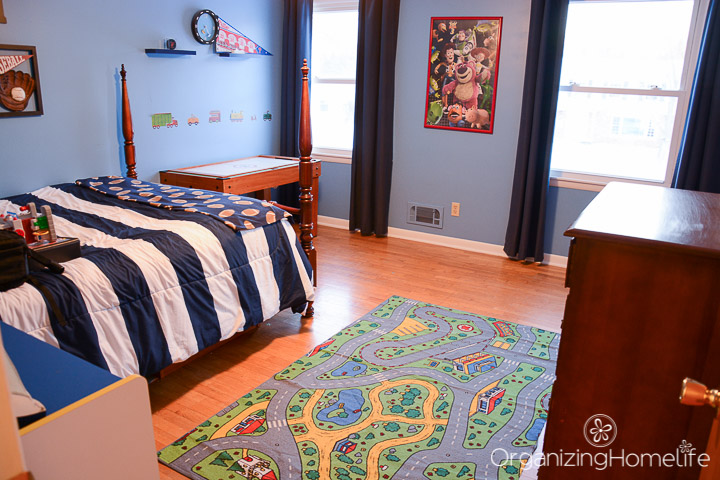
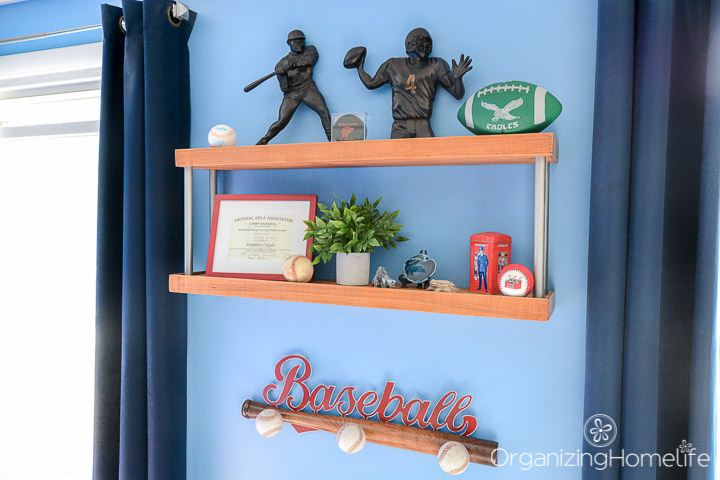
So here they are on his wall. What do you think?
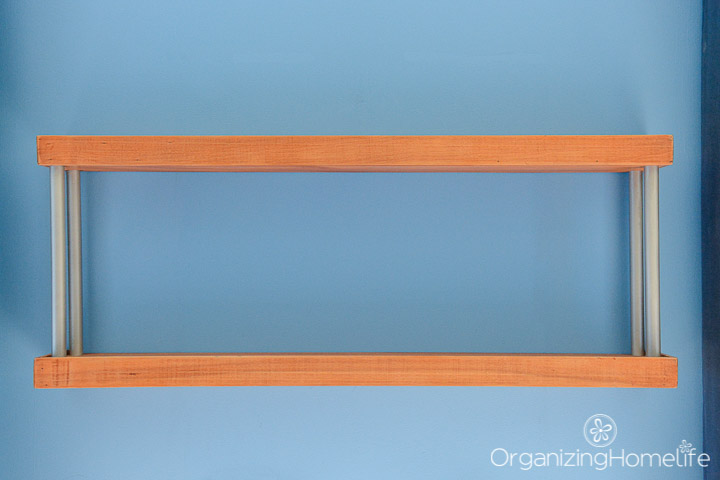
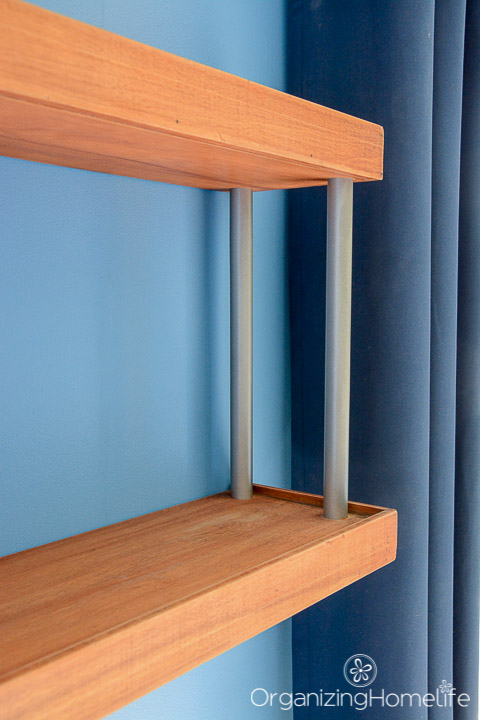
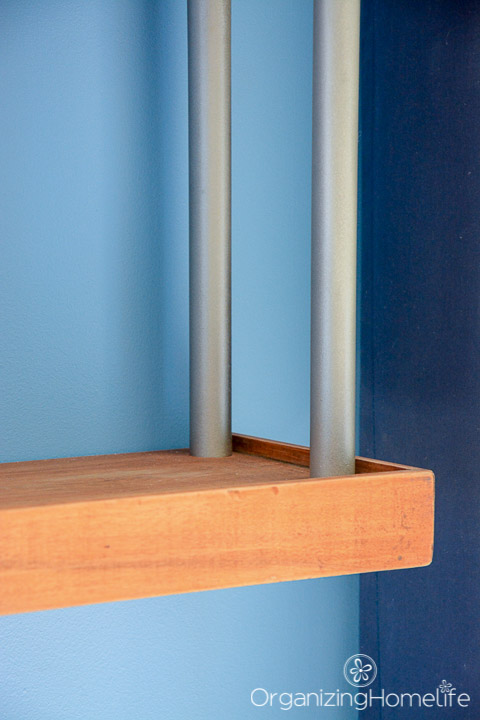
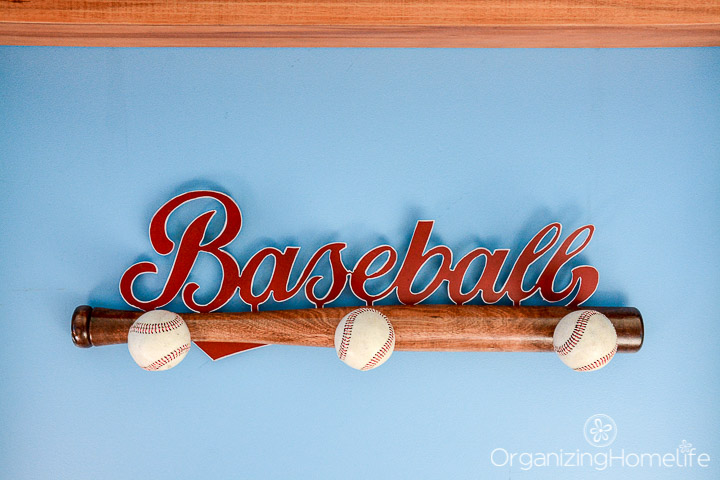
Besides adding the shelving unit, I found this adorable wall rack with baseball pegs. It’s a perfect match with the shelves!
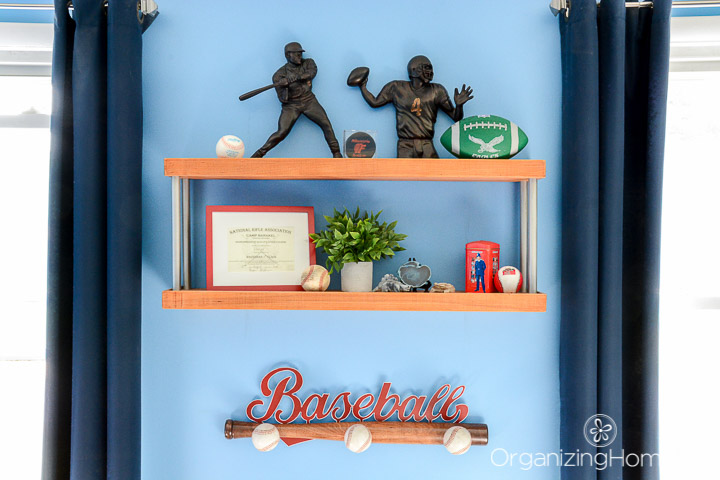
Here are his treasures organized on his “new” shelves.
Here’s a before and after. Sorry the color is so weird in the before pic. I took the picture in the evening without thinking of “before and after” shots.
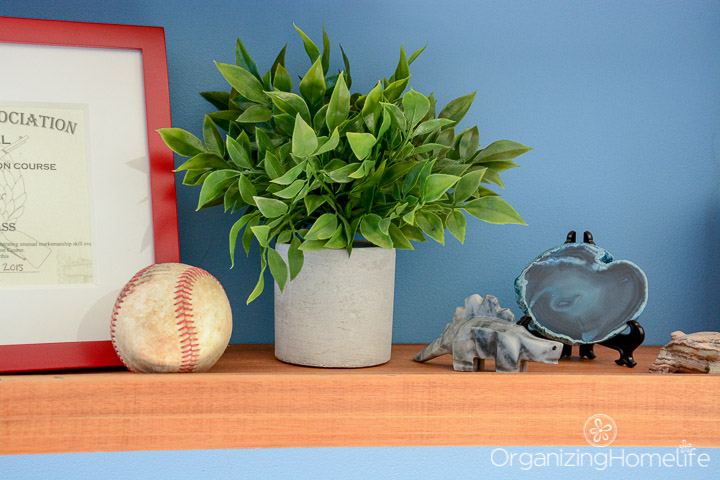
We’re originally from Philly and my hubby has had a few “treasures” from his childhood that haven’t had a good place to be displayed, so he loves seeing them on our son’s shelf.
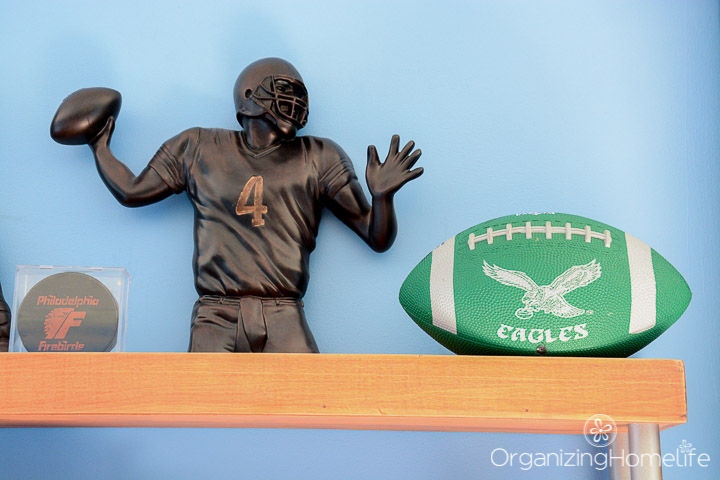
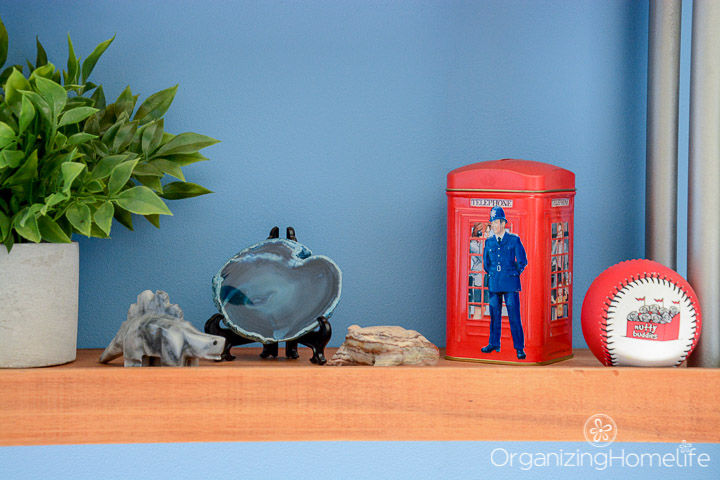
I love that he now has a place to display his favorite things and they can easily be changed as he grows.
What do you think? Would you have painted them or left them as natural wood?


Wow! What a beautiful shelf to display your son’s trophies! Those lovely surprises in found treasures! So nice 🙂 Good for you!
Wow, Gin! Good job. You must be thrilled with how this turned out.
Aunt Ginny
Look great. What a nice room for your son. He’s a lucky ( boy ) teen.
I think it looks great with the natural wood and goes perfectly with the baseball sign. Wonderful job!
Wow, it really looks great! I love the natural wood shelves. It’ll be fun for him to have all his favorite things on them & to be able to change them out when he wants. Super job, Gin