Hi friends! I decided to take a break on the basement renovation updates over the holidays thru January and I’m so glad. It was nice to have a break. You might remember when our basement flooded and my hubby and I decided to gut it and renovate it ourselves. It’s a long process to complete a huge job like this especially when you only get to work on it on days “off”.
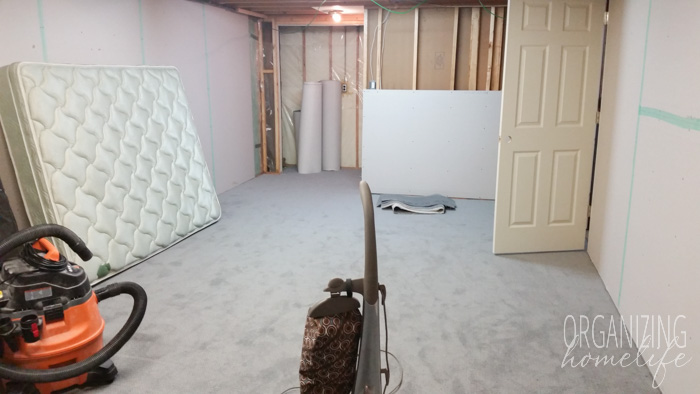
When I left you last, we had just finished installing drywall on most of the walls and had the carpet installed. We decided to install the carpet quickly because we had guests staying and needed to get the basement guest room back to a usable condition as soon as we could.
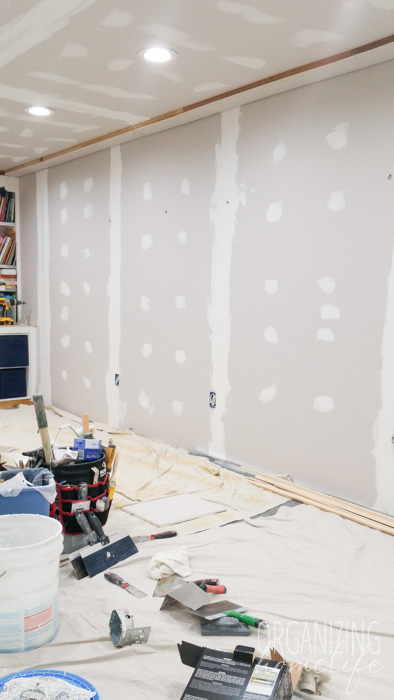
I know the next picture looks like we moved backwards, but we covered the new carpeting in drop cloths to protect it and spackled the walls. Next on the list: lights.
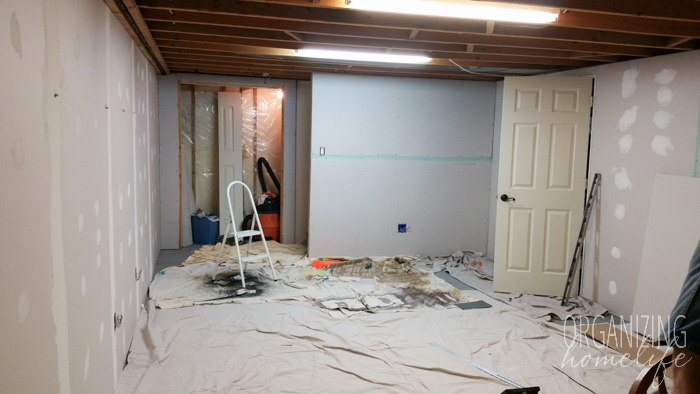
I cannot even begin to tell you how excited I was to see those three old fluorescent lights leave this room in preparation for new LED work-space lighting!!
(I can’t WAIT to reclaim the bookcase after everything imaginable got shoved on it during the reno. Let’s just pretend we can’t see that hot mess right now mmkay? Thanks, friend. #organizationiscoming)
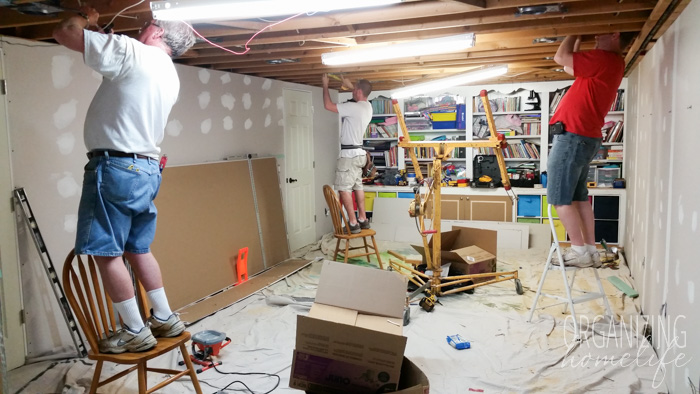
This is what happens when your parents visit during a major renovation: Dad gets put to work. #thanksdad
Welcome the new lights!
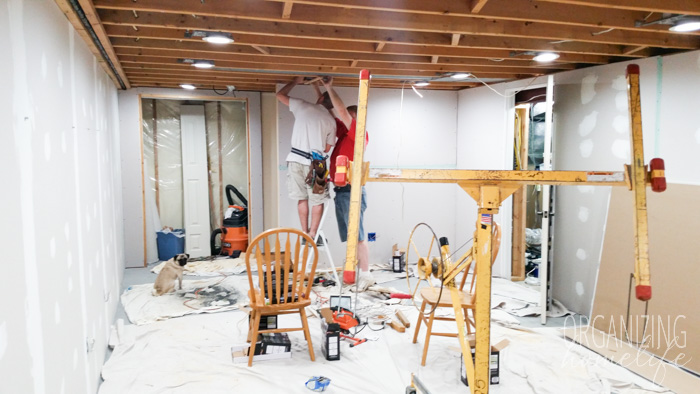
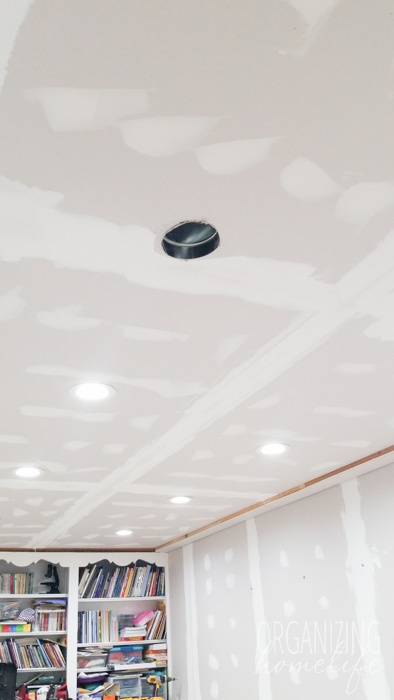
After living with three lights that dimly lit the room for 8 years, I was ready for some real lighting so we could actually see what we were working on. This is our playroom, but it also functions as our homeschool room. I wanted lights to shine directly on the kids’ desks, so I did some investigation online. When you are standing in a dimly lit room, it can be difficult to figure out how many lights to buy and how far apart to place them.
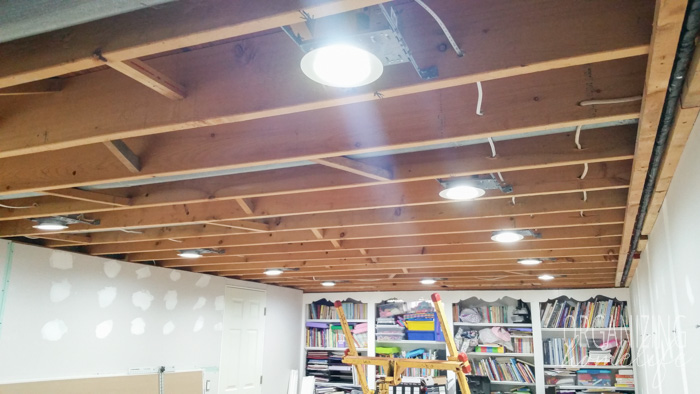
I found a formula for figuring out lighting requirements that was repeated on a number of sites so we decided to go with it. The formula was essentially to take the height of the room (7 ft in our case) and divide it in half. Therefore the lights needed to be placed every 3-1/2 ft apart. We lined both sides of the room so the lights would shine on the work areas, and then a few in the middle of the room to even it out. When I told my hubby we needed 17 lights, he thought I had lost my mind. Like I said, when you’re standing in a dark room, it’s hard to imagine it fully lit. But, I’m happy to say we decided to go with the idea, and it turned out perfectly! The lighting is amazing. The best part is LED lighting is so energy efficient that all 17 lights equal the same energy usage as 3 incandescent bulbs! Crazy, right?!?
After we tackled that huge job, we decided to add two vents in the pre-existing duct work. We knew a ceiling vent wasn’t the most ideal for heating a room, but we didn’t have many options. It has made a huge difference this winter! It’s still a fairly cool room, being a basement, but in the past we’ve always needed a space heater. Not this winter!
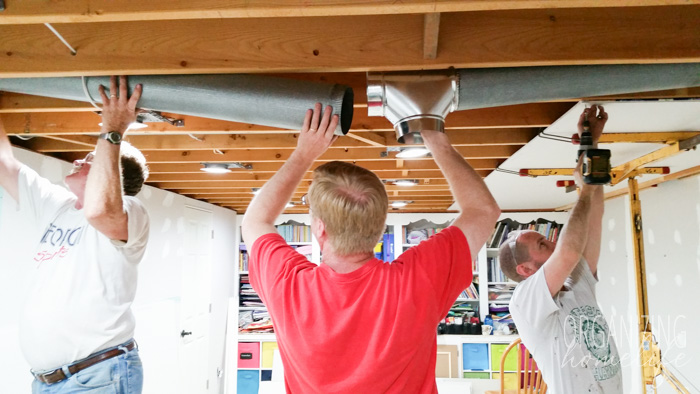
Multi-tasking like we love to do, we rented a drywall lift and began putting up the ceiling just as we were finishing the venting.
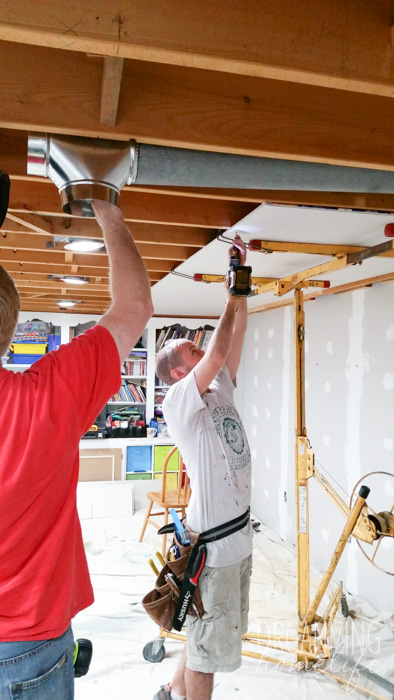
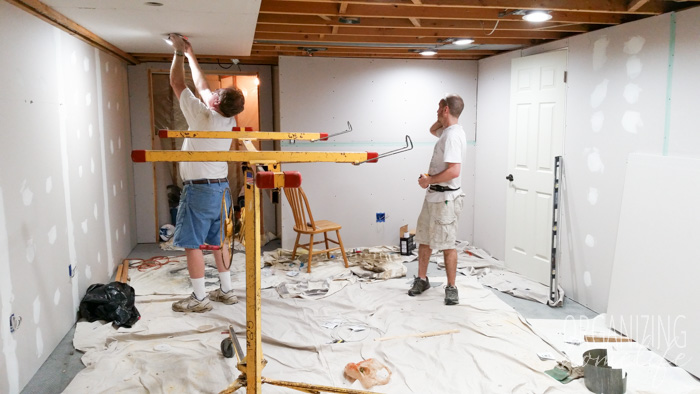
Once that was finished, we spackled, sanded, spackled some more, and got the room ready for the next big step: paint! I’m so excited that this project is nearly complete!
I love watching this to-do list dwindle!
PLAYROOM
Remove paneling in playroomRemove drop ceilingAdd electric outletsMove light switchesAdd heat/air conditioning ventsSecure furring stripsAdd insulationFrame water pipeDrywall ceilingAdd LED workspace lighting for desksDrywallInstall new doors- Moulding and baseboard
- Paint
Carpet- Re-imagine closet space
- Re-build closet
- Organize kids’ desks and toys
GUEST ROOM
- Replace bathroom floor
- Re-install vanity
- Re-install toilet
- Moulding and baseboard
Carpet
LAUNDRY ROOM
- Paint walls
- New drywall
- Install new electric outlets
- Re-imagine shelving
- Replace dehumidifier
- Replace water softener
- New wash tub sink
- Move dryer and extent vent pipe
- Replace area rug


It’s looking great!
Thanks, Katie!
I’m enjoying these reno updates! Sorry about the original flood, but sometimes we need something that big to justify tackling something this big! It’s looking great!
In rereading my comments (after posting) I realized something sounds a bit funny.
By original flood, I meant YOUR flood, not THE original flood (Noah)! HA!
Haha! That’s funny, Jill. Yes, our flood was just a “tad” bit smaller. 🙂 Glad to hear you’re enjoying the posts!
They did a great job, but had to laugh at the chairs being used as ladders, my hubby would have done the same.
Were your lights 3 1/2 ft apart both directions? It looks like there is more space in the middle portion of your ceiling. Did you just do them around the perimeter or make a grid?
Looks great, and I’m sure you can’t wait to be done! It’s always a chore to do any remodeling but it sure is rewarding when it’s complete. Great job!
What is the brand name of your new basement lights? I have looked online but am having trouble finding ones like yours.
Thank you
We found the lights at Lowe’s, but sadly I don’t think they sell the same ones anymore. We wanted to add some in a different room and we couldn’t find them either.