The other day I showed you my Patriotic Mantle Decor.
The 4th of July is one of my favorite holidays and I love Americana style, so I thought it would be fun to put together a mantle scape with some of the ideas I’ve seen around blogland.
I used jute to decorate a wooden letter, multi-colored beans to make a “flag” in a jar, a patriotic printable I made, and other elements to give it an Americana feeling.
But my most favorite decoration is the wreath!
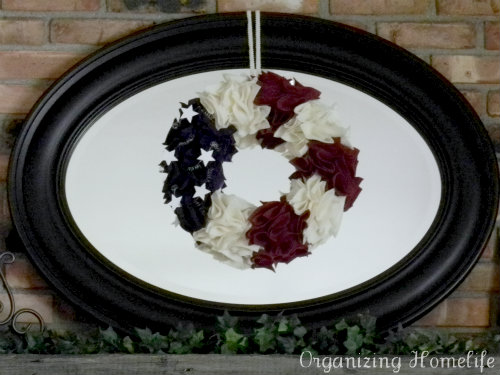
I found the idea on Capital B’s blog thanks to Pinterest. Sky has had a huge response to her creation and I know why! Her wreath is absolutely beautiful. I by no means want to claim credit, so hop over and leave her a comment telling her what you think.
I decided to offer a tutorial on how I made mine because I changed a few things to match my style and use the supplies I had.
Here is what you need:
- 4 Red (I used a deep red), 4 Ivory, and 3 Purplish-Blue Felt Sheets
- Foam Wreath (I used a 12″ wreath)
- Straight Pins
- Craft Wire (I used 30 gauge)
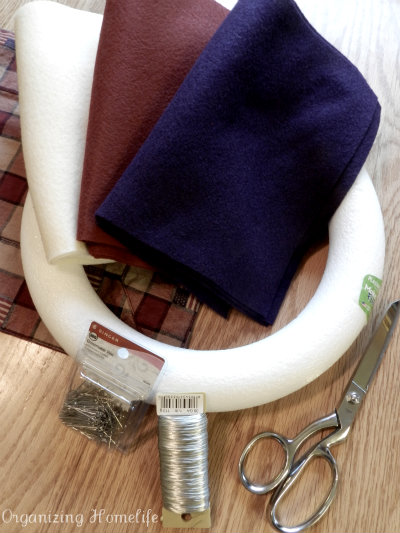
The felt comes in 9″ x 12″ sheets. I cut it into squares about 3″ x 3″. They don’t have to be perfect squares.

Fold the felt square in half {corner to opposite corner}, then in half again. The end result is a triangle that is one-fourth of the size of the square.

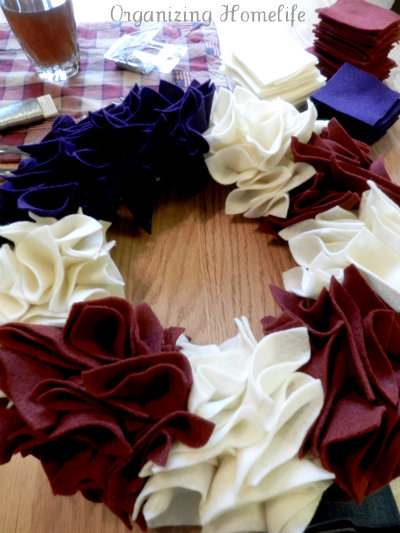
Pin the corner of the felt into the wreath. Sky used many more felt squares and put them closer together than I did. I wanted a “looser” look.
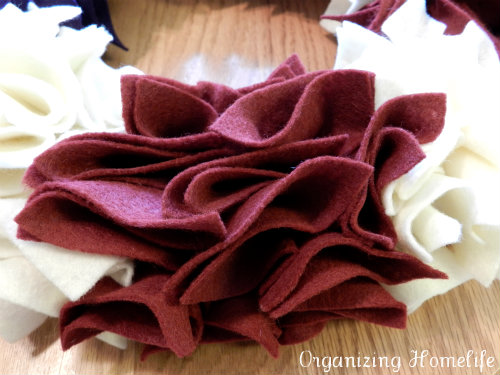
Alternate bunches of white and red felt. I determined visually how wide I wanted each section to be. You could be very precise and count an exact number of squares for each section, but I just “eyed” it.
I used four white sections and three red. I liked Sky’s suggestion of putting the white next to the blue. Leave a larger section to fill in the blue.
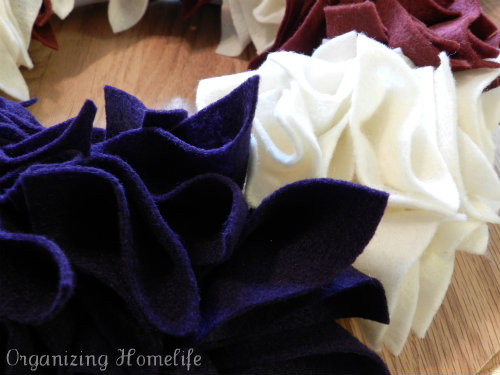
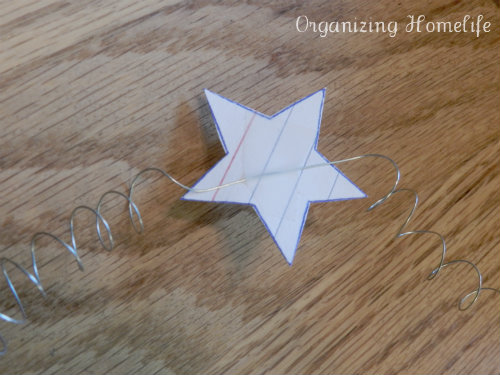
Sky suggests using label paper for the stars. I personally love that idea, but I didn’t have any, so I just drew some stars on an index card. If you have a Cricut or a Silhouette, you could use that to cut them.

Using a pencil, wrap about 12″ – 18″ of craft wire to make a coil. Leave it flat in the center so you can attach the star.

If you use label paper, simply stick two stars together with the wire in the middle. I taped the wire to the star.
30 gauge wire is very easy to bend, which makes it somewhat difficult to attach to the wreath. If you keep your fingers close to the wreath, it will push in with a little pressure.
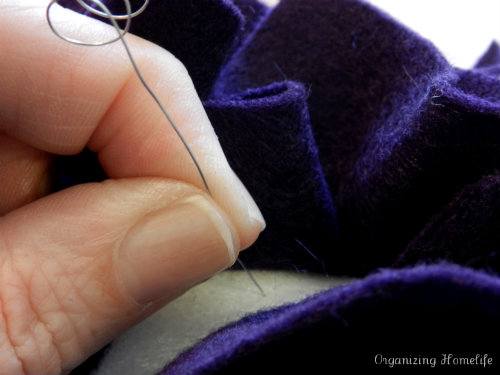
I attached both ends of the wire to the wreath so it wouldn’t fall out.
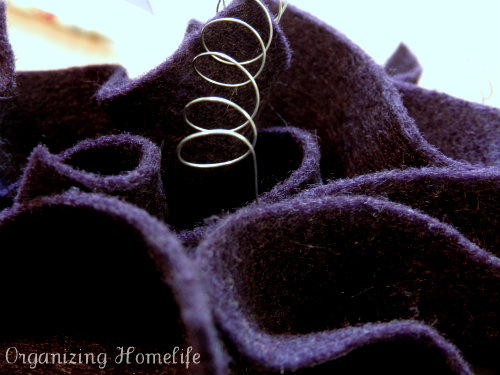
Use your judgment as to how many stars you will use depending on the size of your blue section. I liked the look of 5 stars.
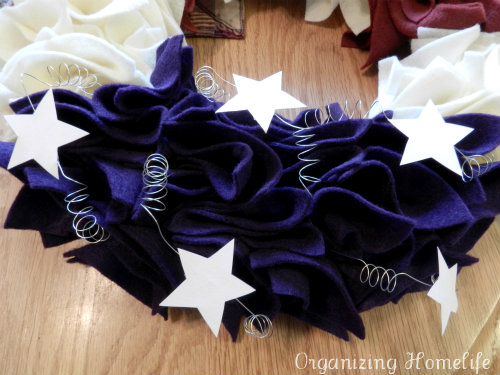
Once I finished with the stars, I attached a ribbon to the back with some of the straight pins.
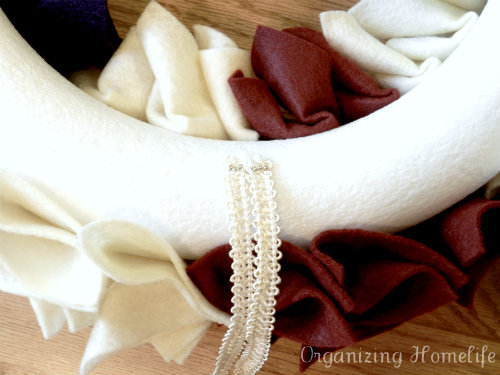
I have a 3M hook on the back of my mirror, so I made the ribbon long enough to hang over the front of the mirror.
I absolutely LOVE how it turned out, and the best part is that it only took ONE hour to make! That is my kind of craft. 🙂
And, just in case you are wondering what took Sky so much longer, she used a larger wreath and cut her felt squares into 2″ pieces {mine were 3″}. Plus, she used a lot more felt squares than I did. Her wreath has a tighter, more ruffled look to it. I think it’s just as beautiful, it just depends what look you are going for. Thanks, Sky, for the inspiration!

If you would like to see the rest of my Patriotic Mantle or print out my Freedom Printable, you can see it here.


Oh that is so pretty and simple! Great step by step tutorial!
I just love your wreath…especially the springy stars! How fun! Would you be willing to link this up to my Red, White, Blue & You Link Party? I’d love to have you! Thanks, Michelle http://www.michellepaige.blogspot.com/2012/05/red-white-blue-you-holiday-link-party.html
Thanks again for linking up! I’m featuring your wreath today! http://michellepaige.blogspot.com/2012/06/4th-of-july-wreaths.html
Thanks for the feature, Michelle. 🙂
Thanks for the tutorial! I am on my way to the craft store!
Awesome! Send me a picture of your finished wreath – I’d love to see it! 🙂
Thanks for the tutorial…yours looks great. Gail