Seven years ago, my hubby was hired to pastor a church 600 miles away from our family and friends and everything that was familiar to us. I was nearly seven months pregnant with our fourth child, and I was just starting to get into the groove of homeschooling more than one child. We knew that we wouldn’t have much help on big projects, so, although we looked at a “fixer-upper”, we opted to buy a house that didn’t need any major work done immediately.
There were a number of things that were very outdated, including the bathrooms and kitchen (see my outdated kitchen here), but we knew the home had good bones. The previous owner, an elderly widow, had taken meticulous care of the home, so although updates were needed, it was sparkling clean and well maintained.
But…
There were some things that I just had to change right away. For years I had dreamed of a beautiful outdoor space we could enjoy as a family as well as to have a nice space to entertain. I was happy that the house had a covered patio, but it was quite outdated. Here’s what it looked like right after we moved in.
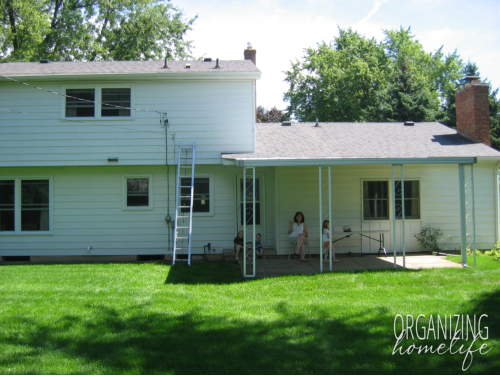
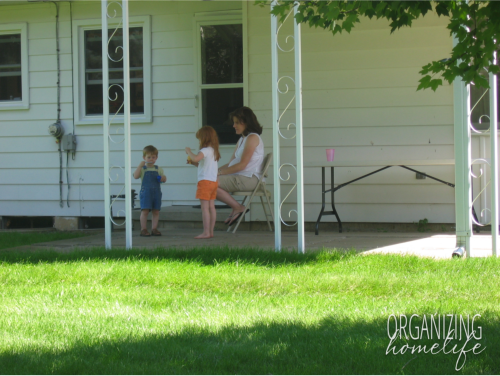
Here’s preggo me with a couple of my kiddos. See those “S” swirls in the supports? Not my favorite look. They were one of the first things to go. I had an idea that lattice might look better than the swirls, so we banged them out of the support pillars and put vinyl lattice in place. I would show you how we did it, but these pictures were taken long before I ever thought I would have a blog. 😉
The patio was great, but one problem became very apparent after living with it for a while. There were large 3″ gaps between the concrete blocks. It looked fine when we moved in because they were filled with pea gravel. What we didn’t know was that the pea gravel would never again look as nice as it did when we moved in.
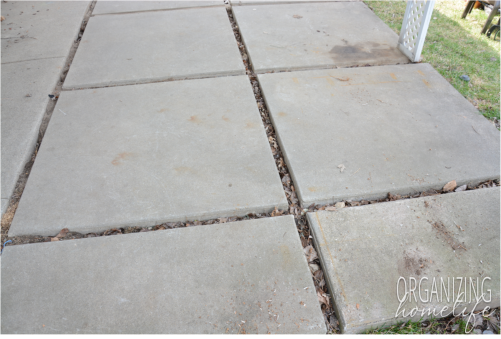
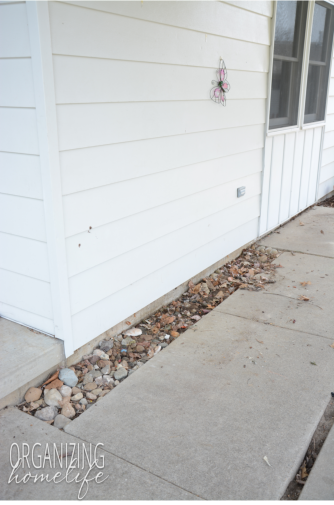
It constantly fell out the sides and washed away leaving a perfect space for seeds, dirt, leaves, grass clippings, and trash to collect, not to mention the tripping hazard it had become. Plus, there was this weird area right up against the house that wasn’t filled with concrete. It was a magnet for natural debris.
We tried several ideas over the years, including polymeric sand which hardens nicely, but is not meant for such large cracks. But nothing we tried worked. I hadn’t wanted to simply fill the cracks with cement because it would look bad and possibly crack with the extreme weather changes we have here. Finally, this past winter an idea hit me. We could mix pea gravel into the cement!
We searched Google and YouTube and found the answer on how it’s done. We started by cleaning out all the junk and tamping down the dirt to a 3″ depth.
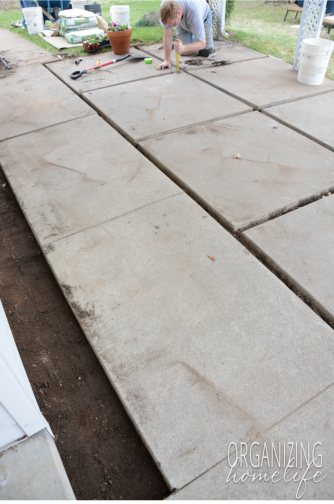
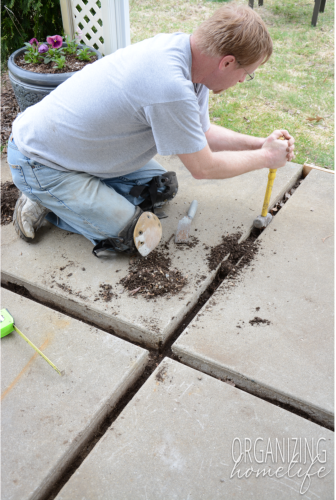
I’m not going to lie – this was tedious and seemed to take forever to finish, but if you are a DIYer, you know that many great projects happen because of careful preparation.
Once that was done, we cleaned off the blocks.
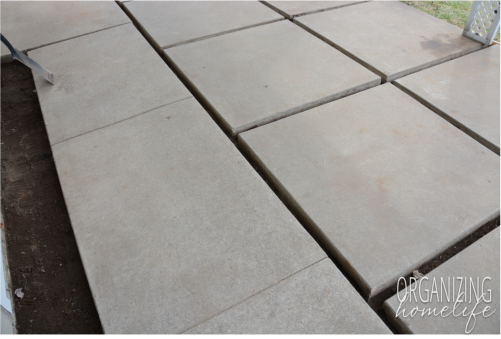
We bought pea gravel at a local landscape supply company in some 5 gallon buckets for a couple of dollars each. Then we mixed a ratio of 2 parts mortar to 1 part pea gravel.
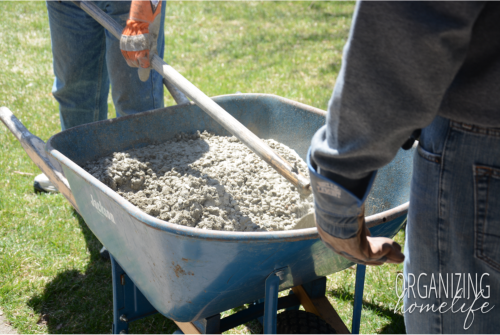
It’s pretty thick, so it’s really helpful to have two people mix it. Thankfully, my dad was in town that week, so he got put to work. 🙂
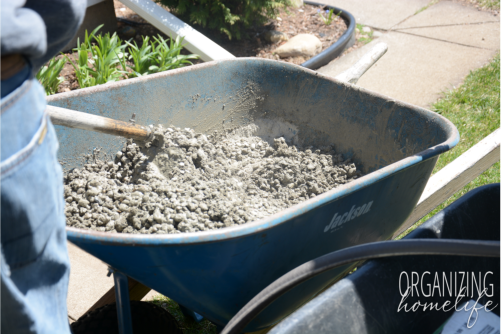
I was actually surprised how smooth it looked once it was spread out. My hubby carefully smoothed it out with a cement trowel.
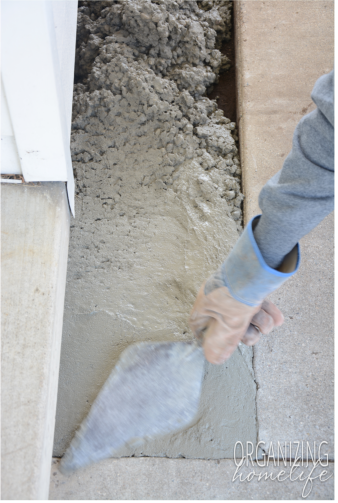
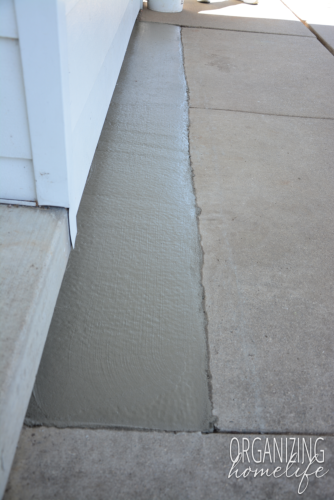
Then we filled all the cracks.
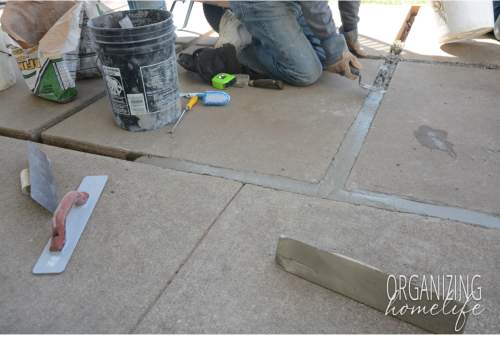 The hardest part of this projects was judging when to proceed with the last step since we had never done this before. The video we watched said to wait about 20 minutes (until it started to set slightly) and then rinse the sand away from the gravel. Maybe it was because we did the wider area first, but it was more like 45 minutes until we felt like we wouldn’t wash the whole thing away.
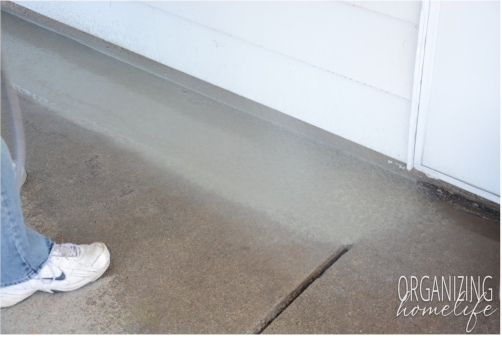
But pretty soon, we realized that it was working.
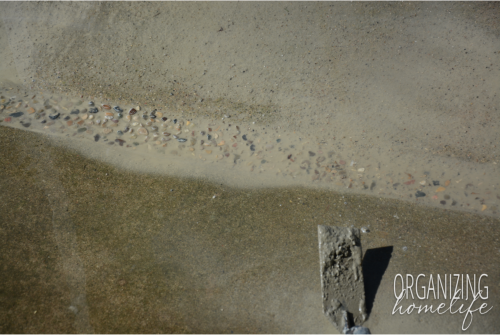
We used gentle sweeping motions, being careful not to hose off one area too long in case the gravel started to come loose.
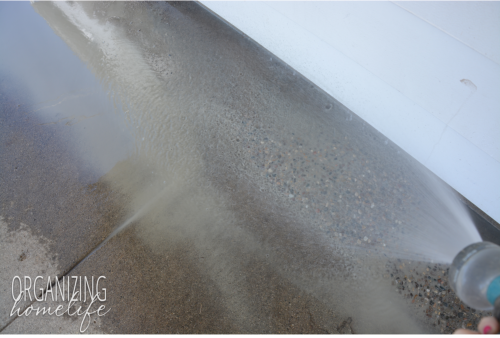
It was surprising to me how much sand actually washed away. I thought the gravel would never stay, but it did.
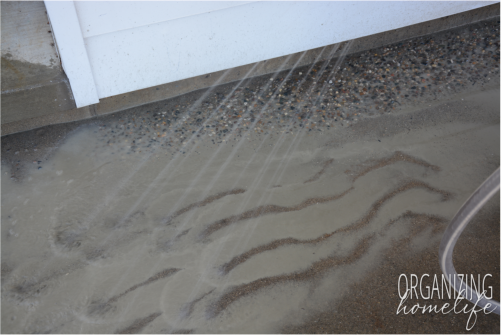
It’s still looking awesome two months later, and hardly a pebble has come loose.
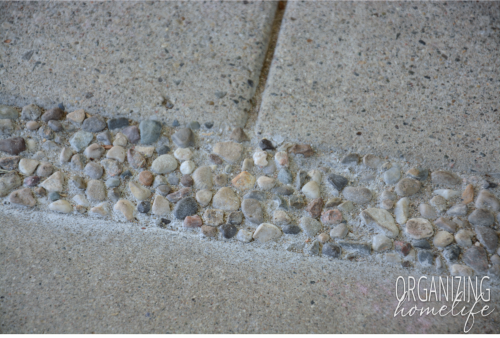
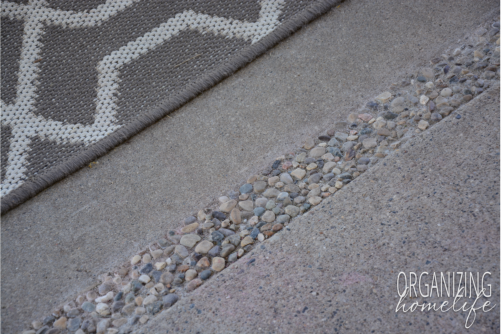
There are a few areas where it looks slightly white from not washing away enough cement, but I think that will weather away over time. Overall, I’m very happy with the results and now it’s a breeze to sweep off the patio and keep it looking neat and clean.
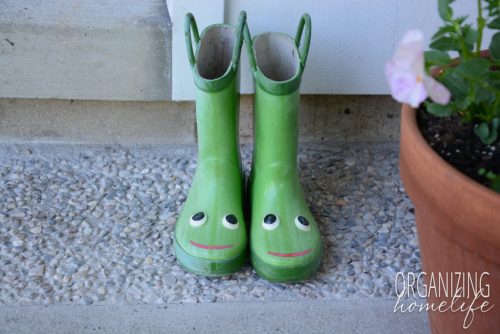
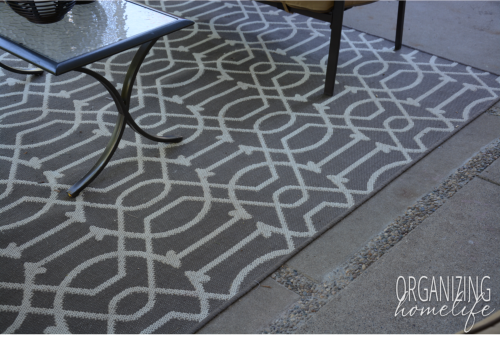
Would you like to see how I decorated the patio? Check out the Patio Reveal here.


That was an ingenious solution! I’m in the same boat, well maintained, outdated, fixer-upper. Thanks for the inspiration!
Looks great!
Great solution that’s so easy on the eyes! I have an area I’d like to put block down in, but the idea of having to kill off weeds and dig them out every year has kept us from getting to that. THANKS!
We’re do it yourselfers, too – redoing a repo we bought six months ago. It’s a LOT of work!
I love what you did with the patio problem. It looks awesome!!! And much easier and cheaper than starting from scratch. And pea gravel is just so cool!!!
Oh my! I LOVE this idea! Thank you so much for sharing. Did you dust a layer of loose sand over the smooth pea gravel/ mortar mix once it was troweled in place? Is that what created the dusty look over the mix met the edges of your concrete patio in the photos?
We recently bought a repo’d house and although it was completely destroyed by the previous owners, it had great potential & fabulous bones, Beautiful acreage with a creek meandering through it, gorgeous trees, a barn, and pool. Our dream house basically, just needing a ton of TLC and lots of dollars thrown at it. We have talked about using pea gravel in some awkward areas around the pool decking, especially the little bit of side yard that houses the pool pump, A/C units, etc. I have to walk back there all the time to check readings on the pool and deal with the equipment. It is an awkward space to get into for my husband to mow and the land is fertile here with lots of rain, so weeds and grass can be knee-high within 10 days. I found I’m allergic to whatever grows back there, causing my feet and legs to burn like fire yet it is a necessity to walk back there. I’ve been concerned about stumbling on loose rocks & also worried about loose rocks getting into the pool damaging our pump. With creativity and googling videos like you did, I think we can create a pleasing, yet safe hardscape with the pea gravel/mortar mixture and some very large stepping stones.
Looks beautiful. This is the exact problem we are having here only we have four big pads with the gap in between. This looks like a very nice solution. Thanks for sharing.
Wow that looks amazing! I would never have thought to do it. Now it looks like you had it in mind all along!
It really looks great! I bet you all love it.
Wow! That looks awesome!!! I love the tiny pebble look and never would have thought it would look like that after the sand was removed! Glad you found a solution and it looks like the prep work definitely paid off!
What a lovely, creative idea. The pebbles look really effective 🙂
AWESOME job! You are so lucky to have a great hubby to do these projects for you!!!
HI!! I want to do this! our patio has loose gravel between pavers and I AM DONE! Is there any chance you could share the link to the video you saw? Also, how much water did you add?
Beautiful solution. I’m going to try this at my house. Do you have a picture of this project now, two years later?
Looks like this is what I need to do:) I have a question though. You talked about washing the “sand” away from the pebbles but I don’t see anything in your instructions about using sand anywhere. Can you help? Am I missing a step?
Maybe I missed it but you said something about washing off the sand… I didn’t see where any sand was added.
What was the answer about the sand, I did not see sand mentioned. Was there a link to the video?
Wow this is such a great idea! I was looking for a solution for a similar problem with my concrete. The previous owners of my house separated the concrete with decorative ceramic tile. Its probably been 30 years since it was done and the tile is starting to break up. I knew I didn’t want to re-do the tile as it is slippery when wet. I was trying to come up with an easy diy fix and this is definitely it! This will fit perfectly in my situation… thank you so much!!! How has it held up over the last couple of years?
Just what I was looking for! Thank you for posting. 🙂
4 years later, how is it holding up? We’re considering something similar but using polymeric sand instead of mortar.
Lorian Bartle